Adding Liquidity to Pancakeswap (Binance Smart Chain Network).
- Go to the website https://pancakeswap.finance/liquidity/positions
-
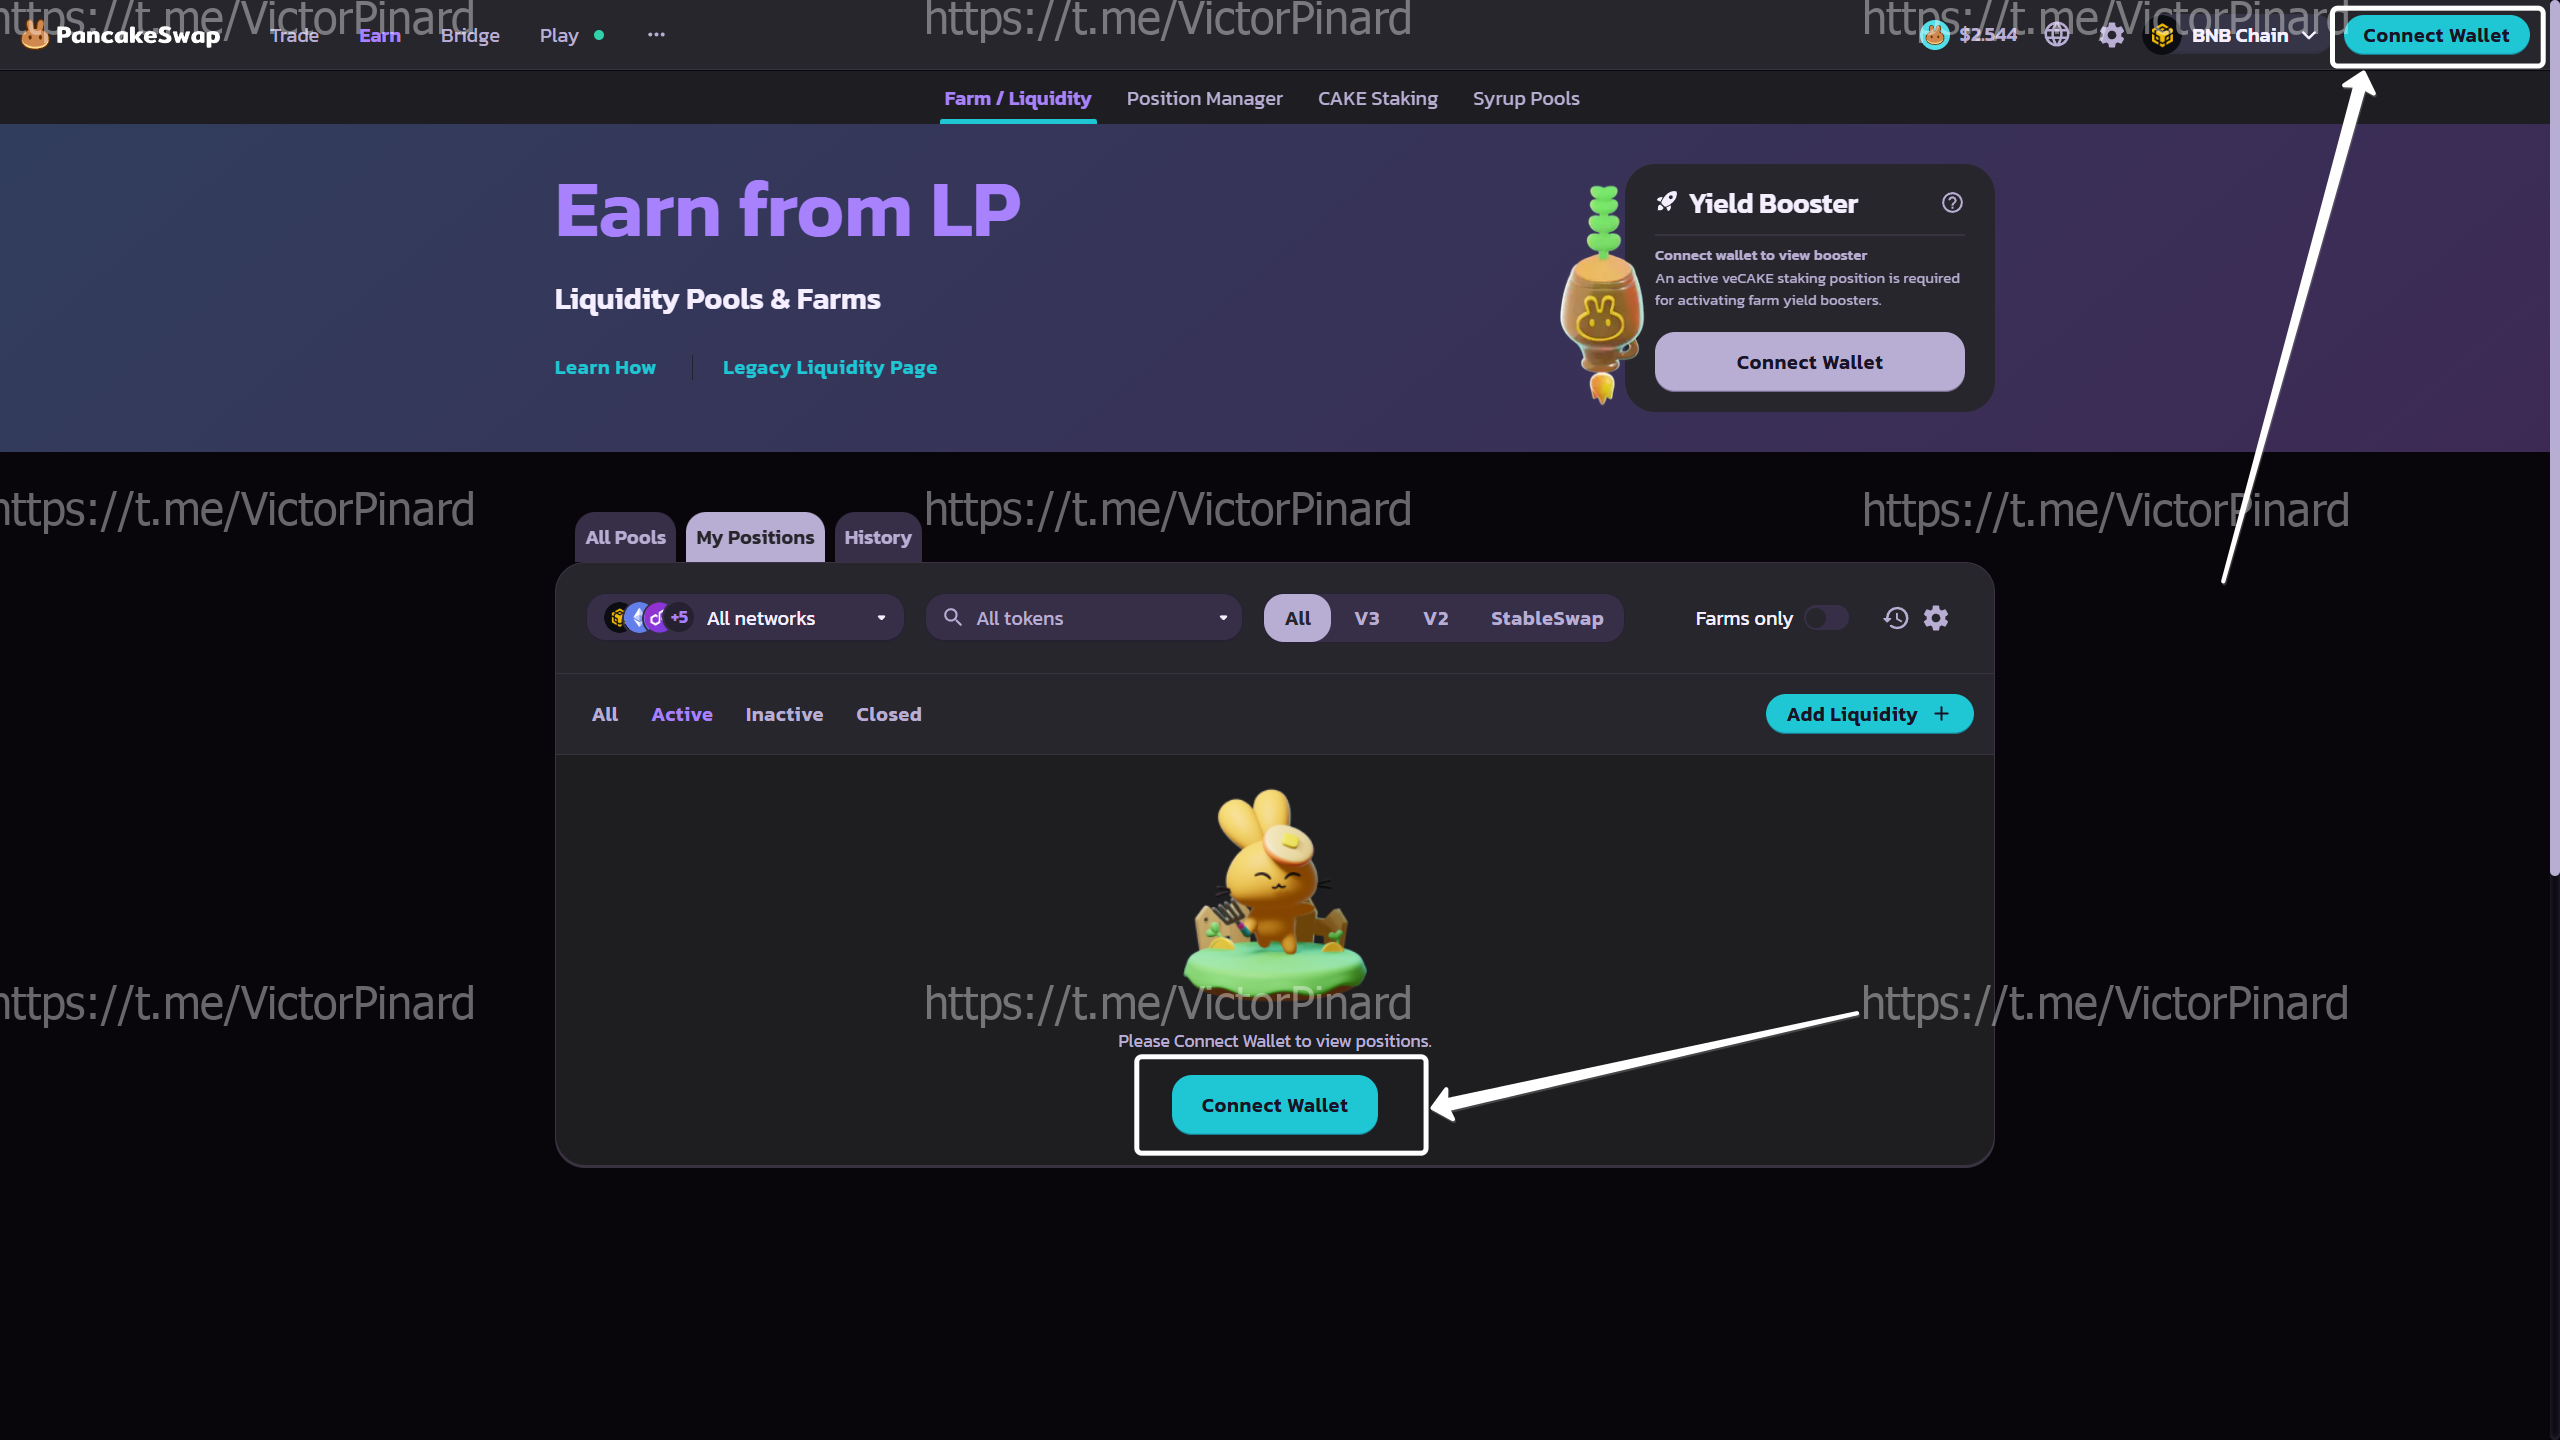
If your wallet is not already connected, connect your wallet.

-
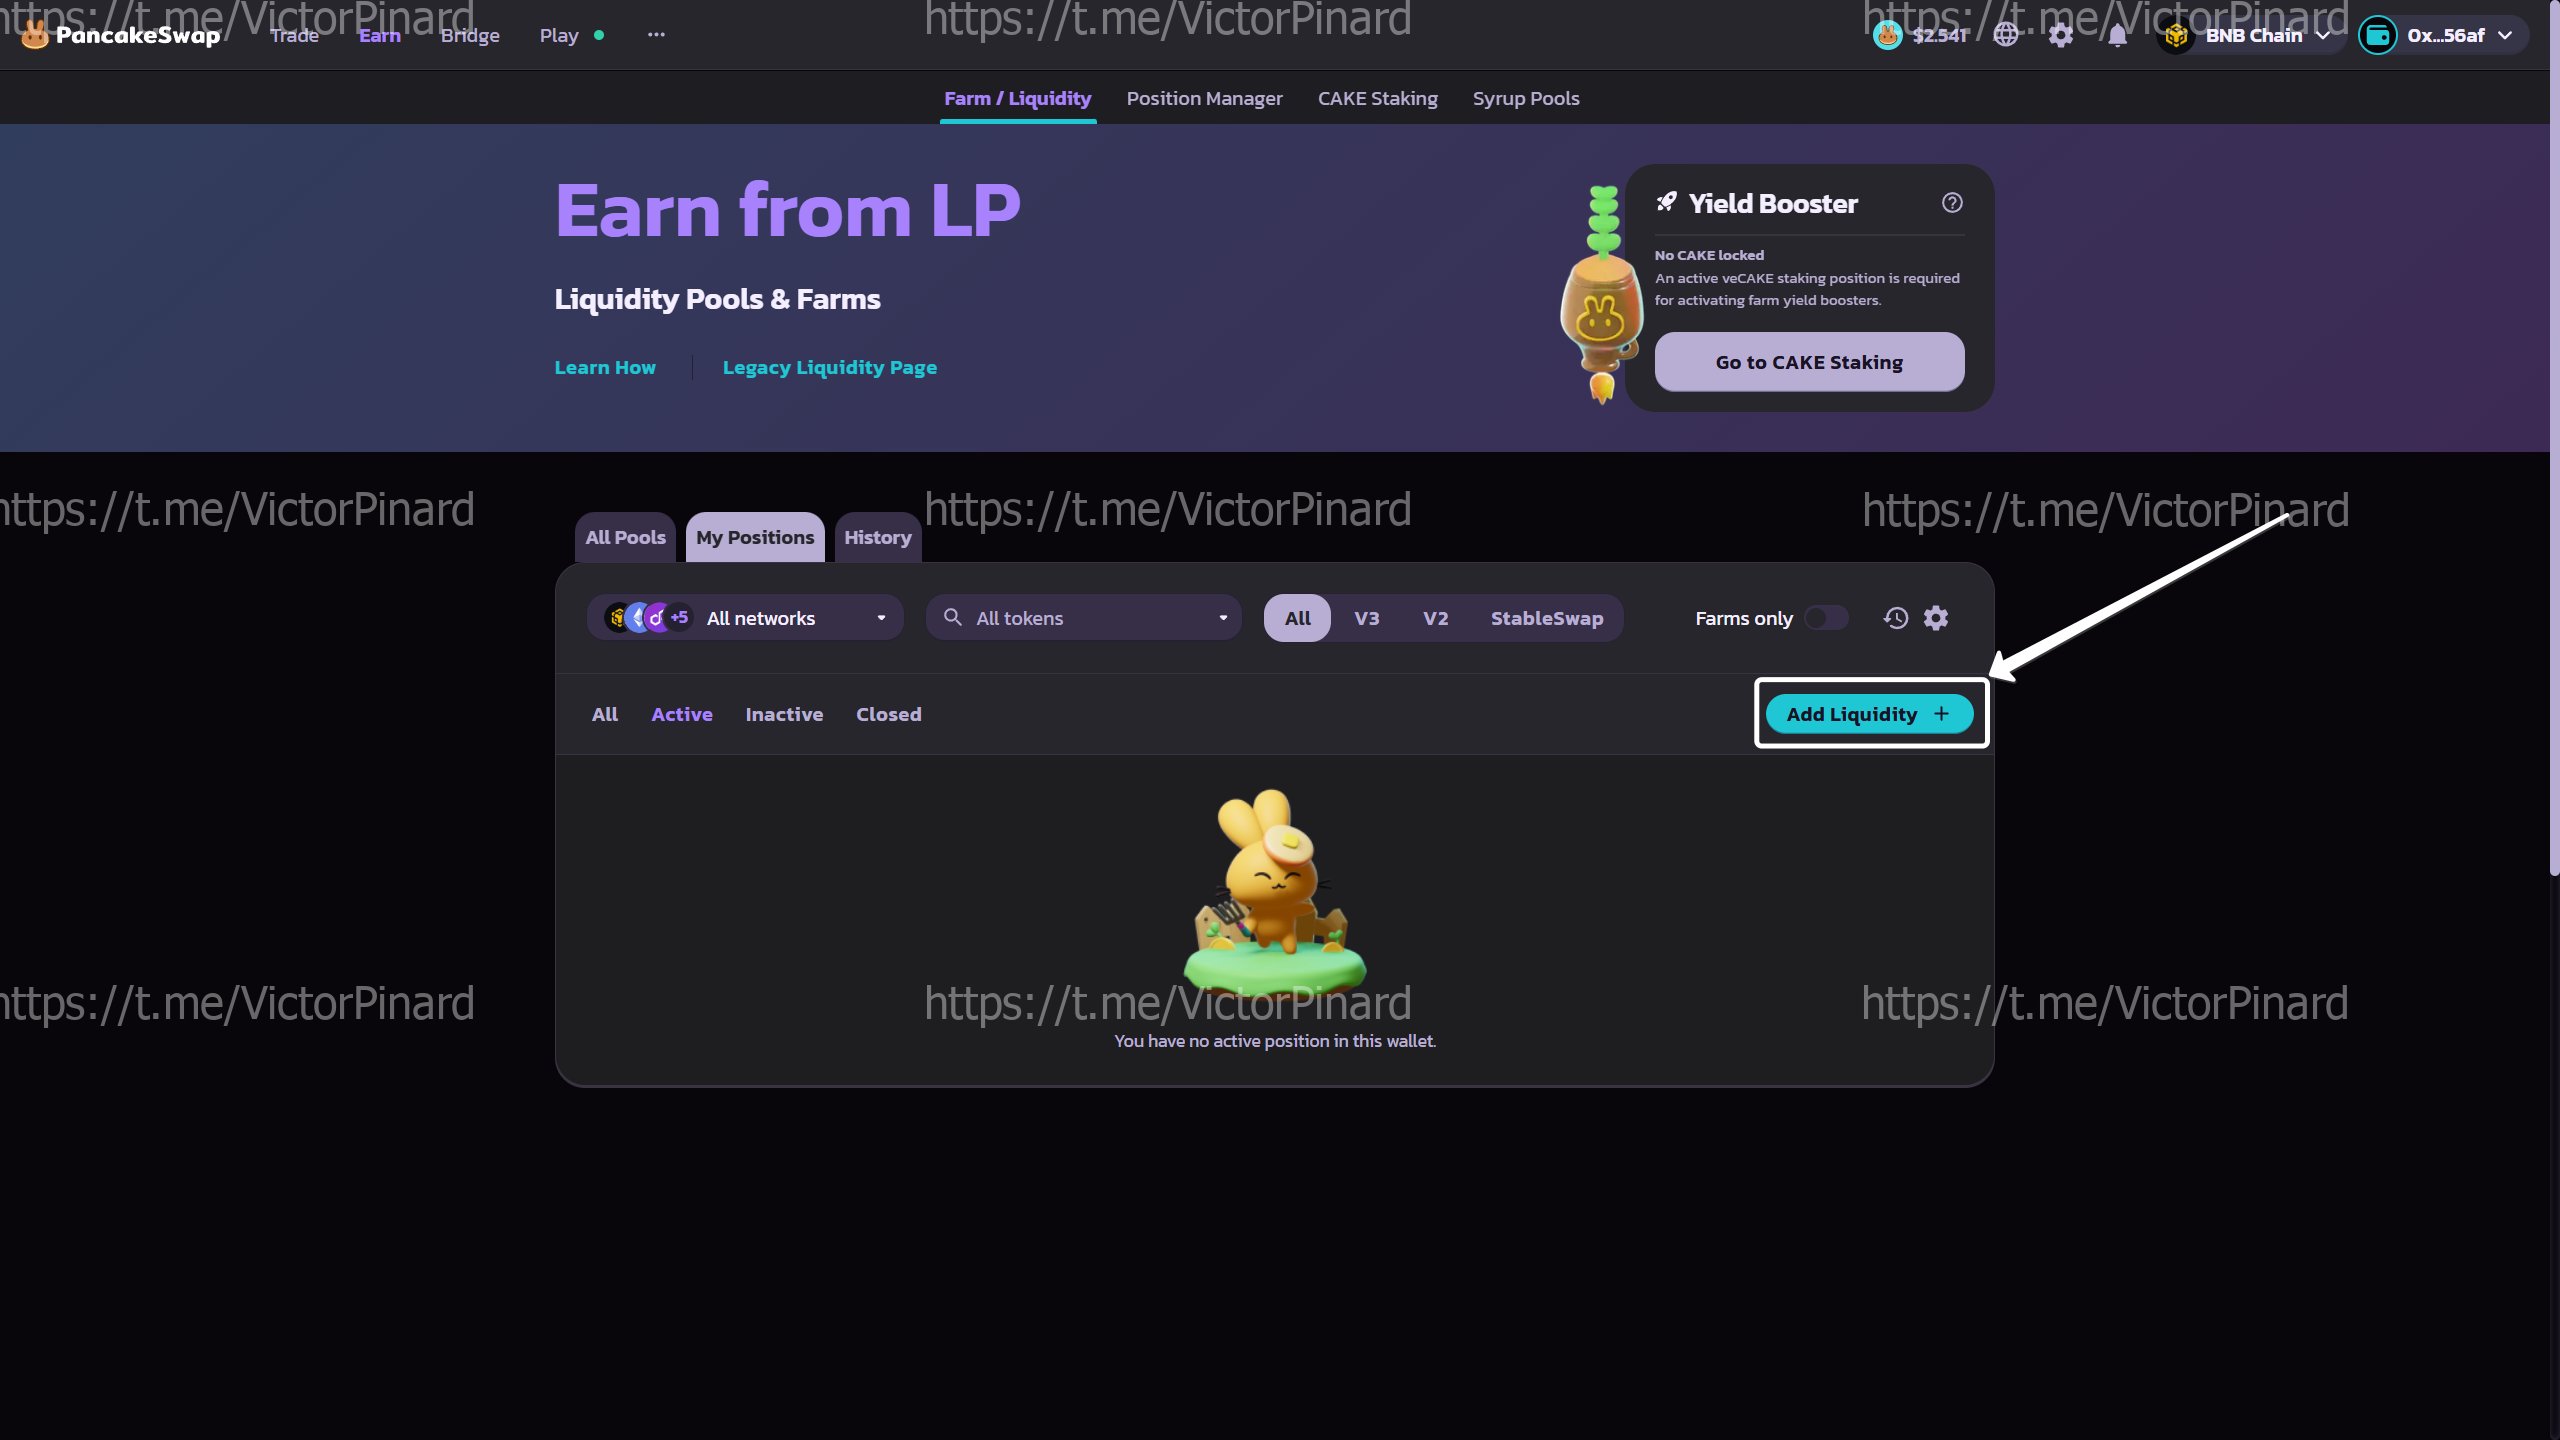
Click the "Add Liquidity" button:
-
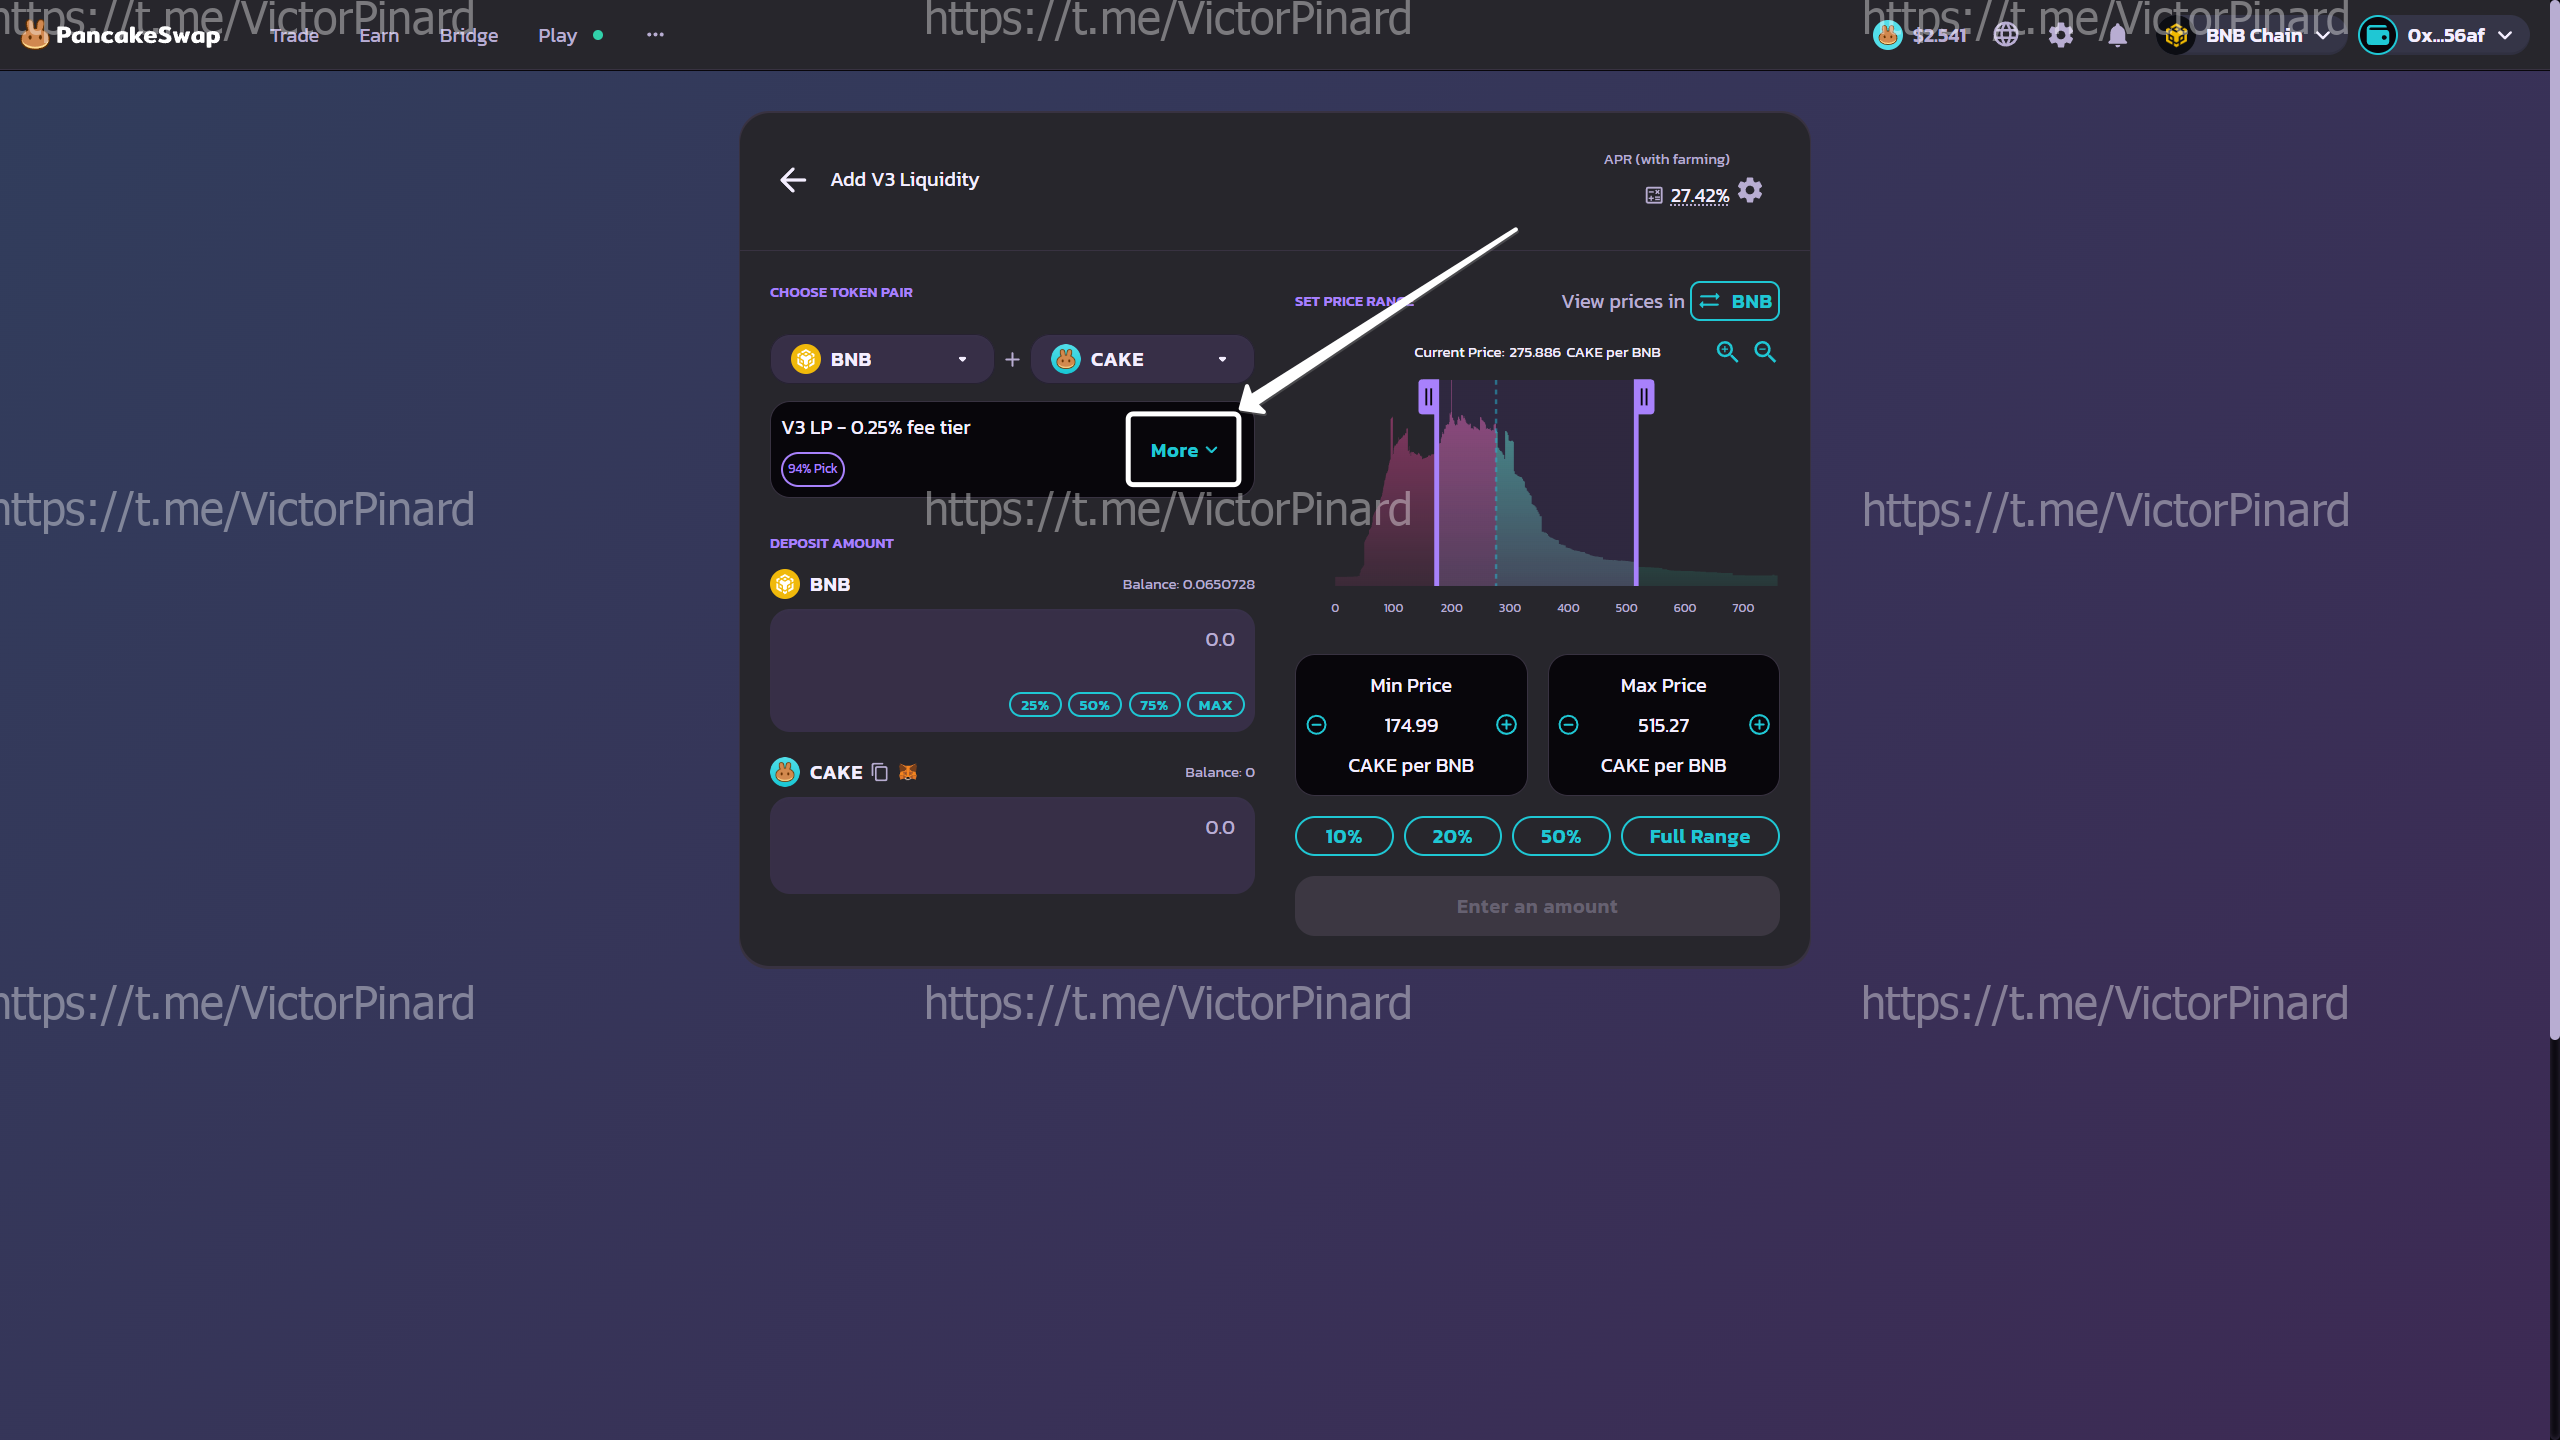
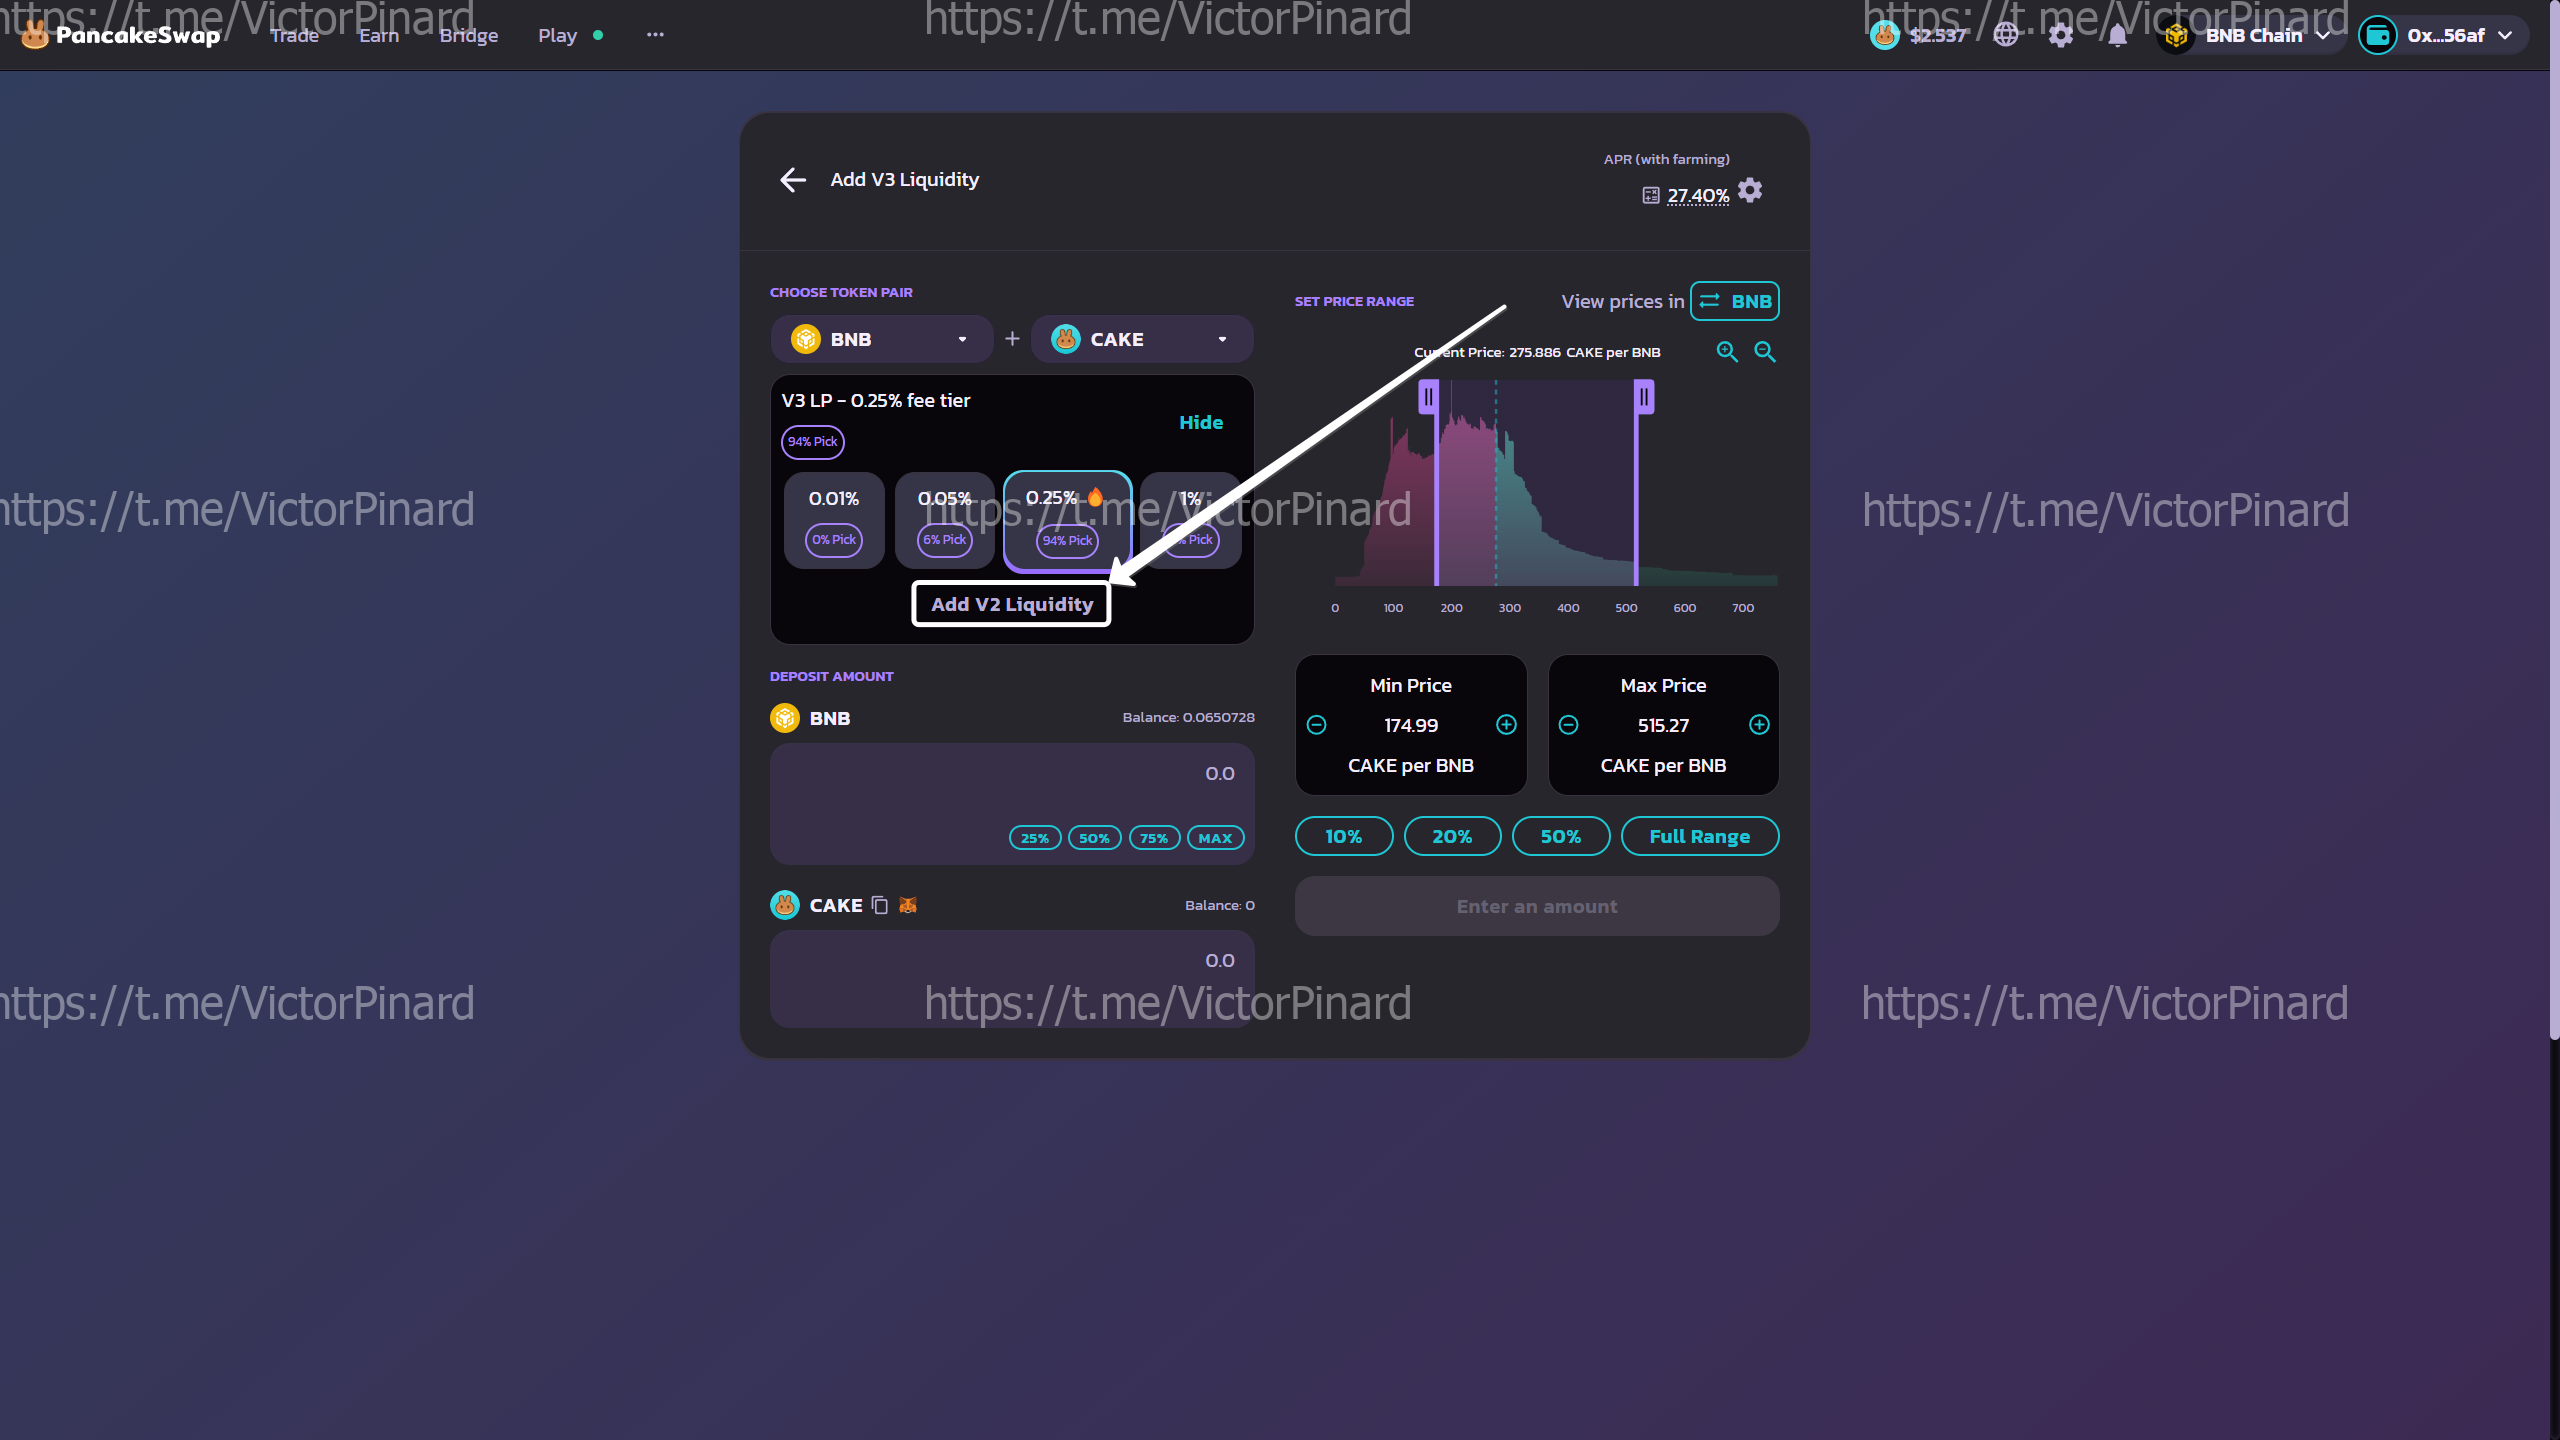
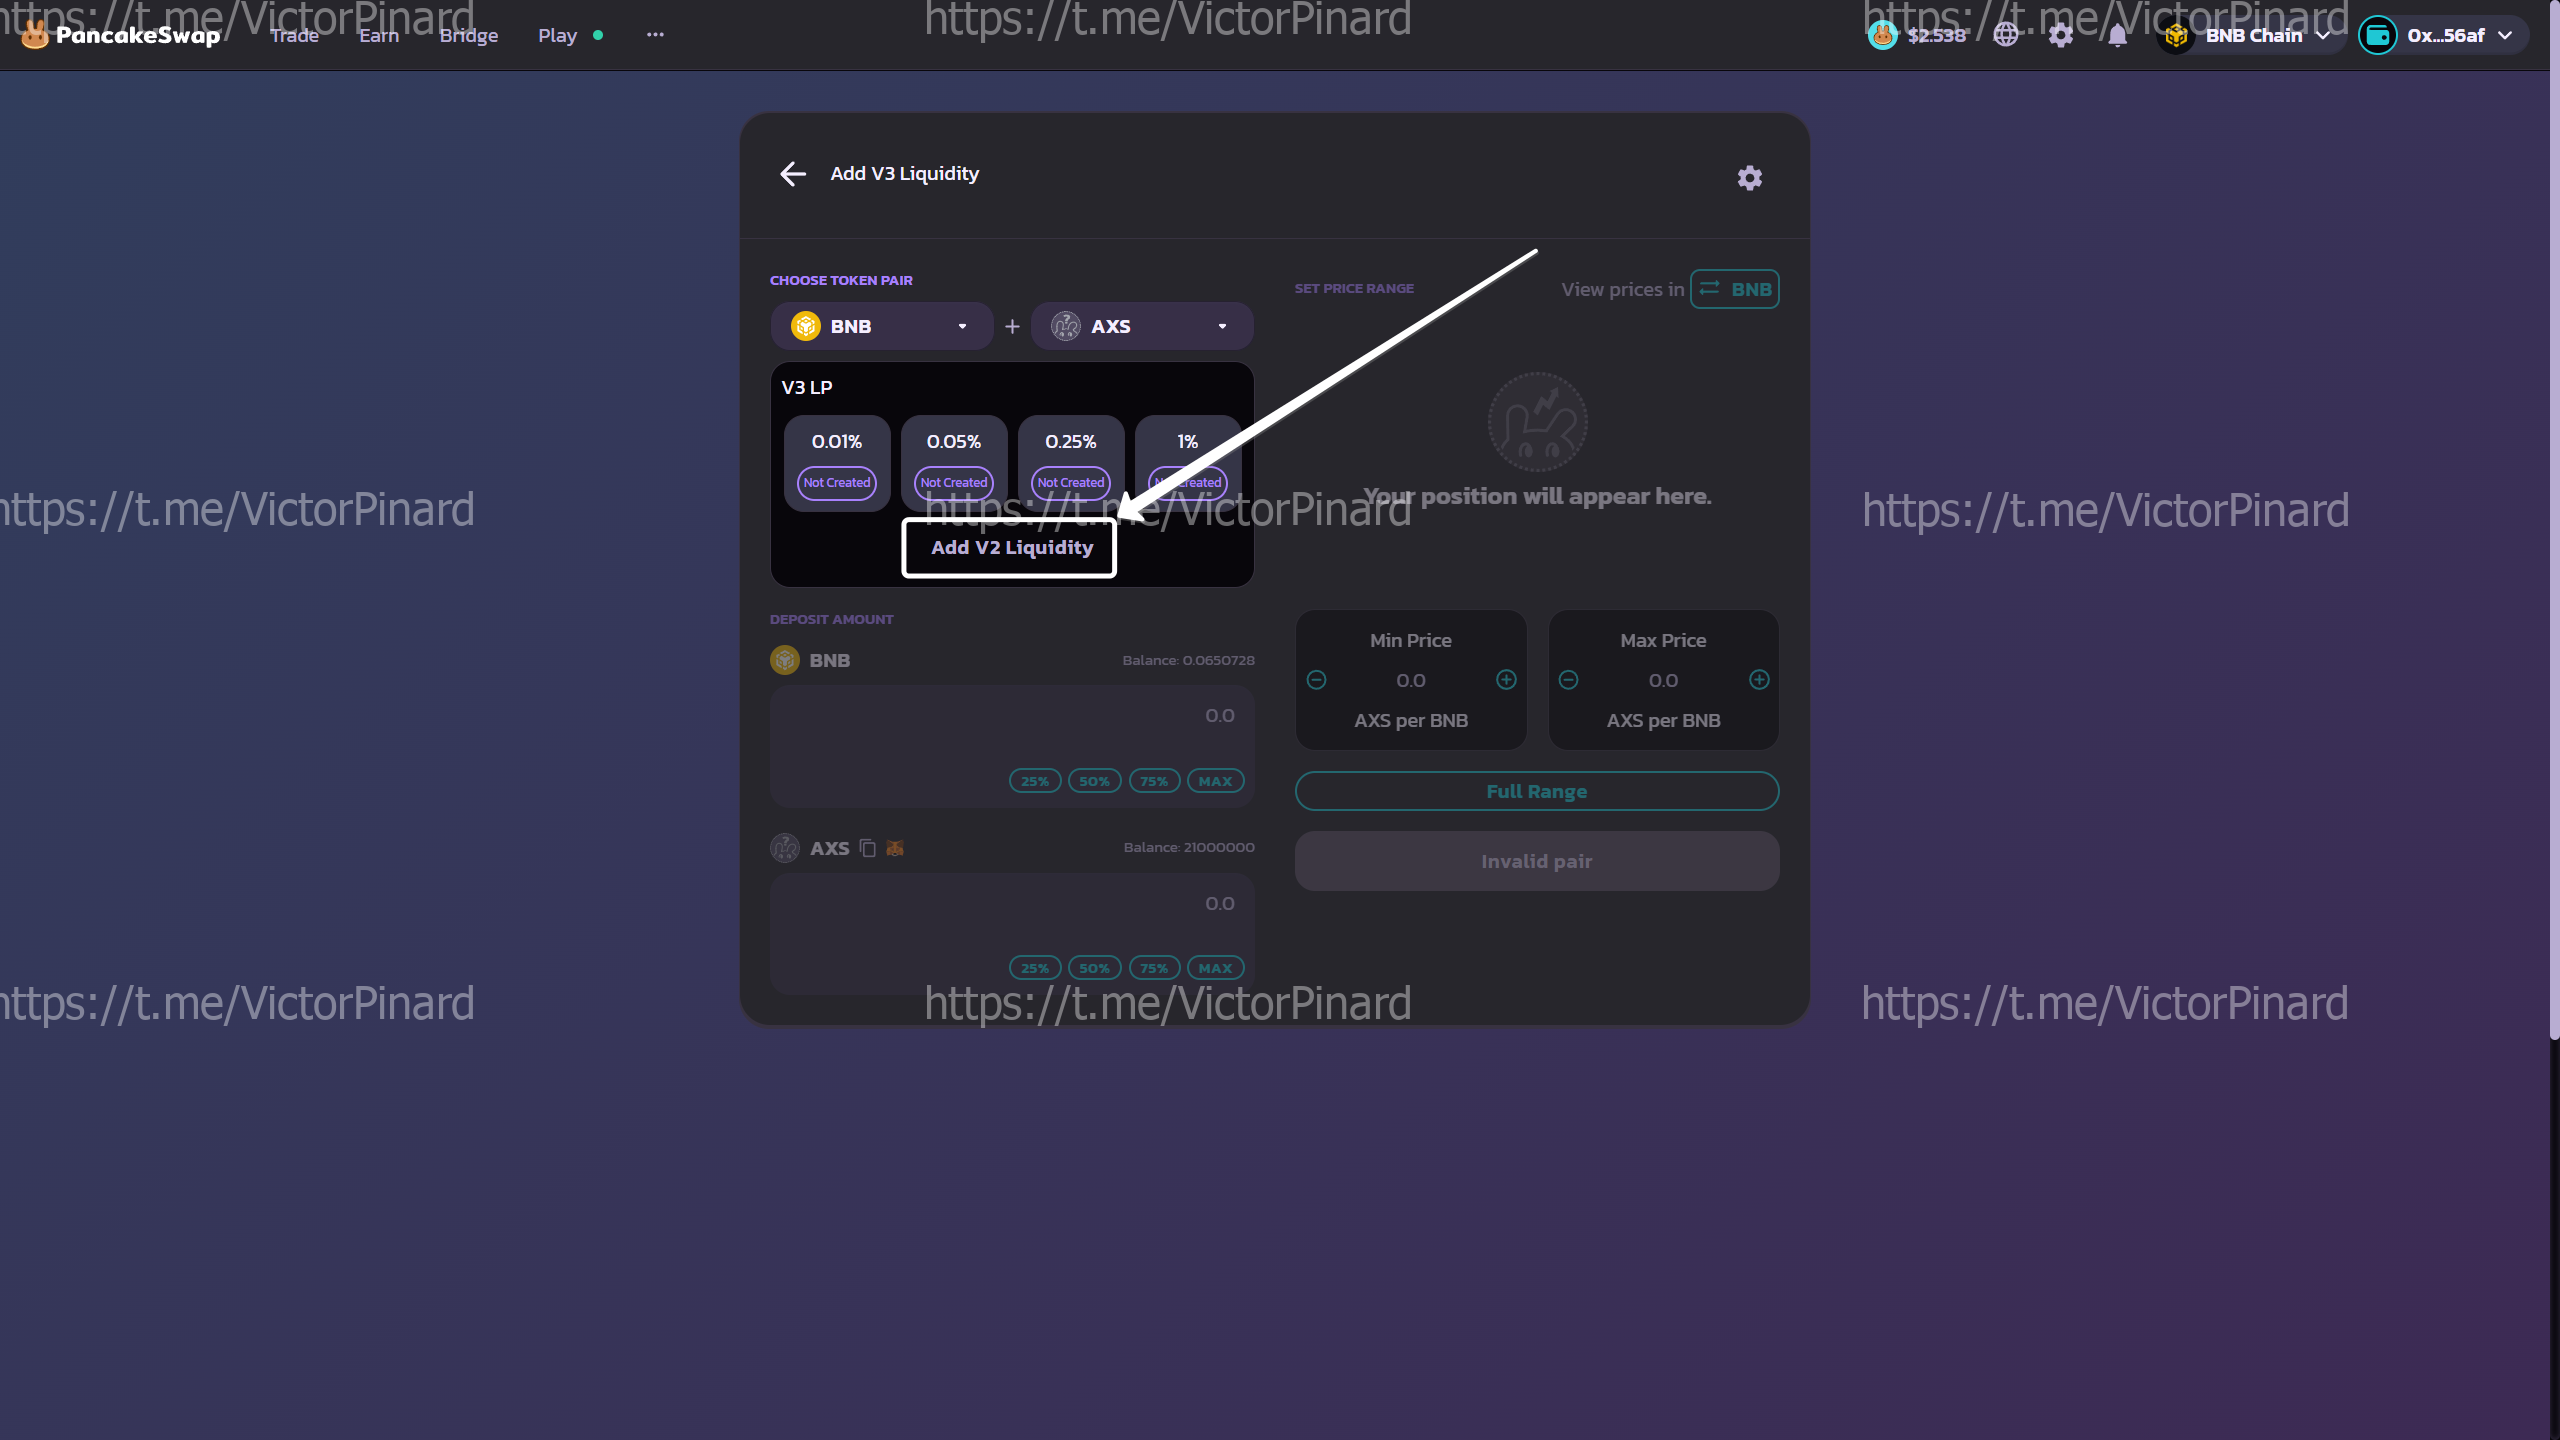
Click "More" and select "Add V2 Liquidity":
-
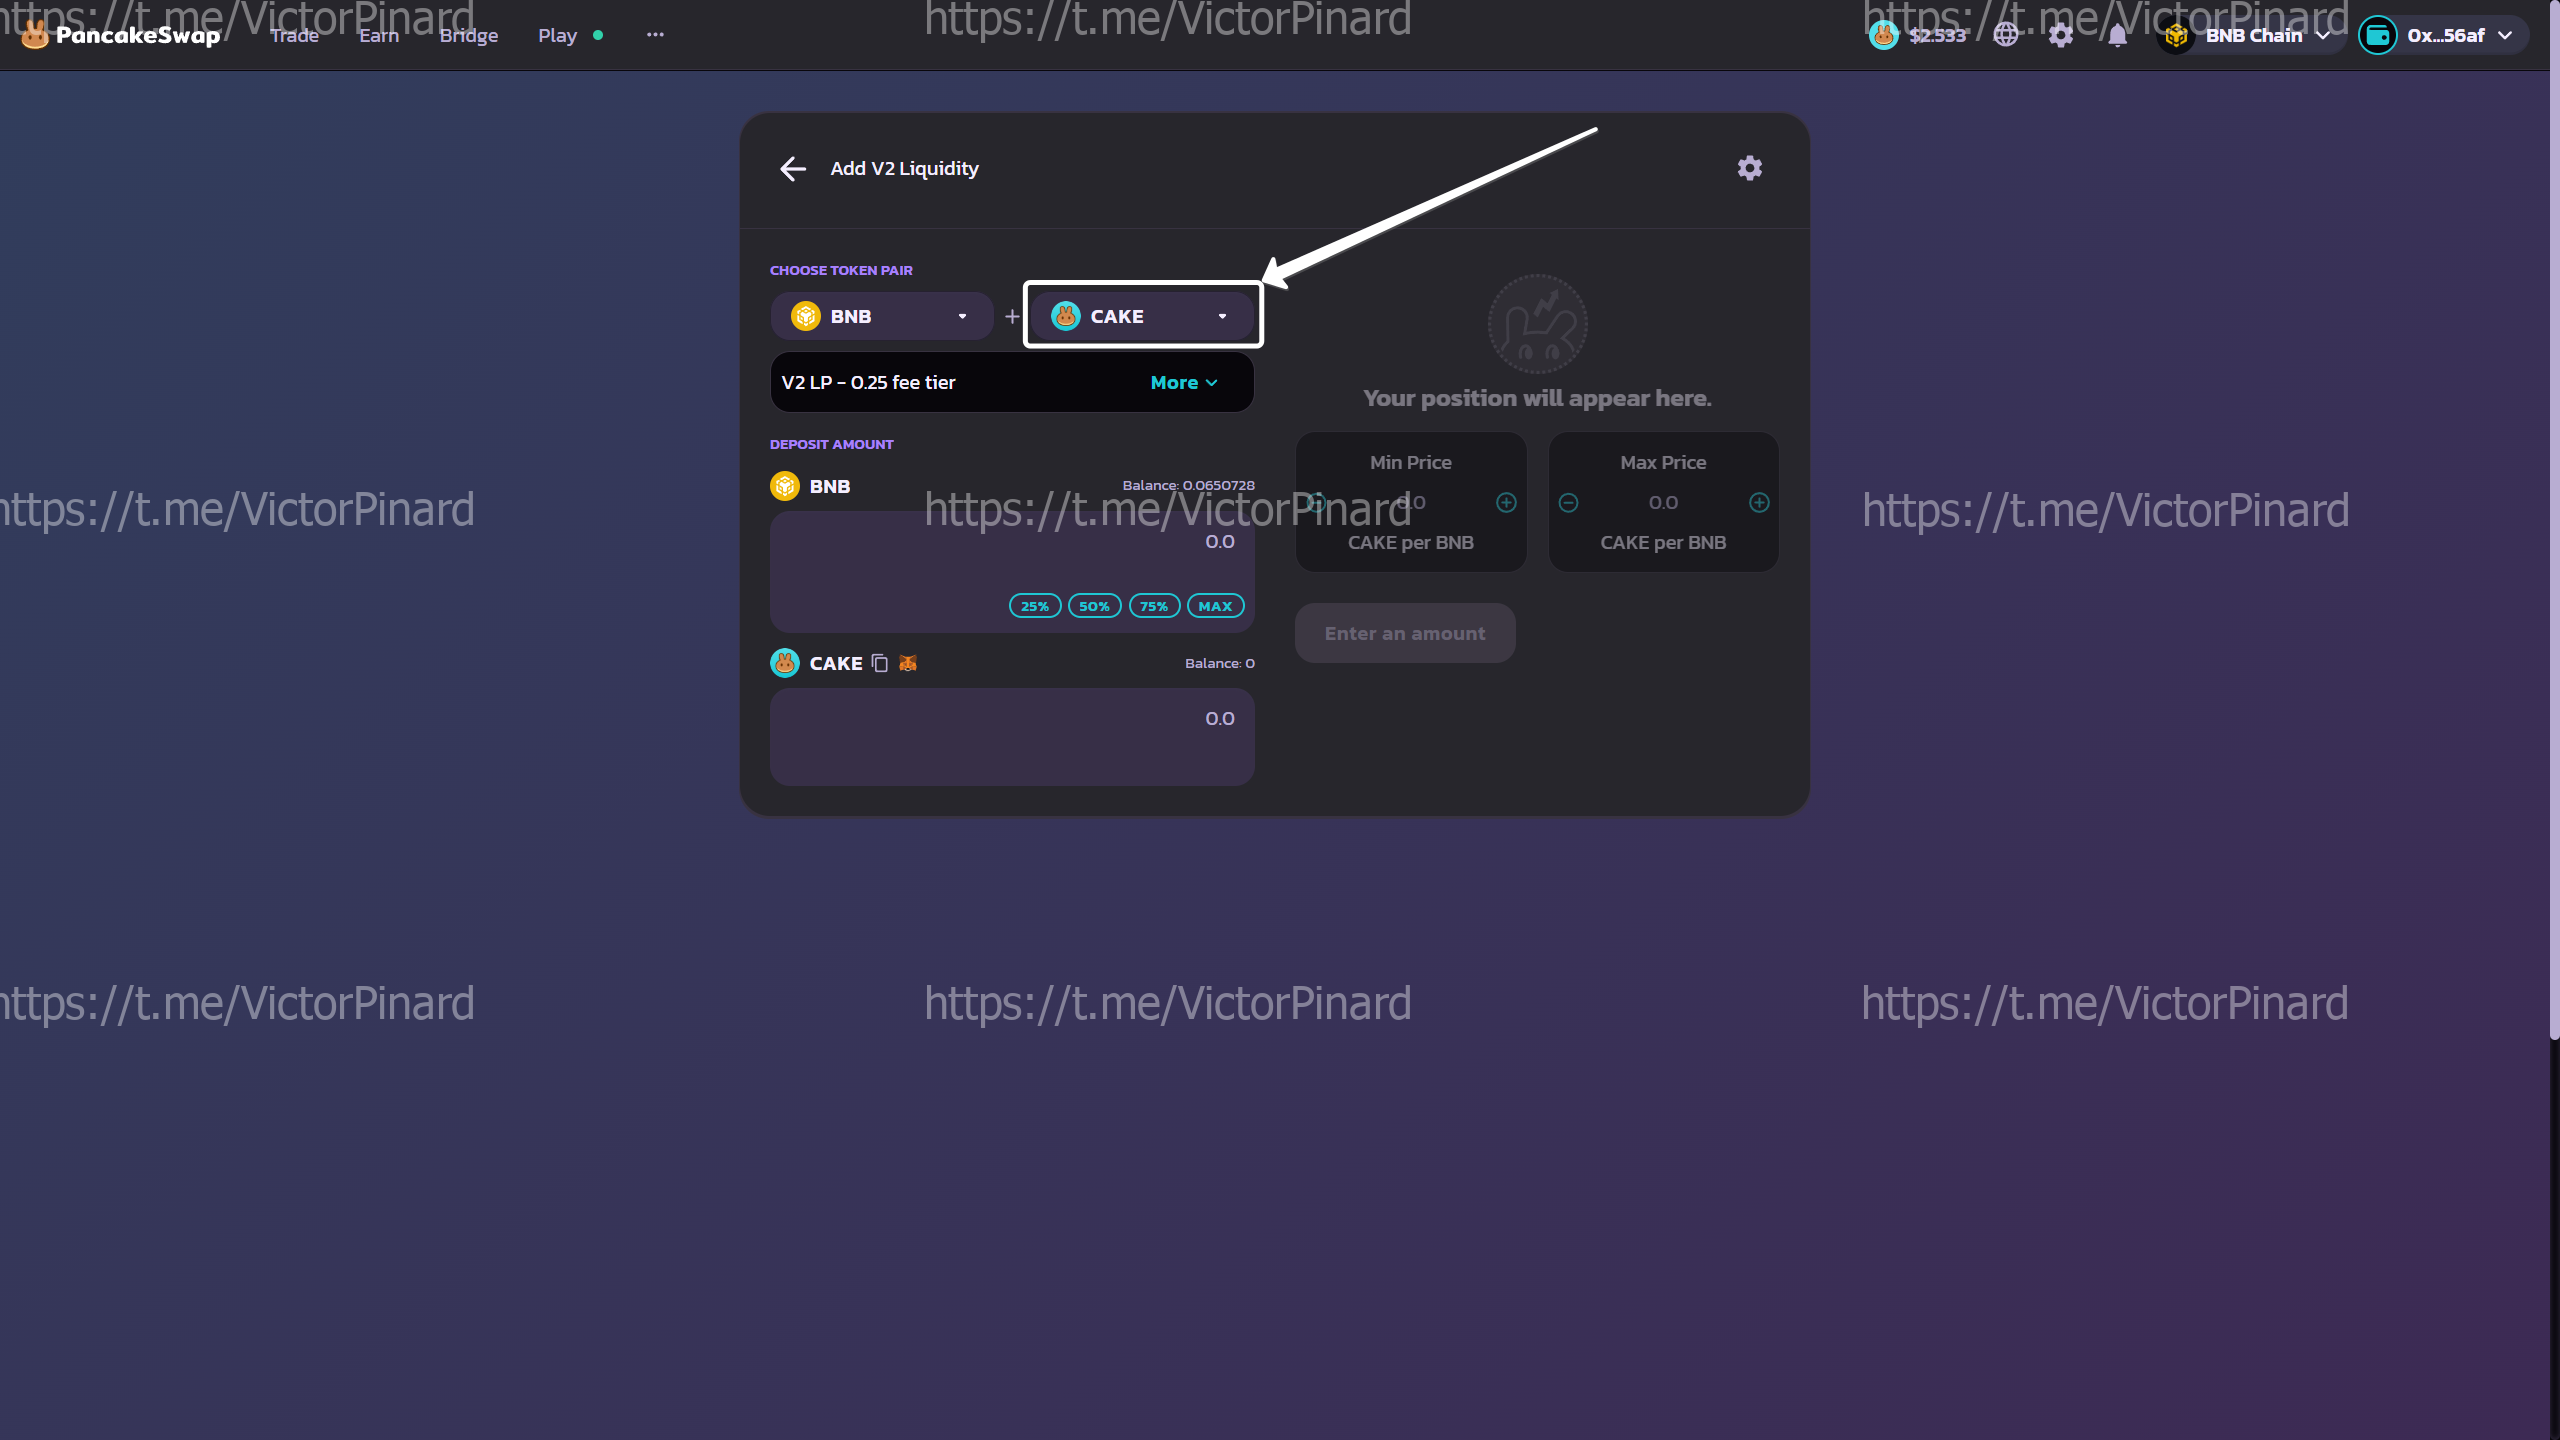
Click on a pair to change it:
-
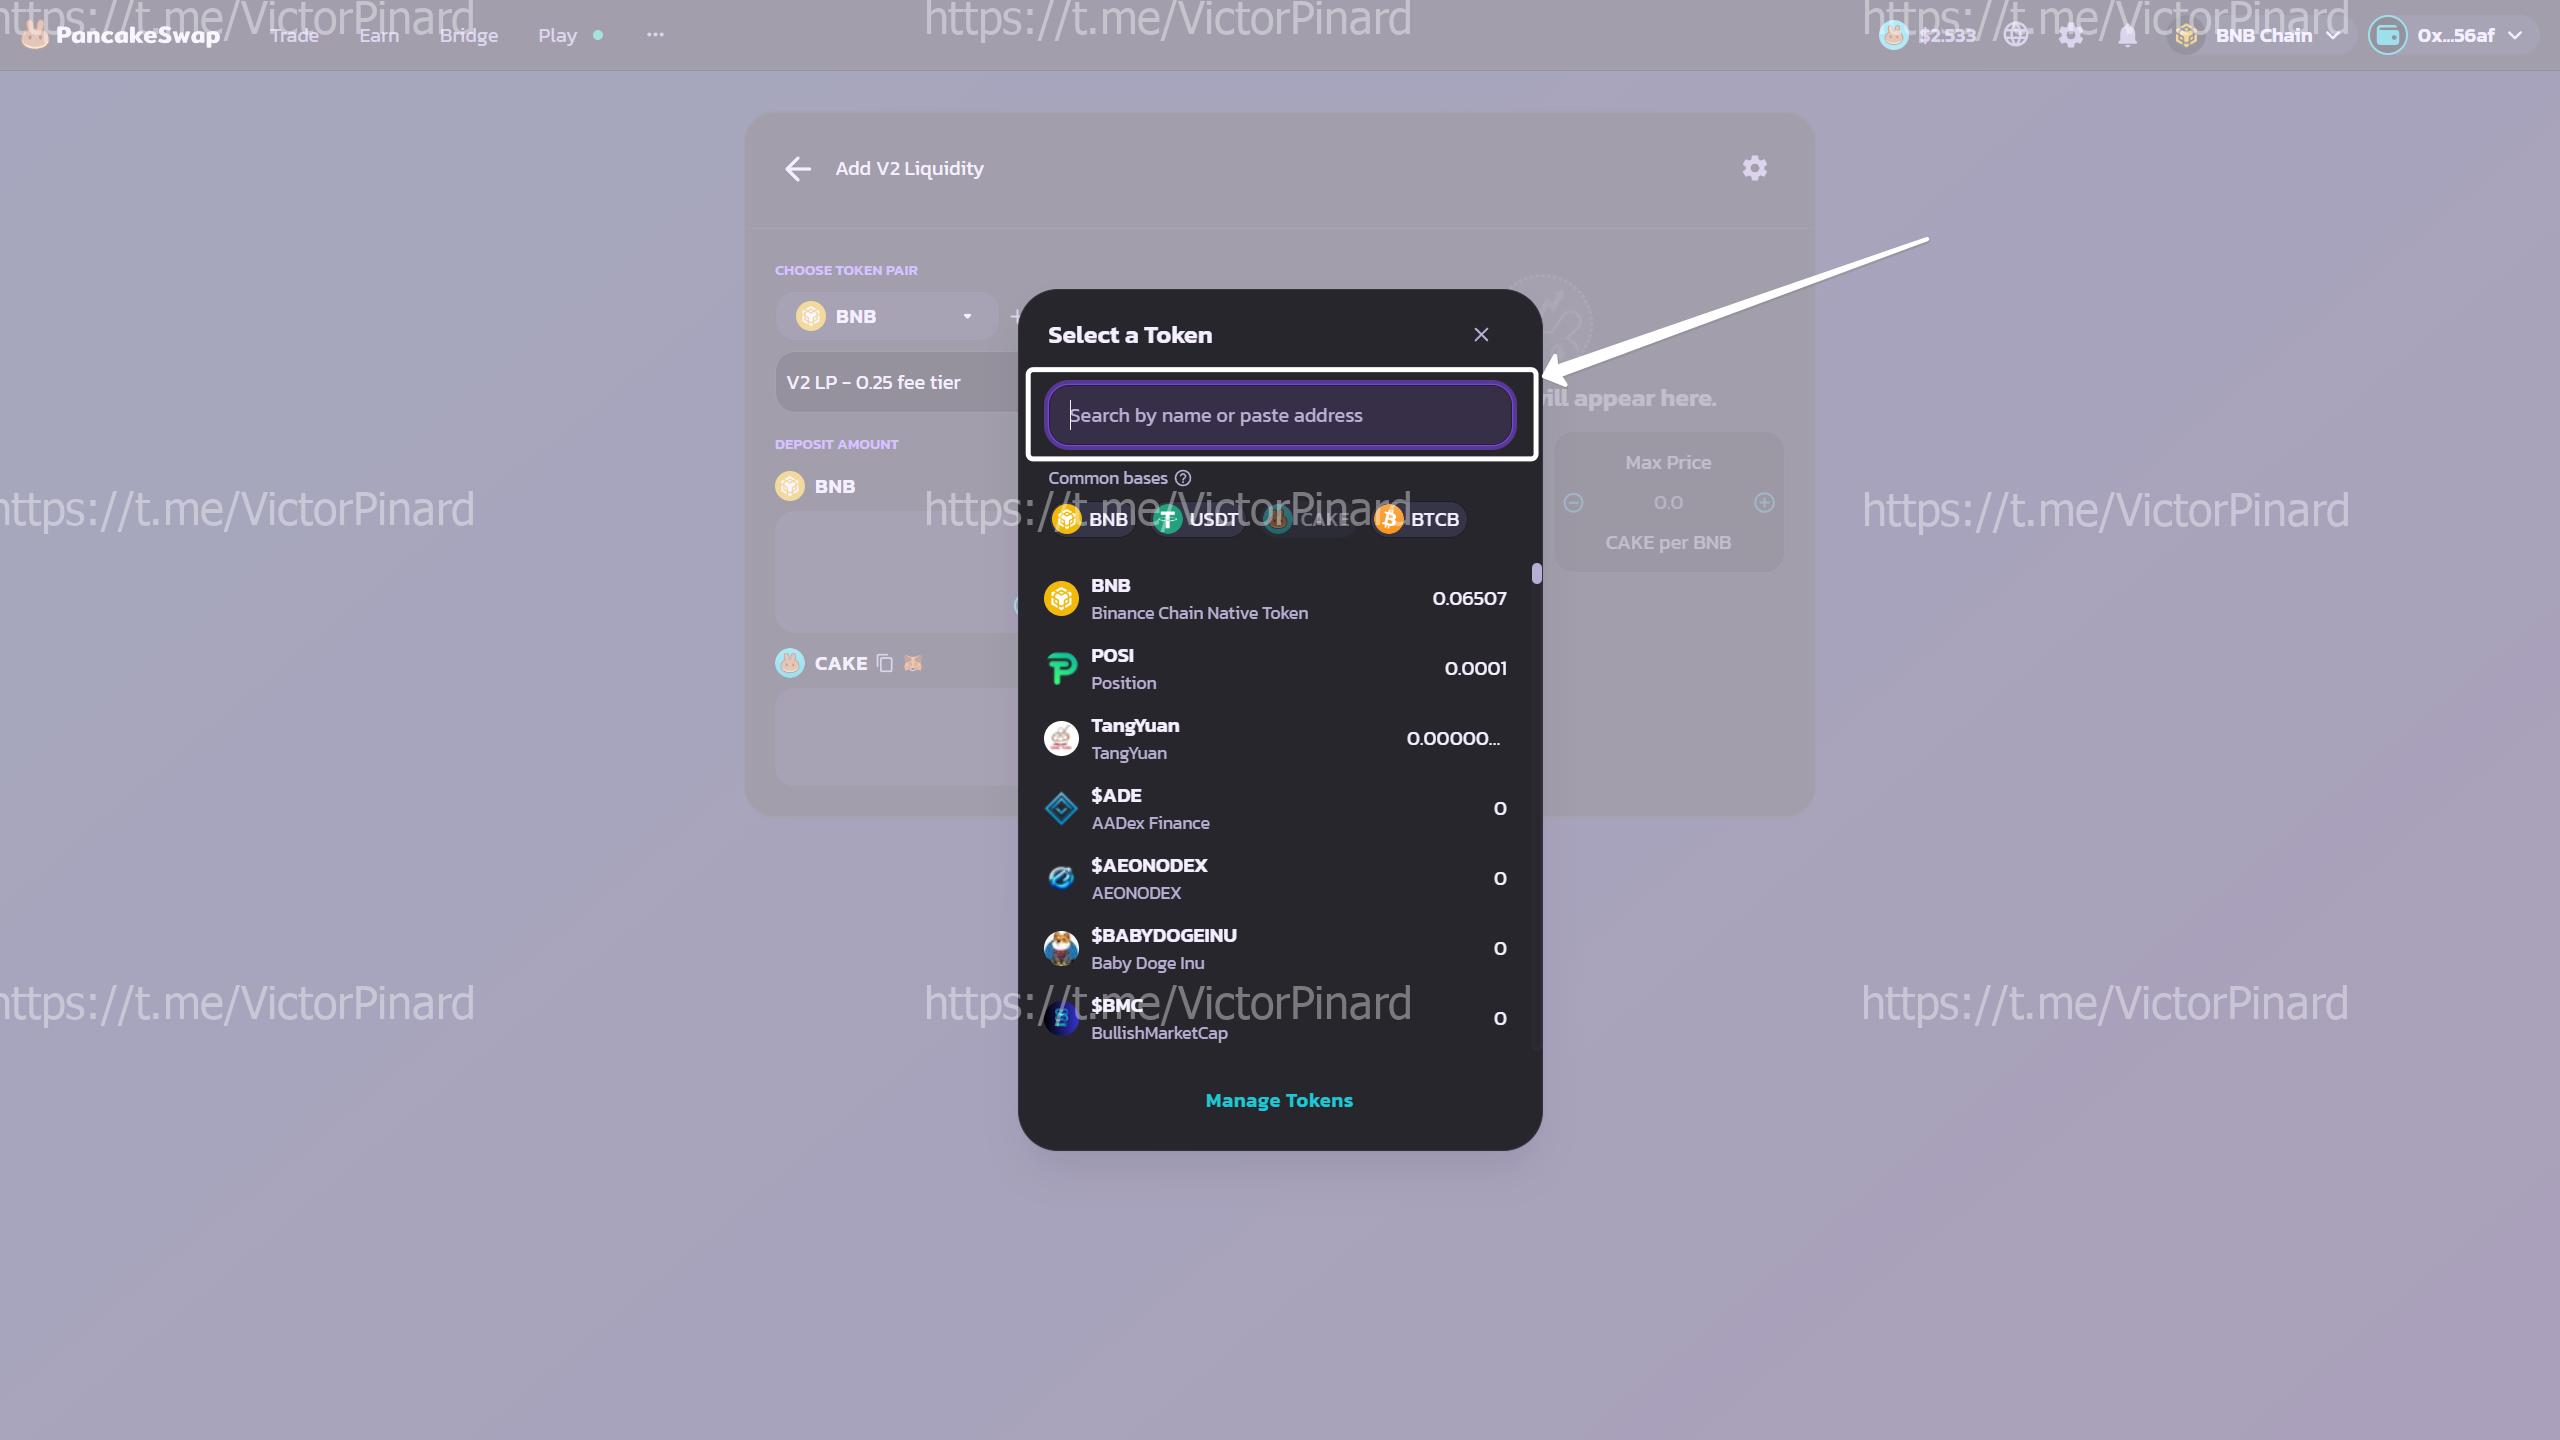
Paste your token's contract address here:
-
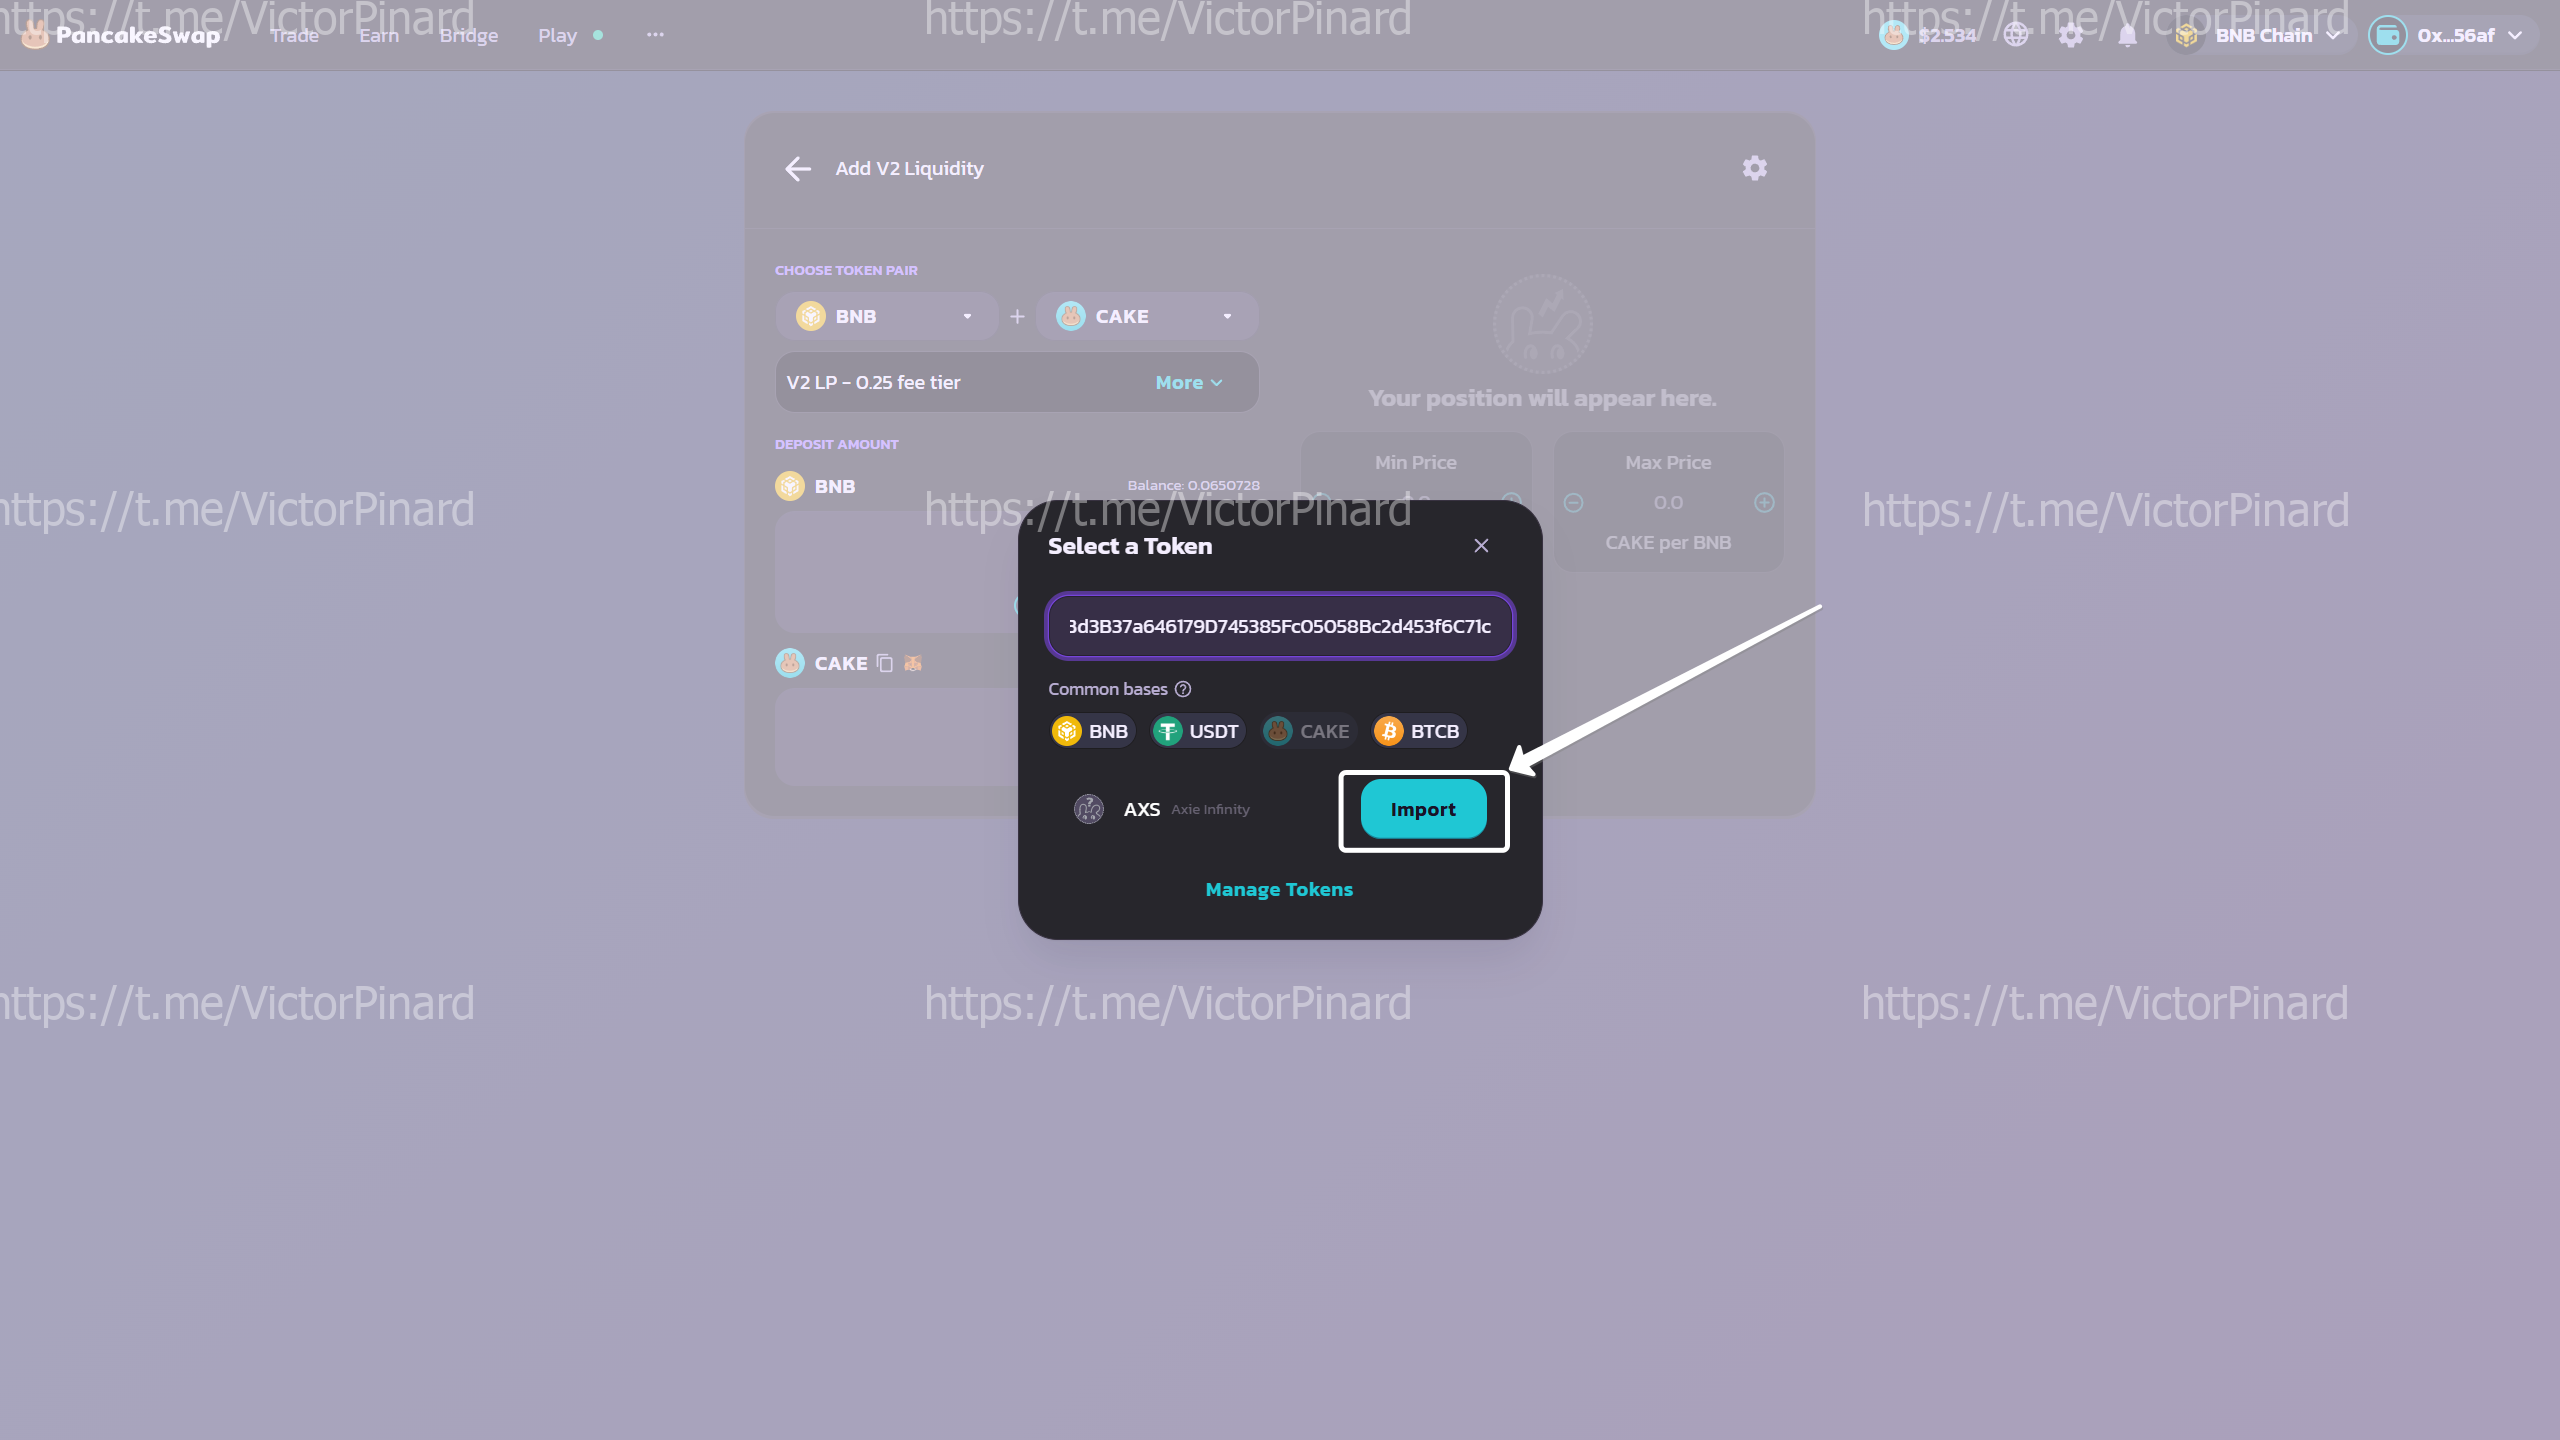
Click the "IMPORT" button to import your token:
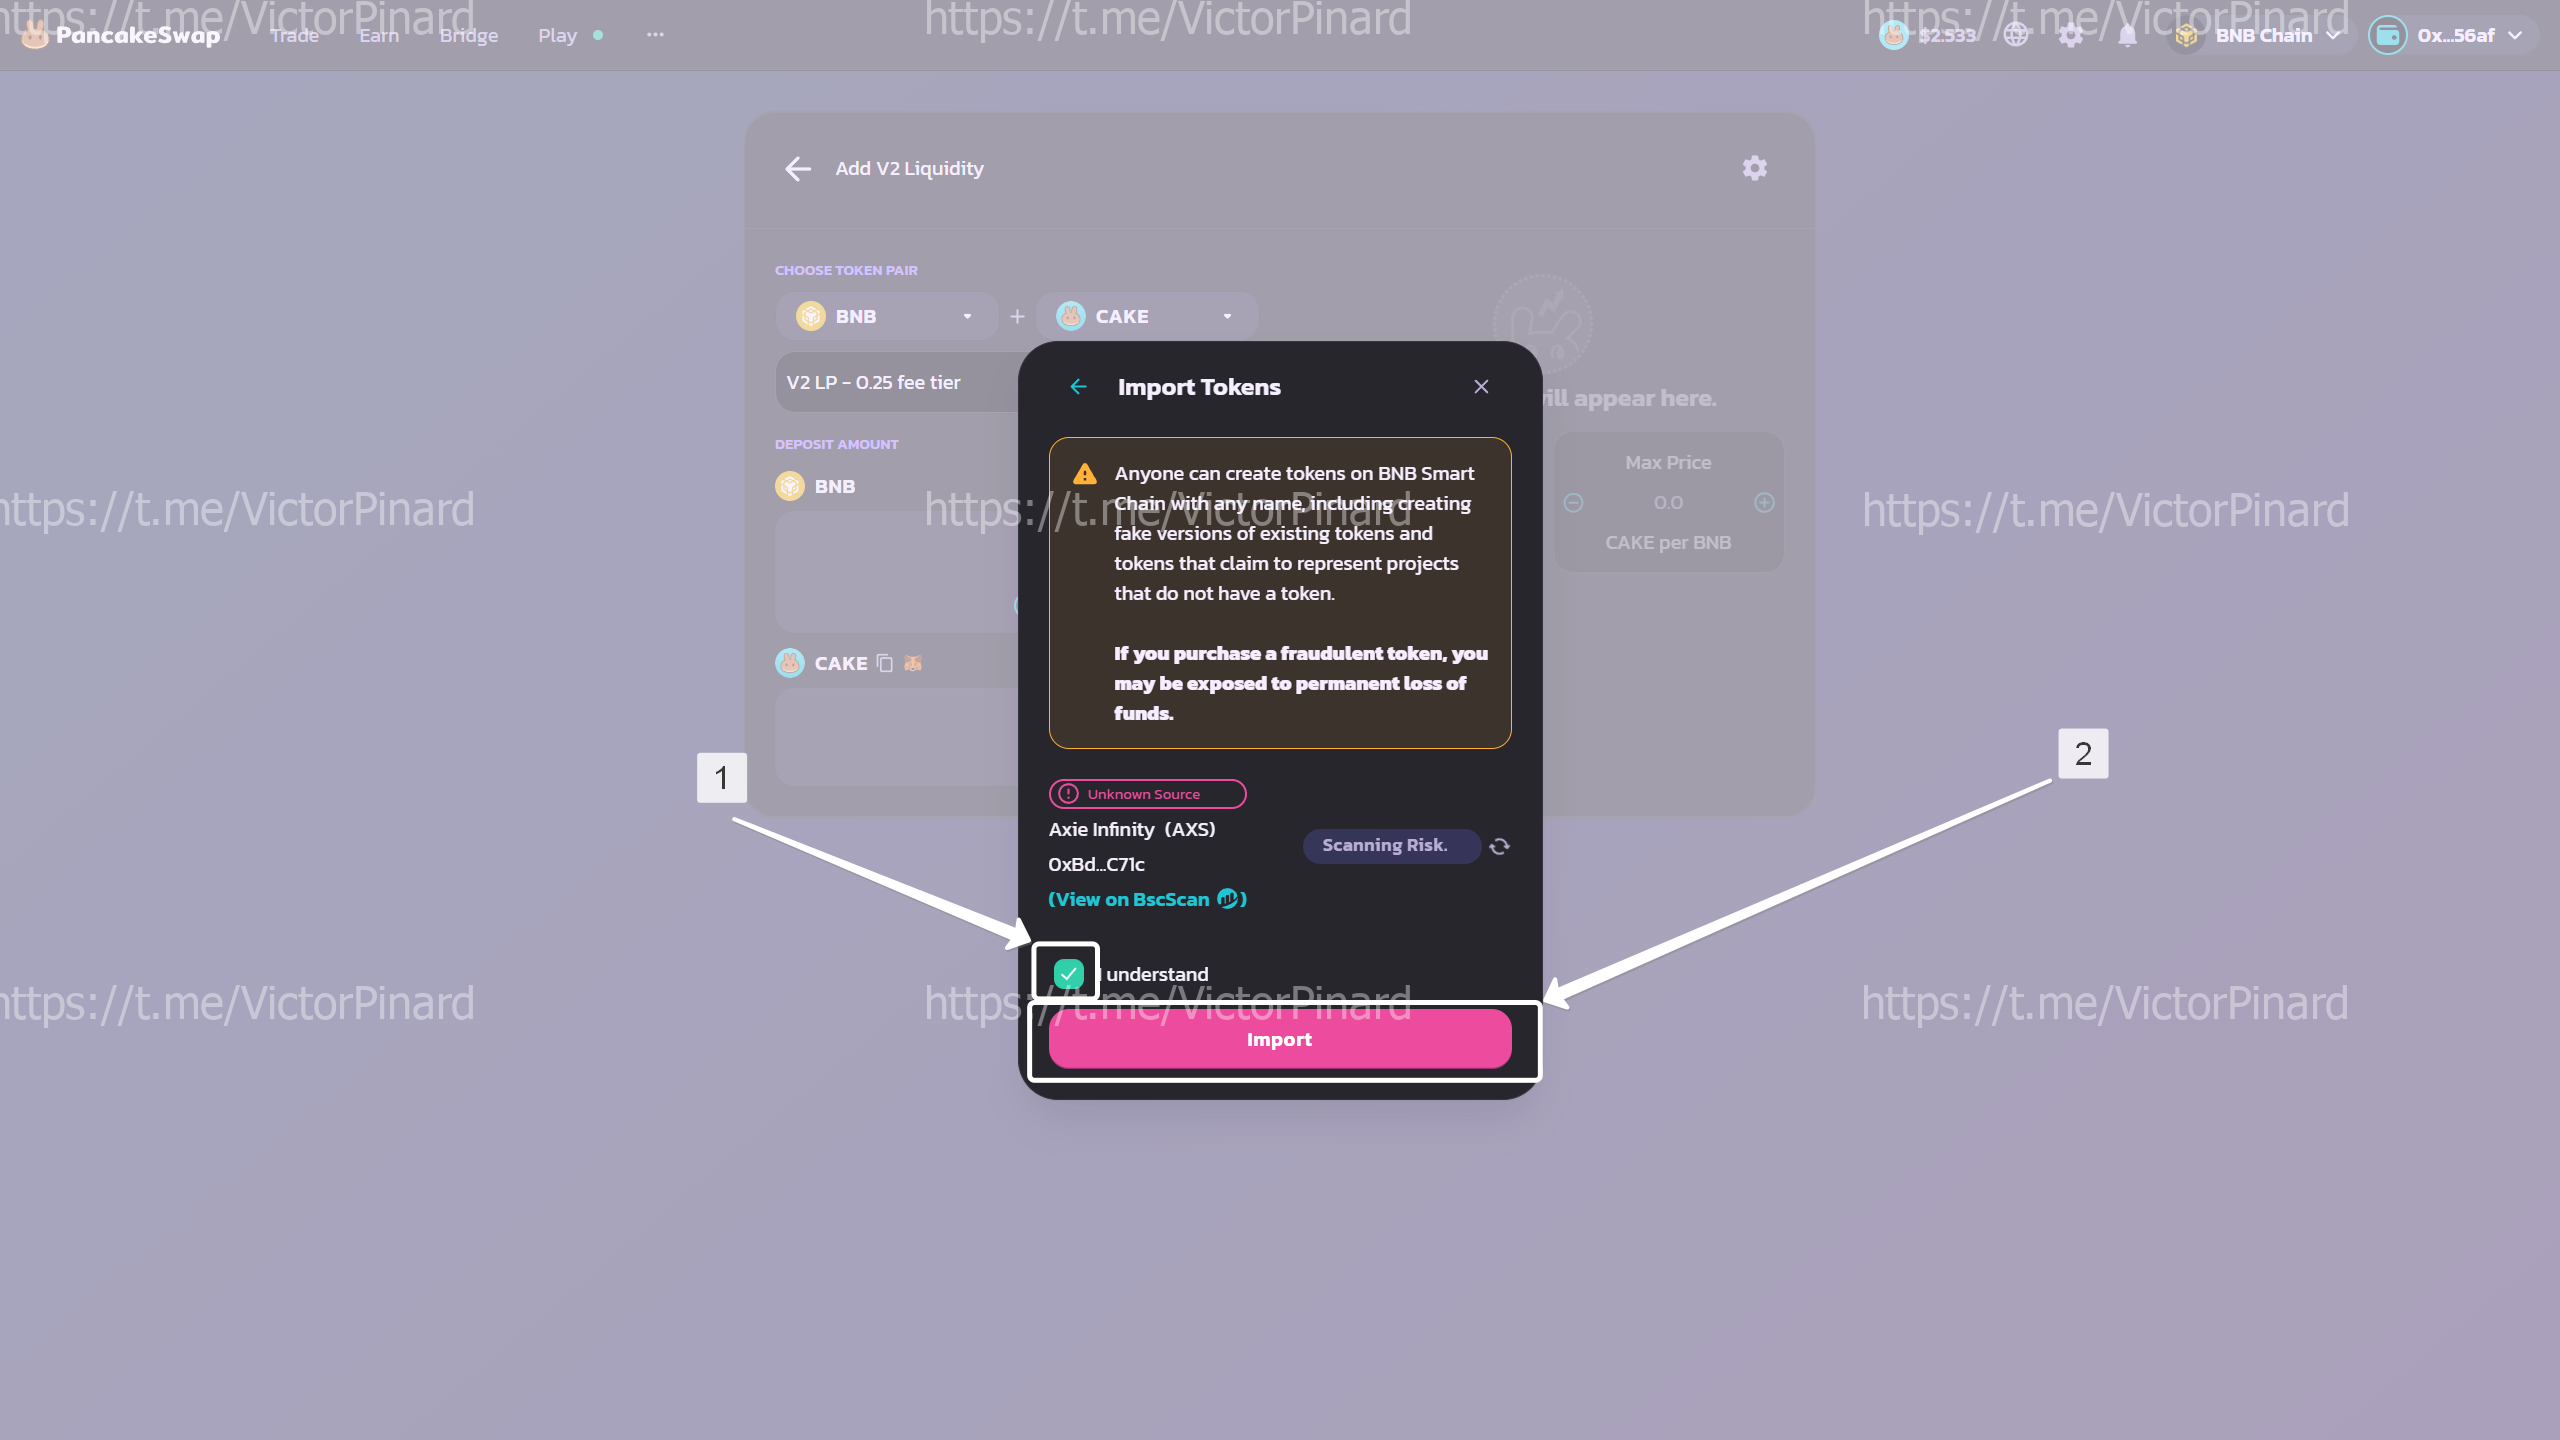
 Check the box and click "IMPORT"
-
Click the "Add V2 Liquidity" button:
-
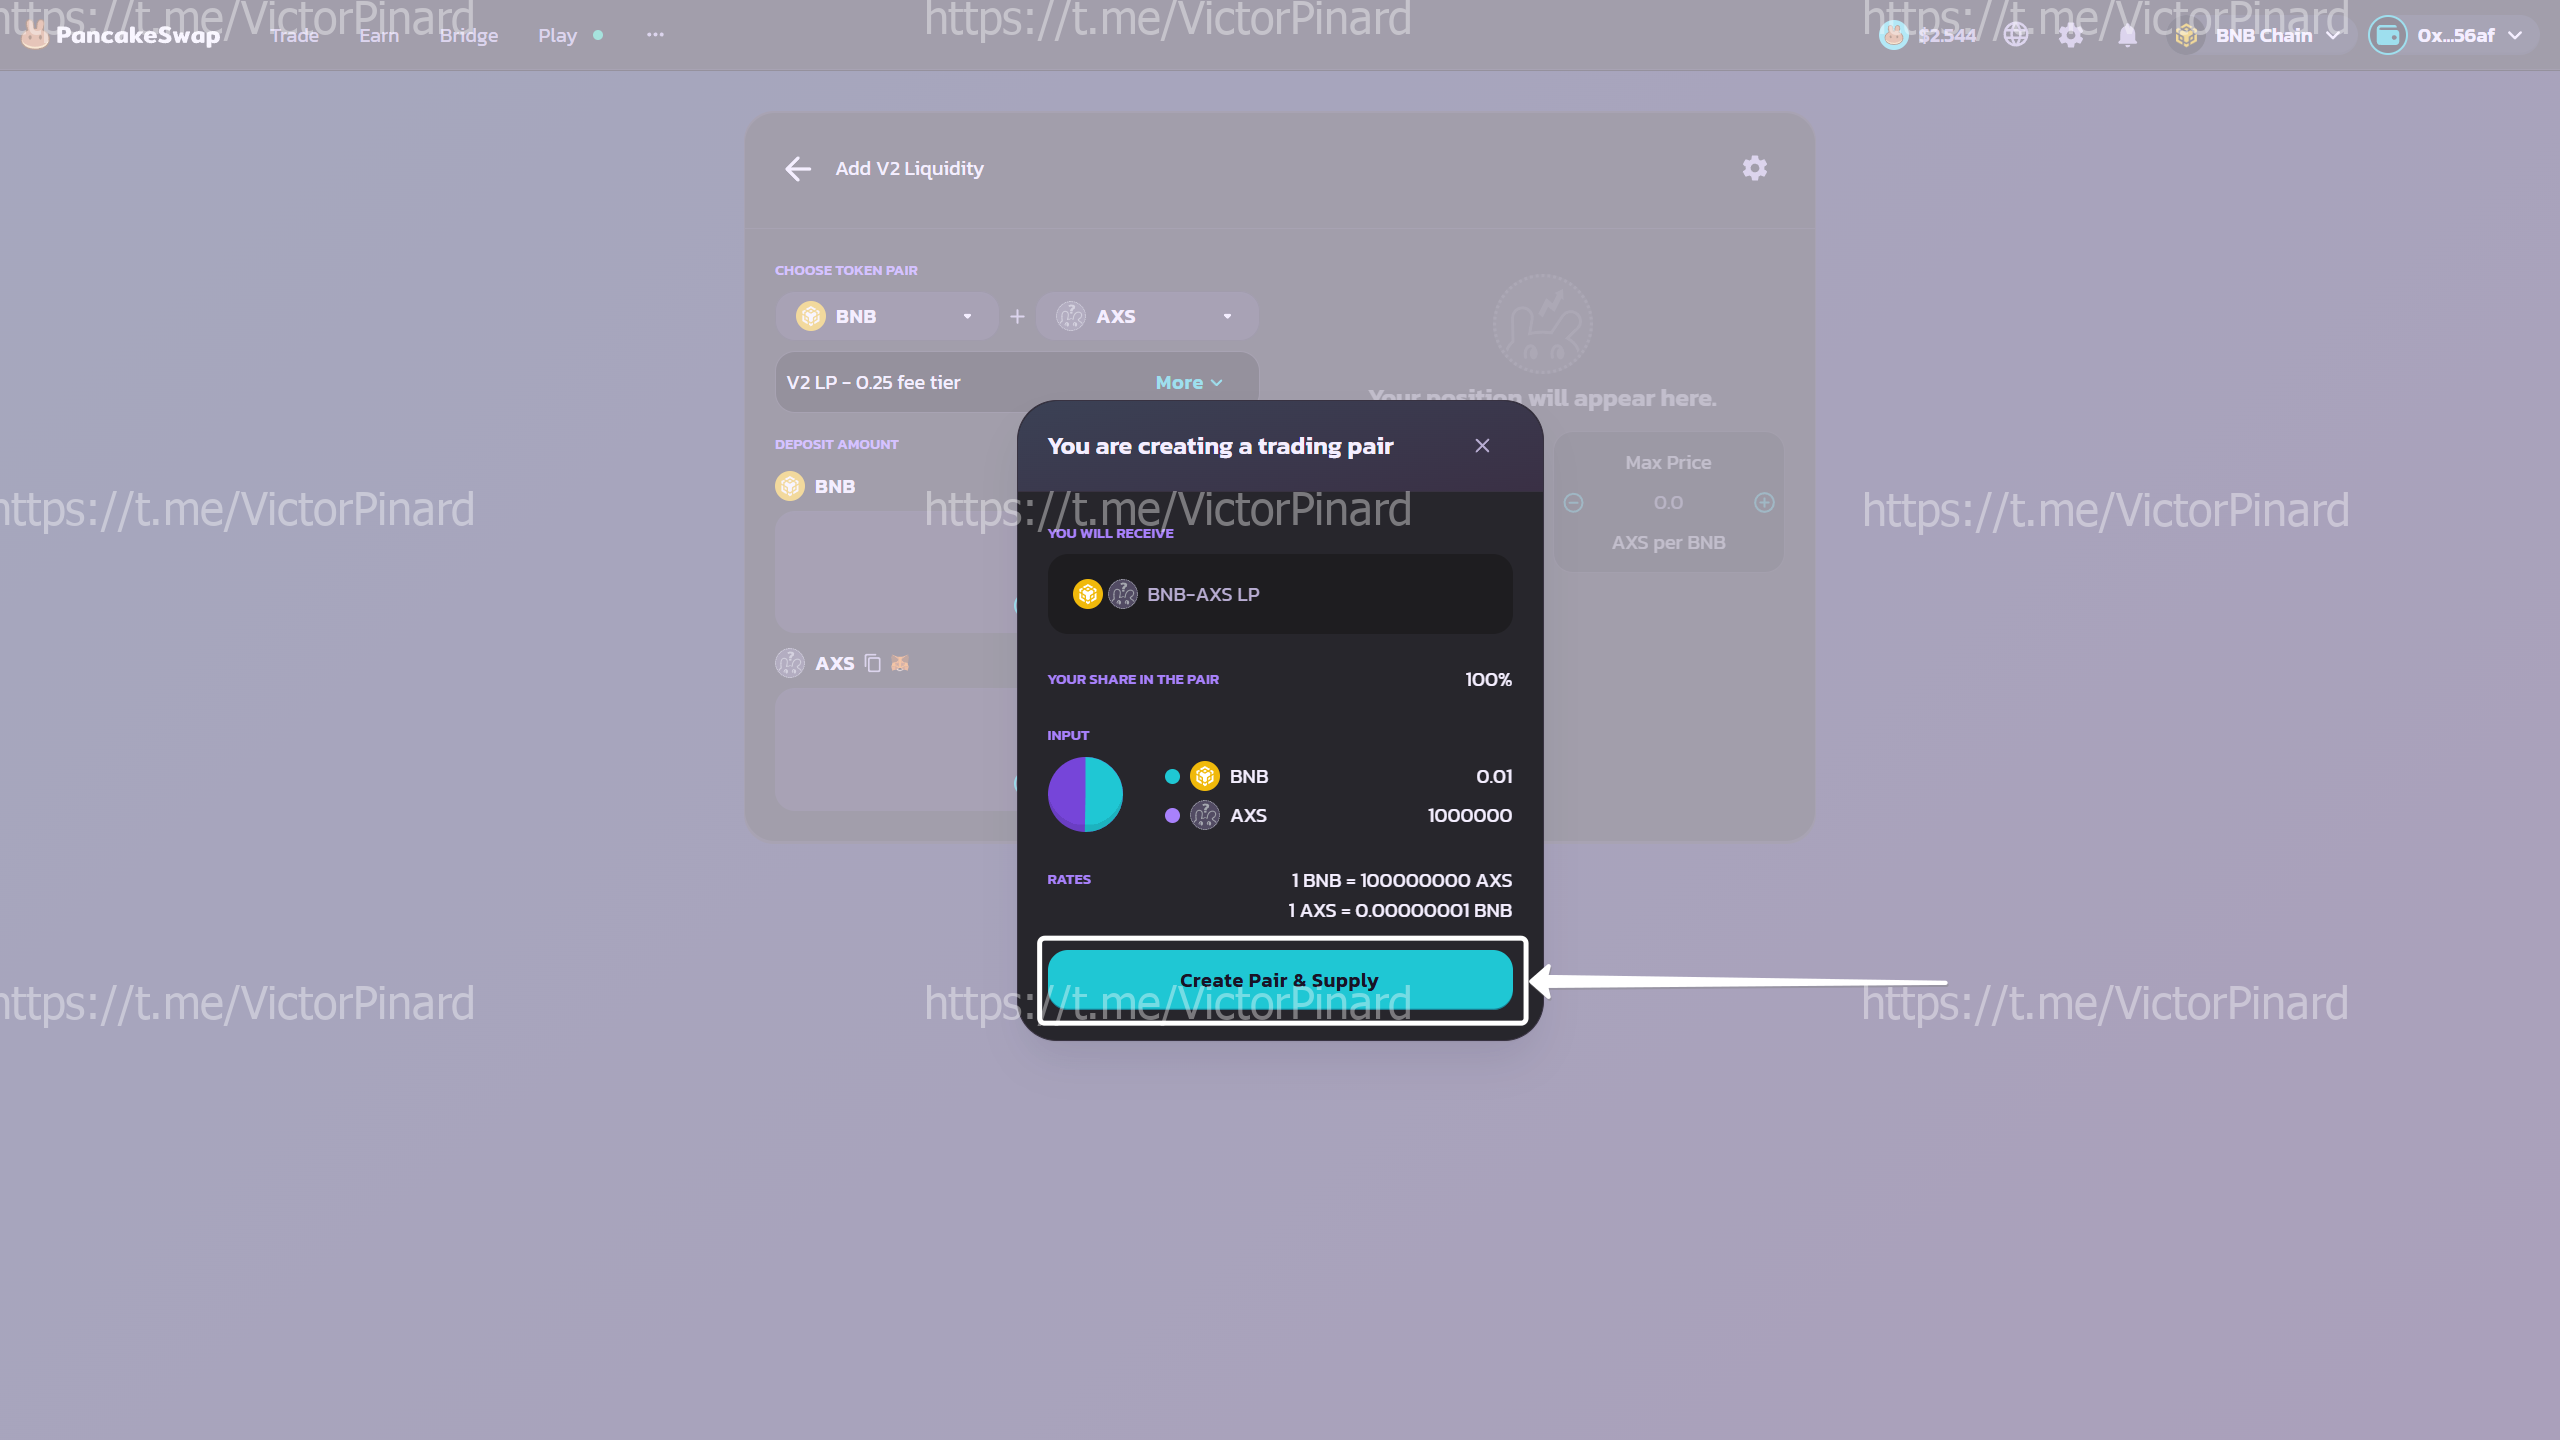
Enter the amount of BNB you want to add to liquidity, as well as the number of tokens to be staked.
The more BNB you add in the form of liquidity, the more attractive the token will look to investors. We recommend from 5 BNB for small projects. It is also recommended to add 70% to 100% of tokens to the liquidity pool. This way you will inspire confidence in a potential investor. Your advantage is that the liquidity is yours and you only spend funds on network fees.
For example, if you want to add 100 tokens with 5 BNB, then the initial price will be 0.1 BNB per token. (5/100=0.05 BNB)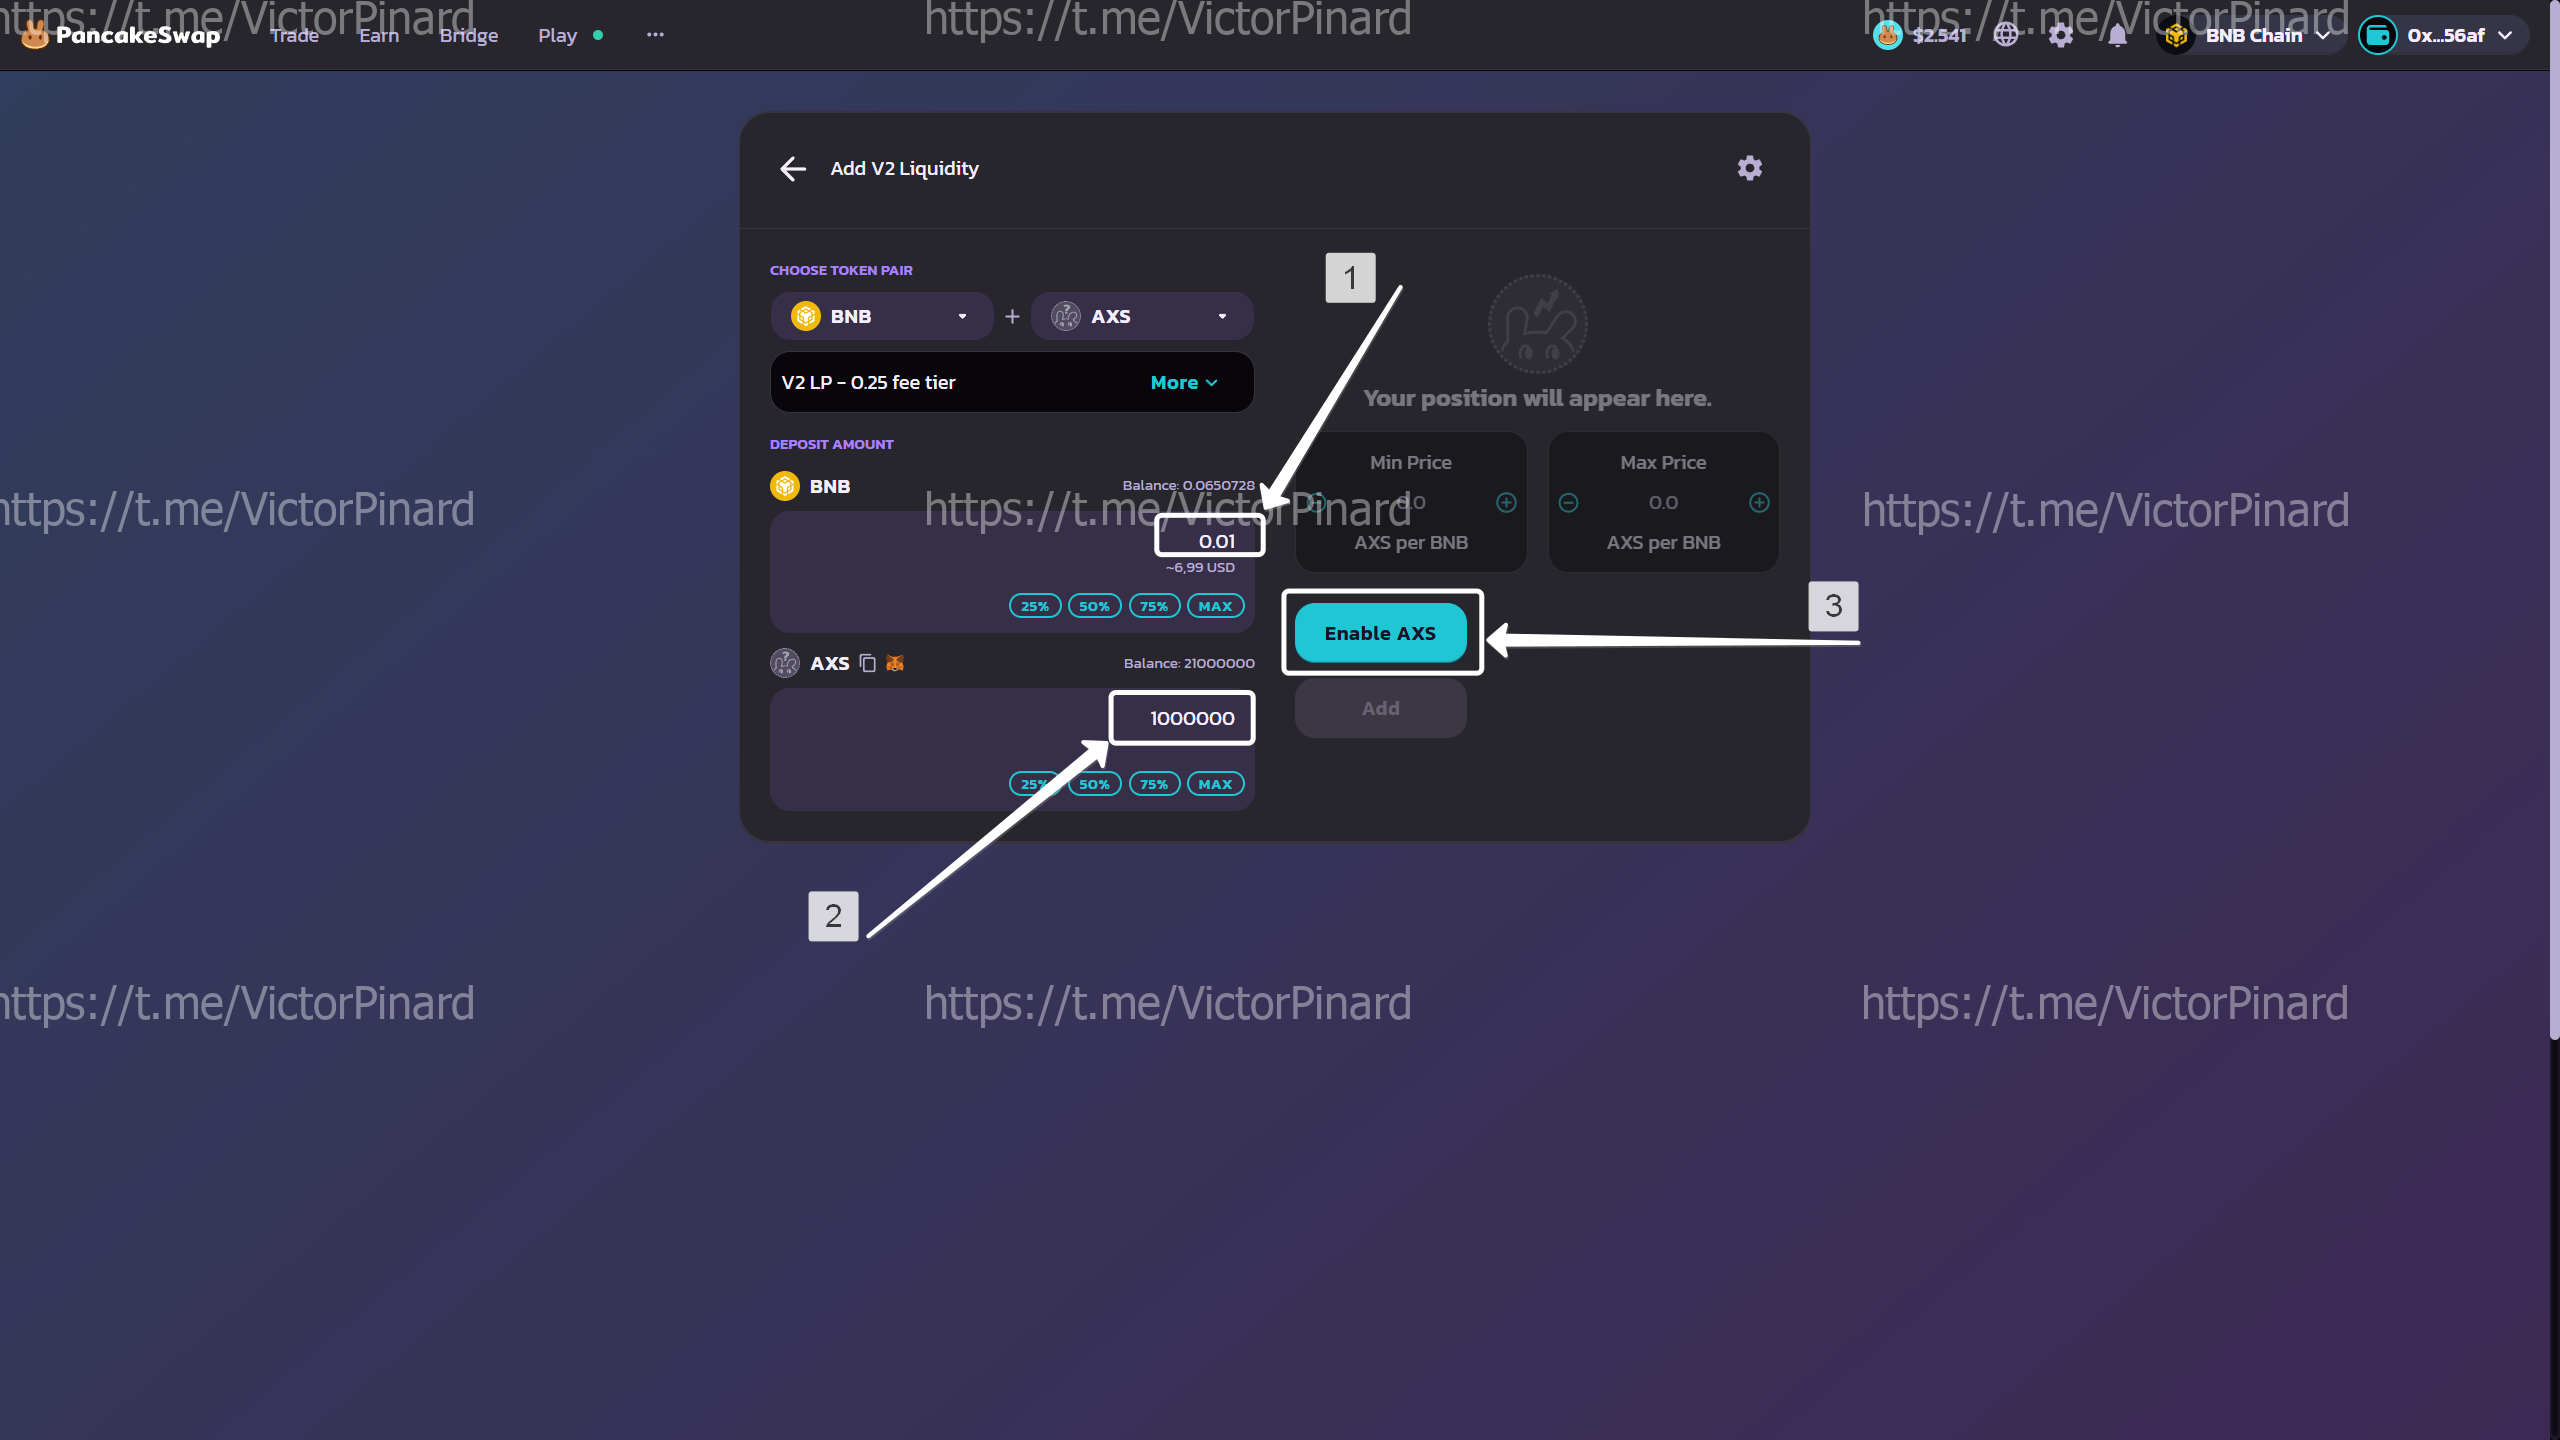
- After completing the liquidity settings, click "Confirm"
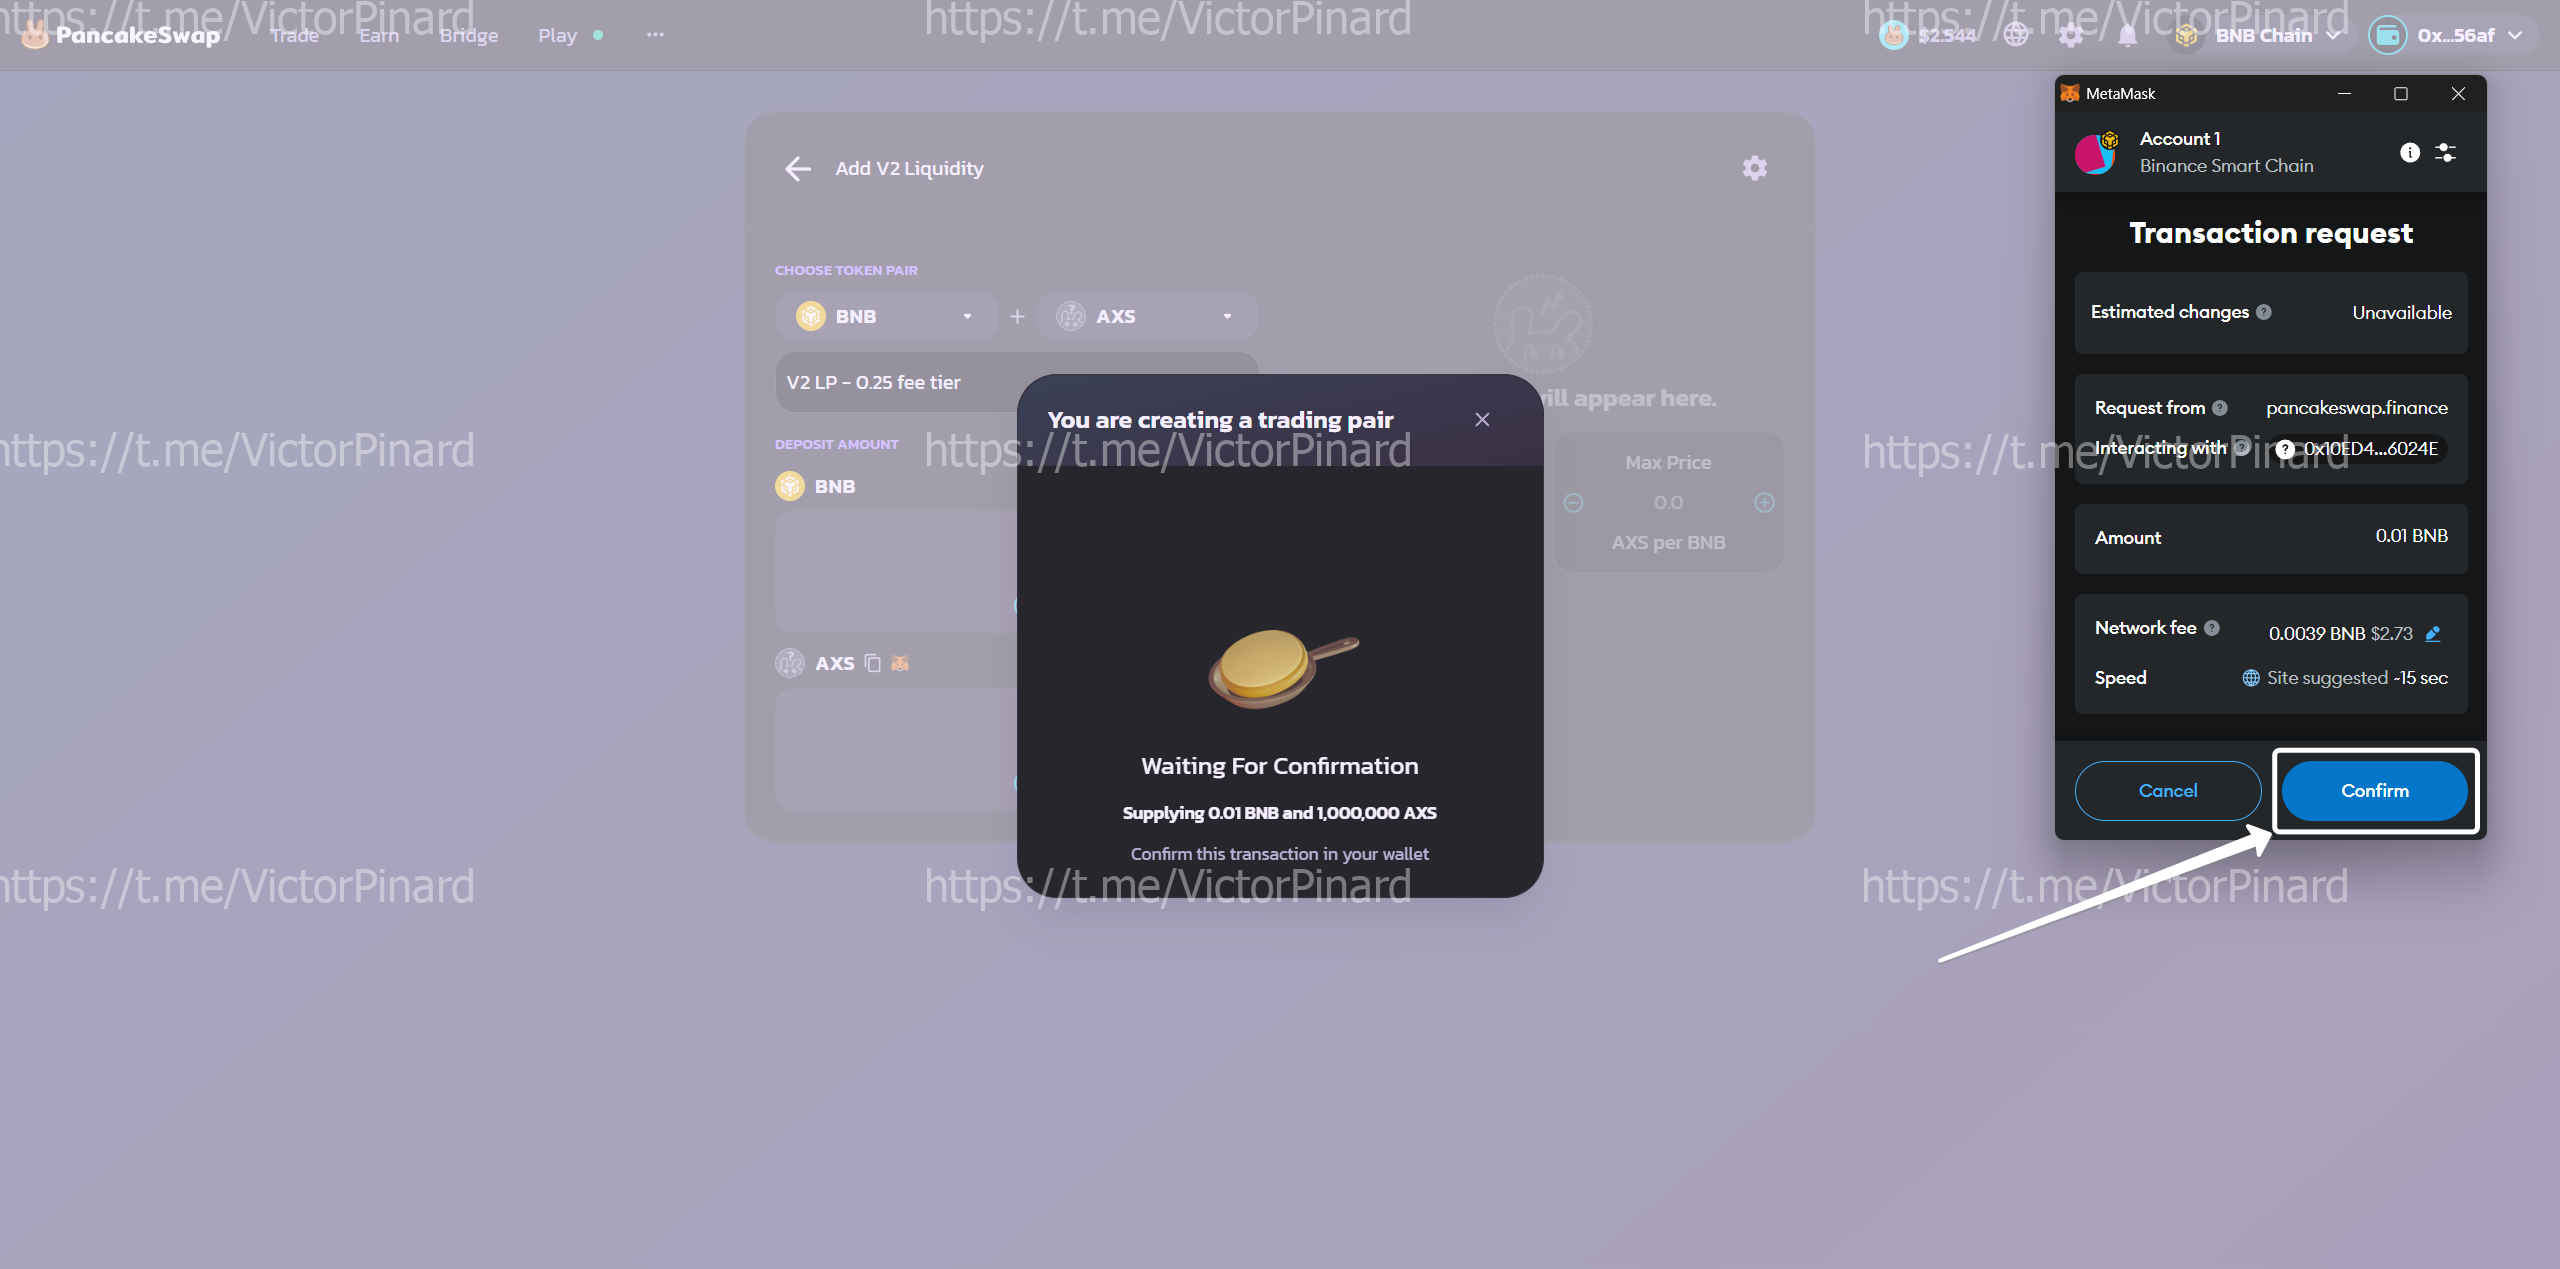
In the Metamask pop-up window, confirm the transaction: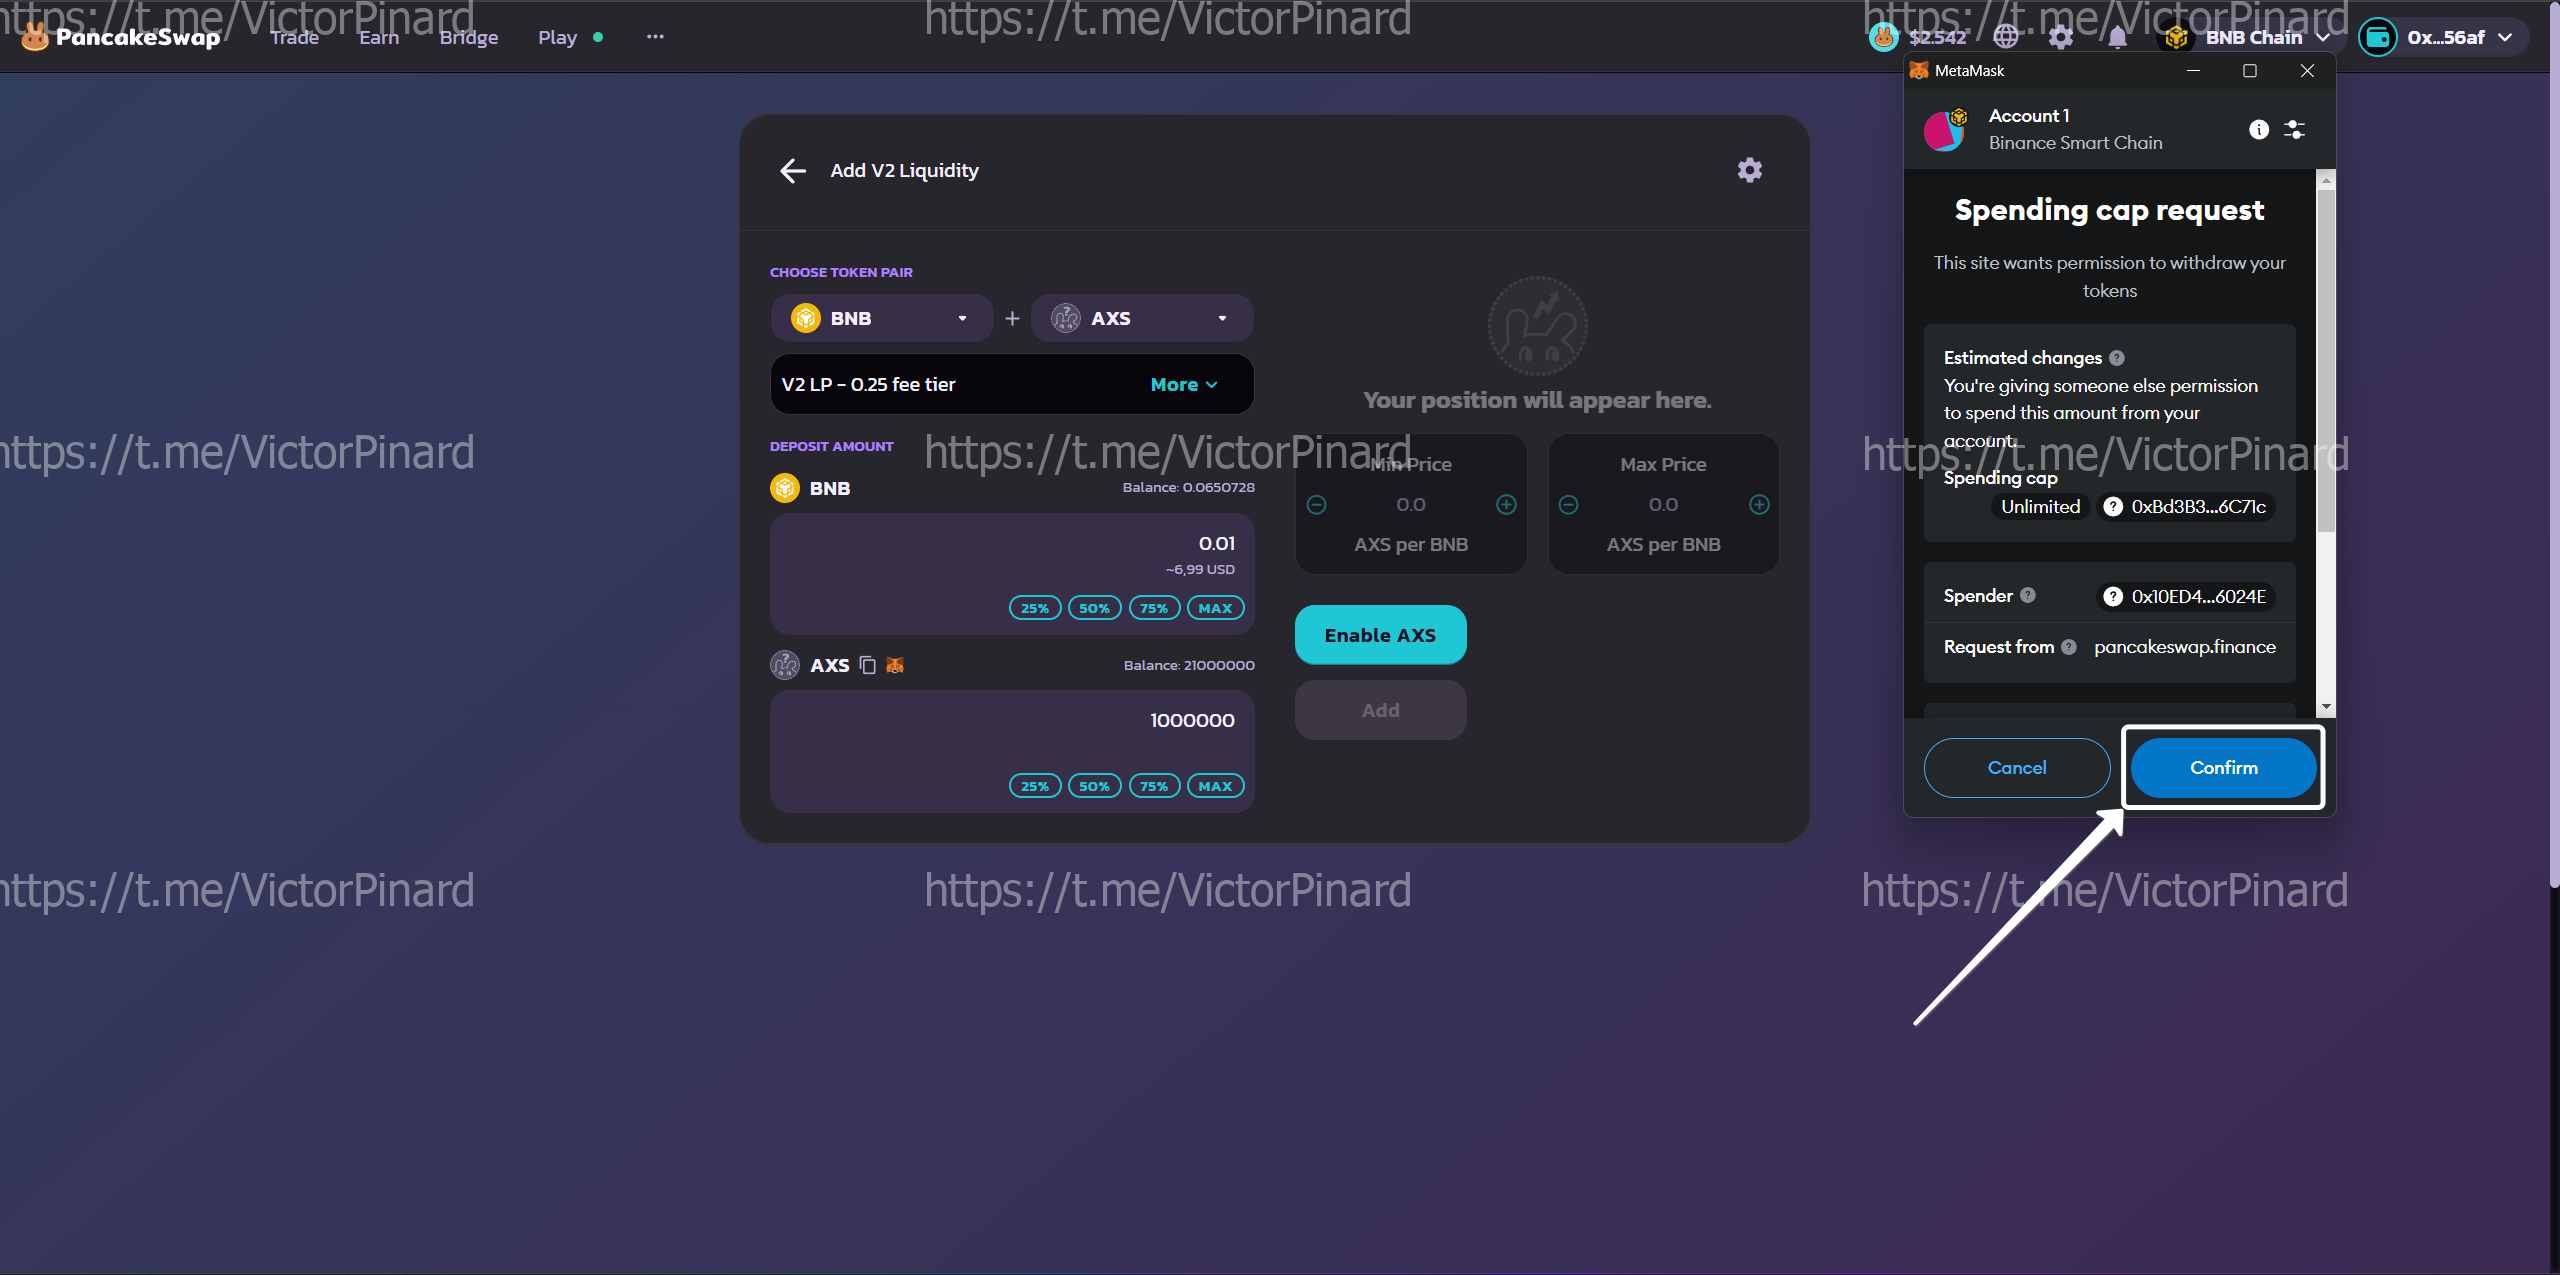
- Now you should have a "Add" button, click:
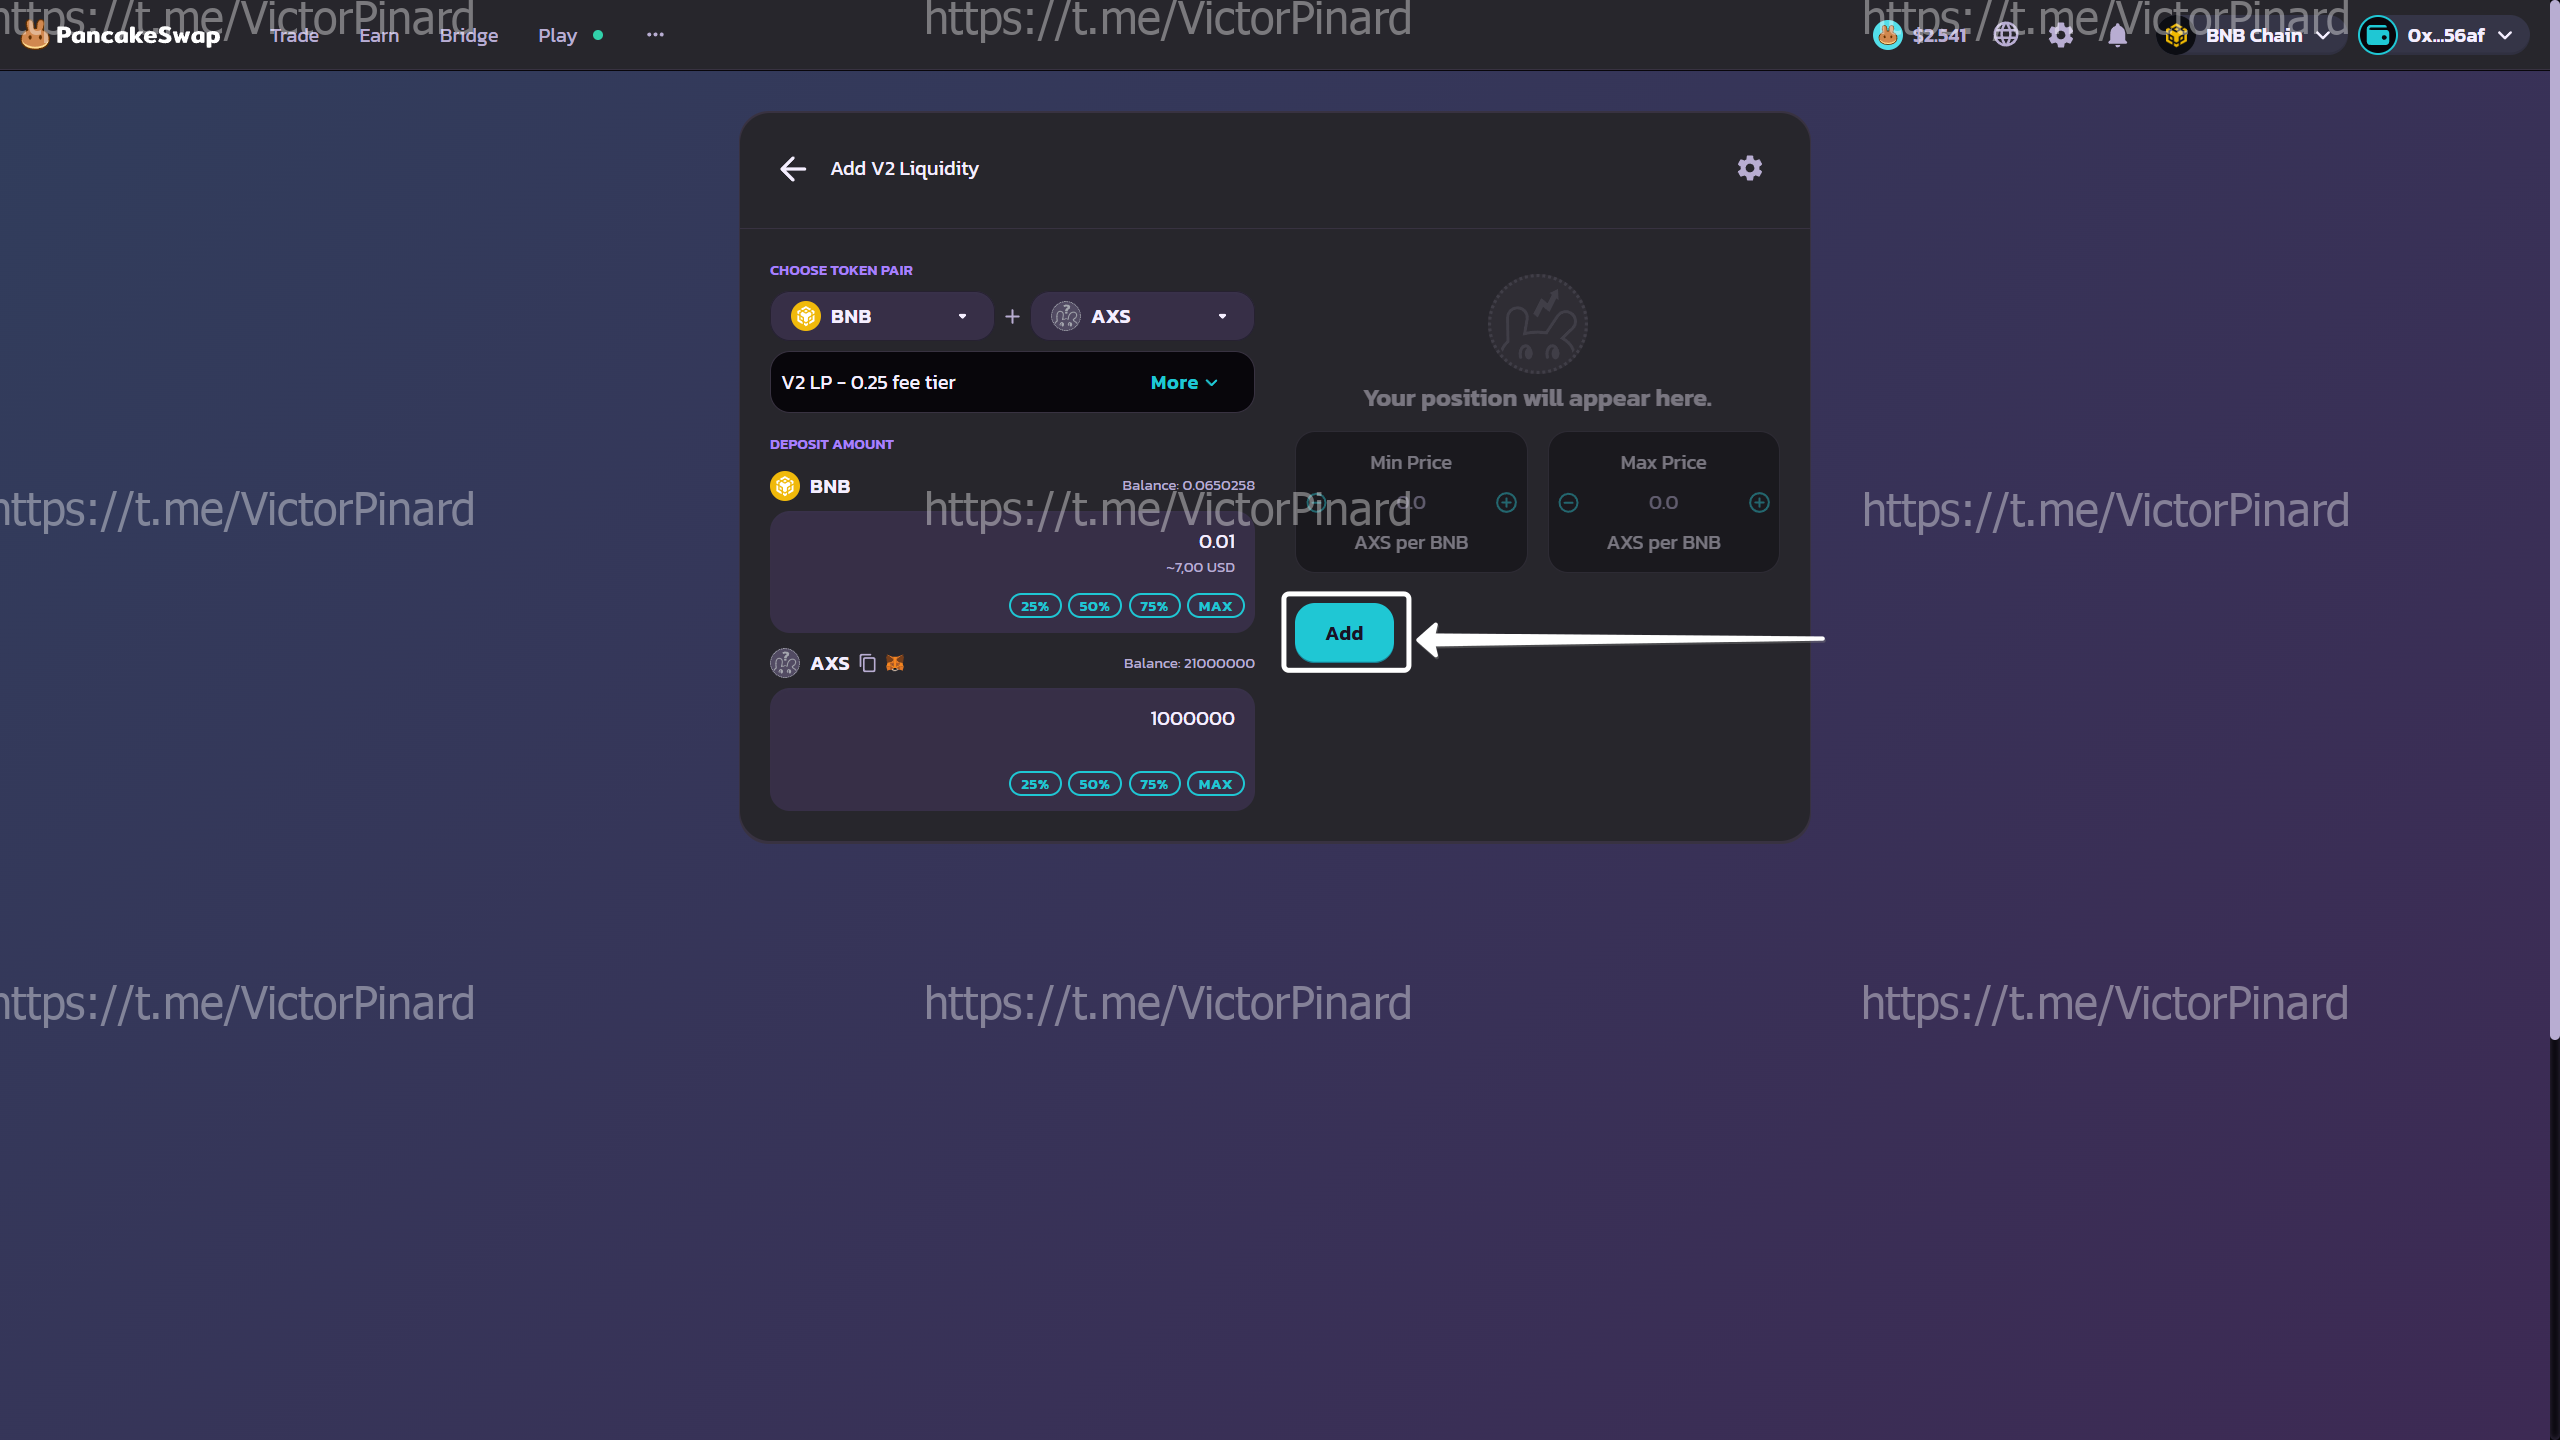
- In the Metamask pop-up window, confirm the transaction to create a liquidity pool:
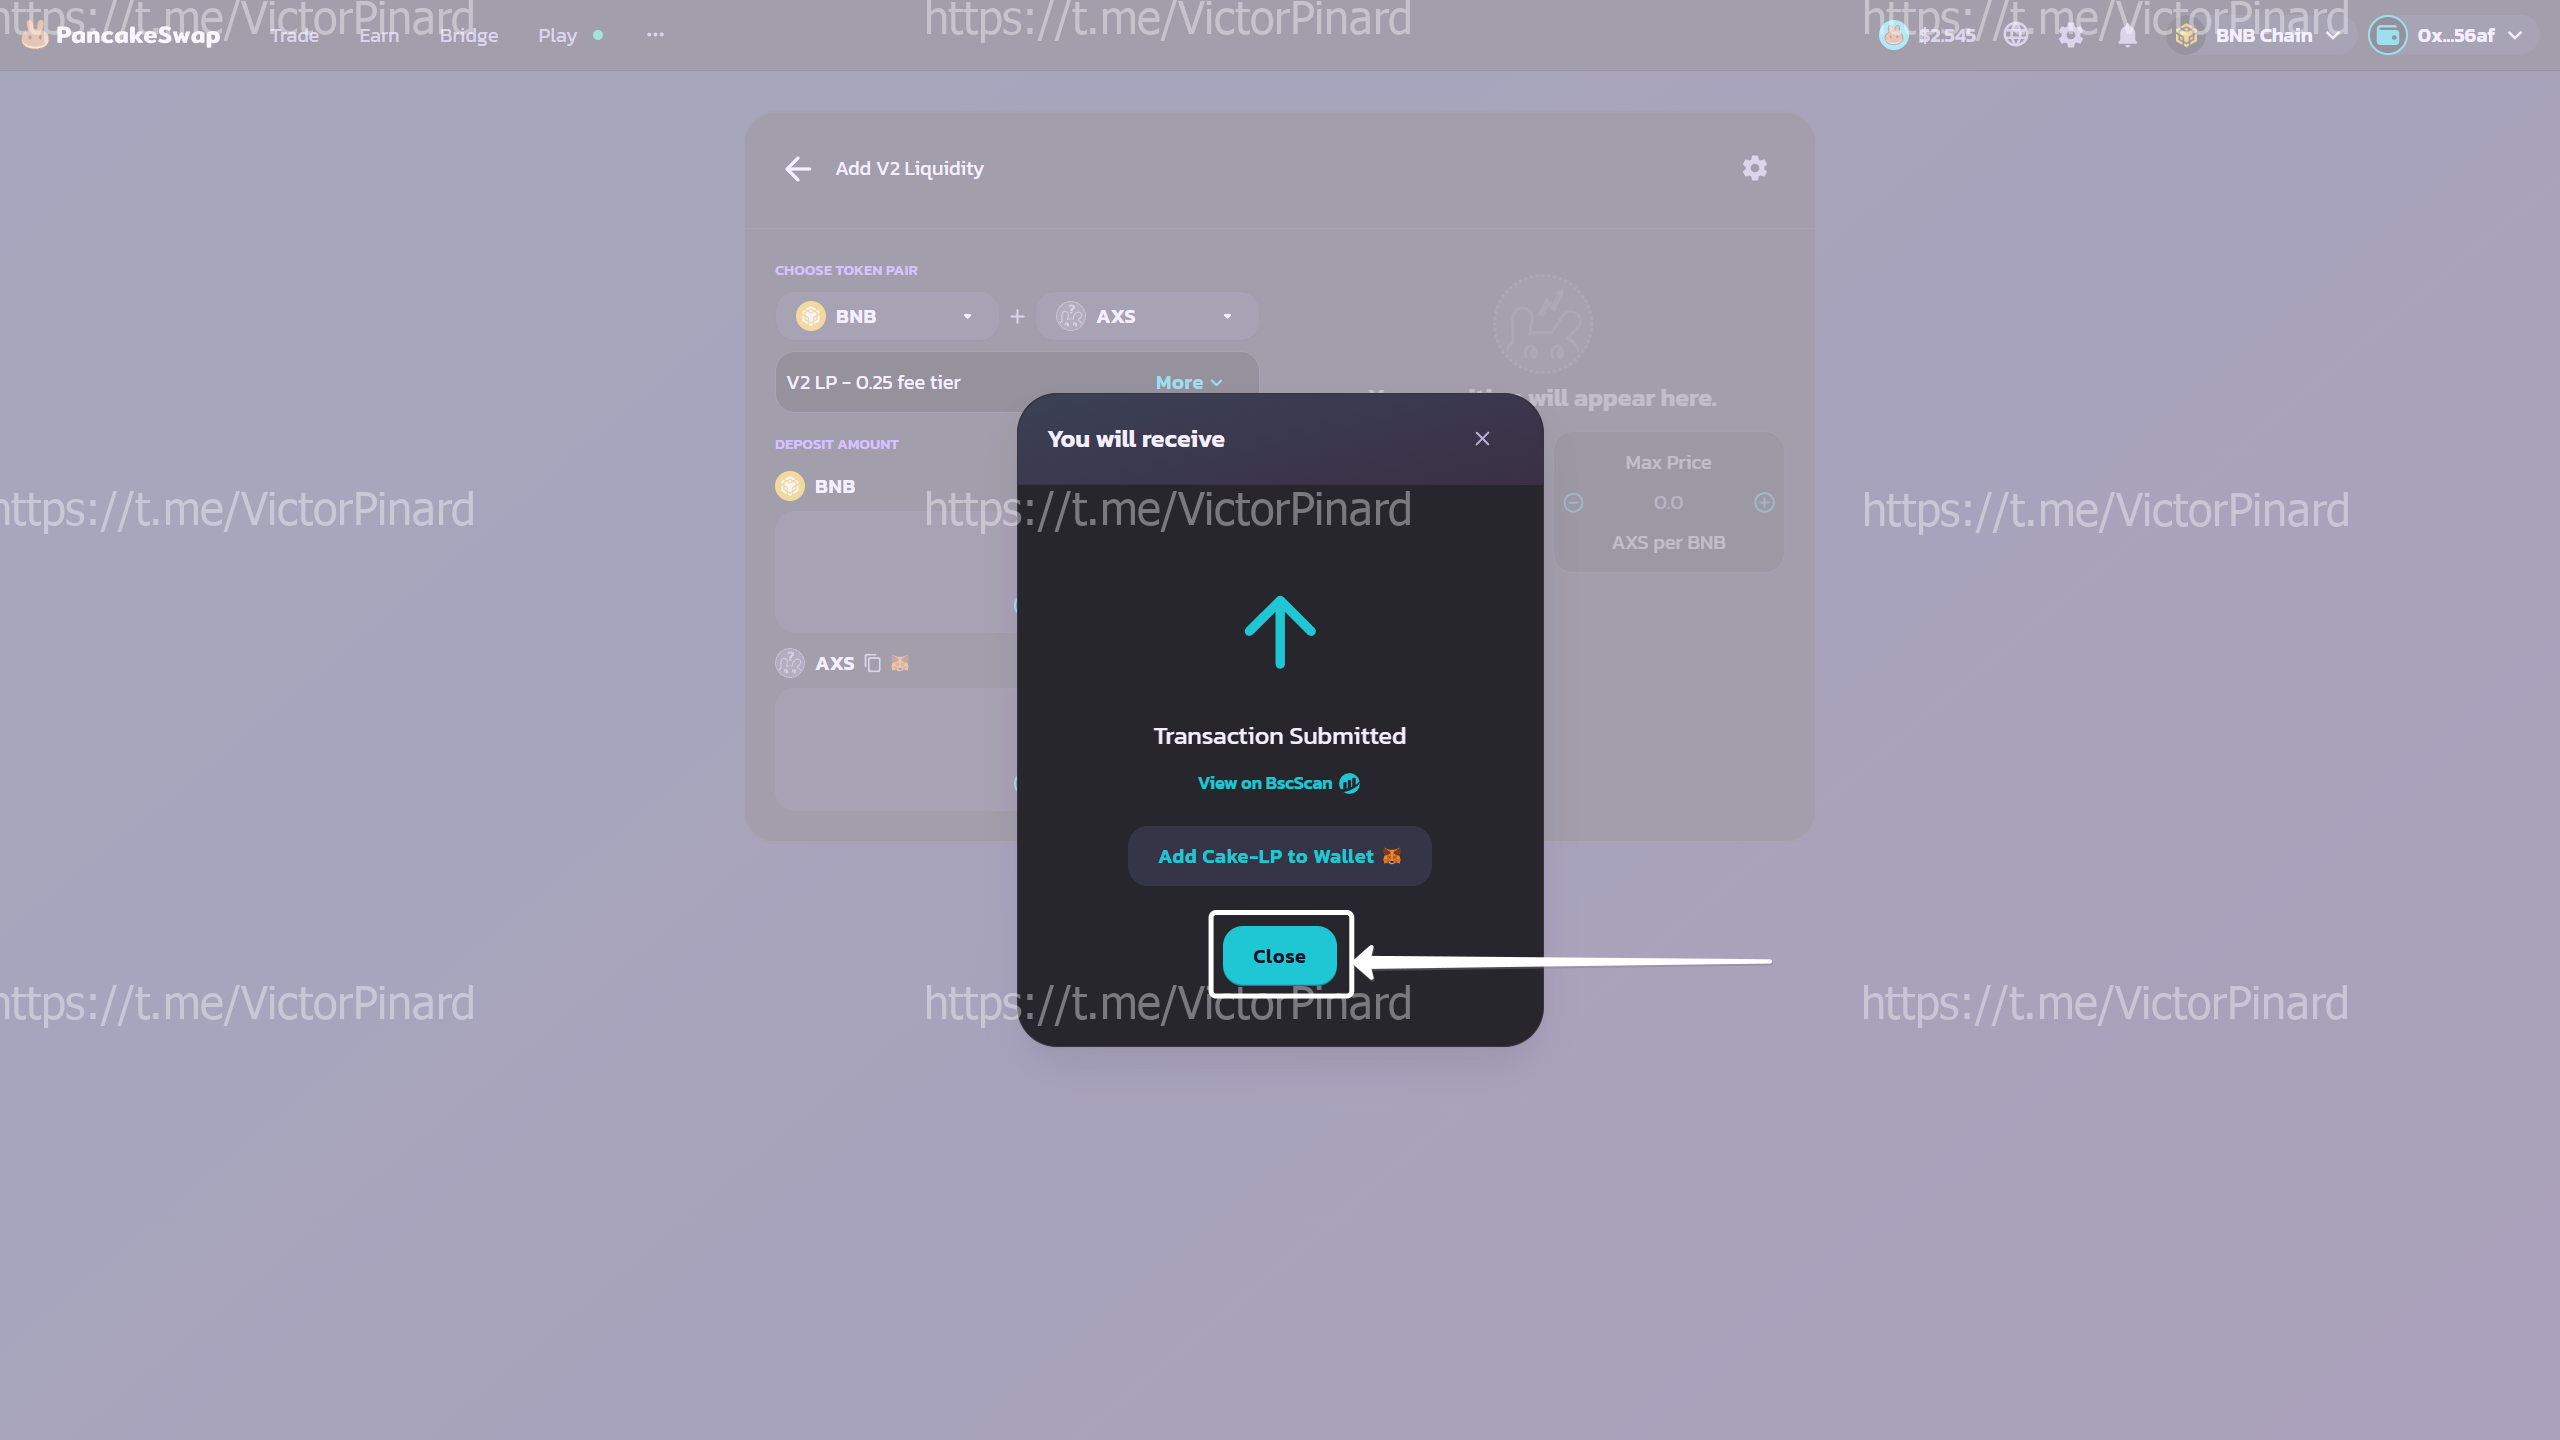
Congratulations, your tokens have been issued on PancakeSwap!
Now you can start your token project to attract investors!
Remember that you can remove all liquidity at any time convenient for you.
On CoinMarketCap you can see the chart of your token and trading history: coinmarketcap
Just paste it into the search bar of the site your token address and get information.