Part 1: Using Metamask and Remix Ethereum to create a honeypot token
-
Go to the website https://metamask.io/ru/
Download the Metamask browser extension, set up your wallet.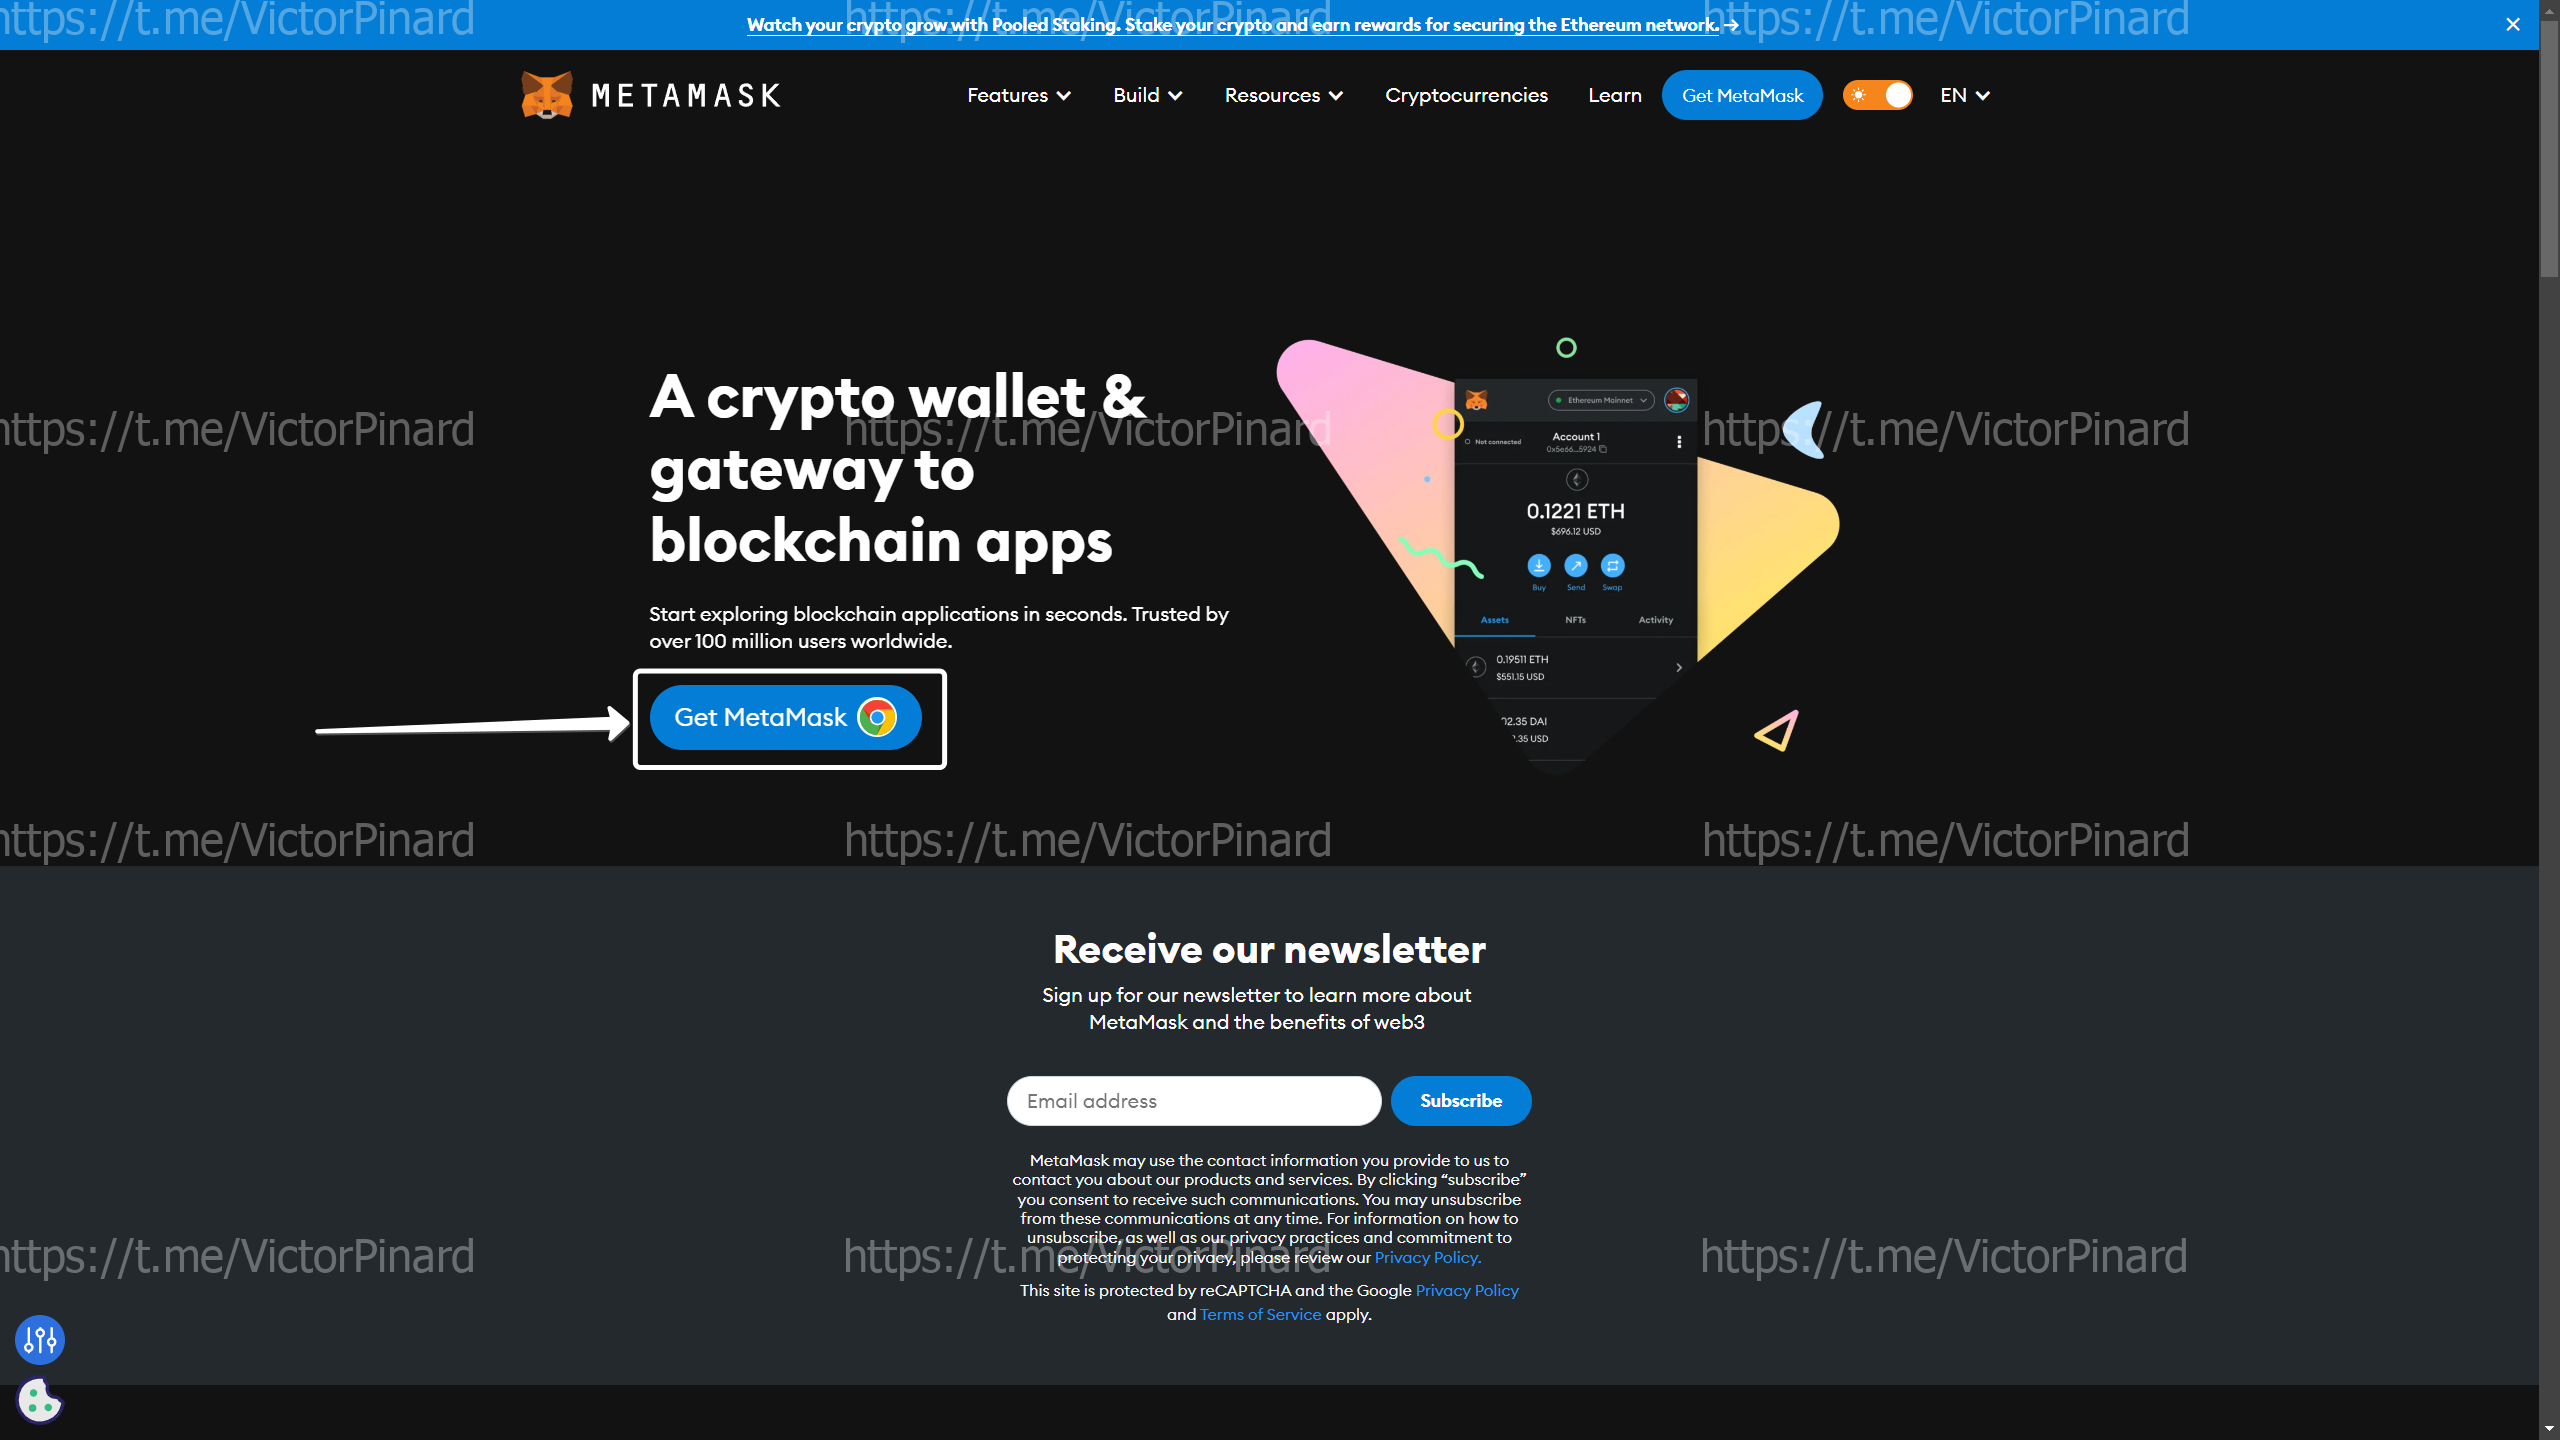
-
Go to the website https://remix.ethereum.org/
Select "Production - only deployments"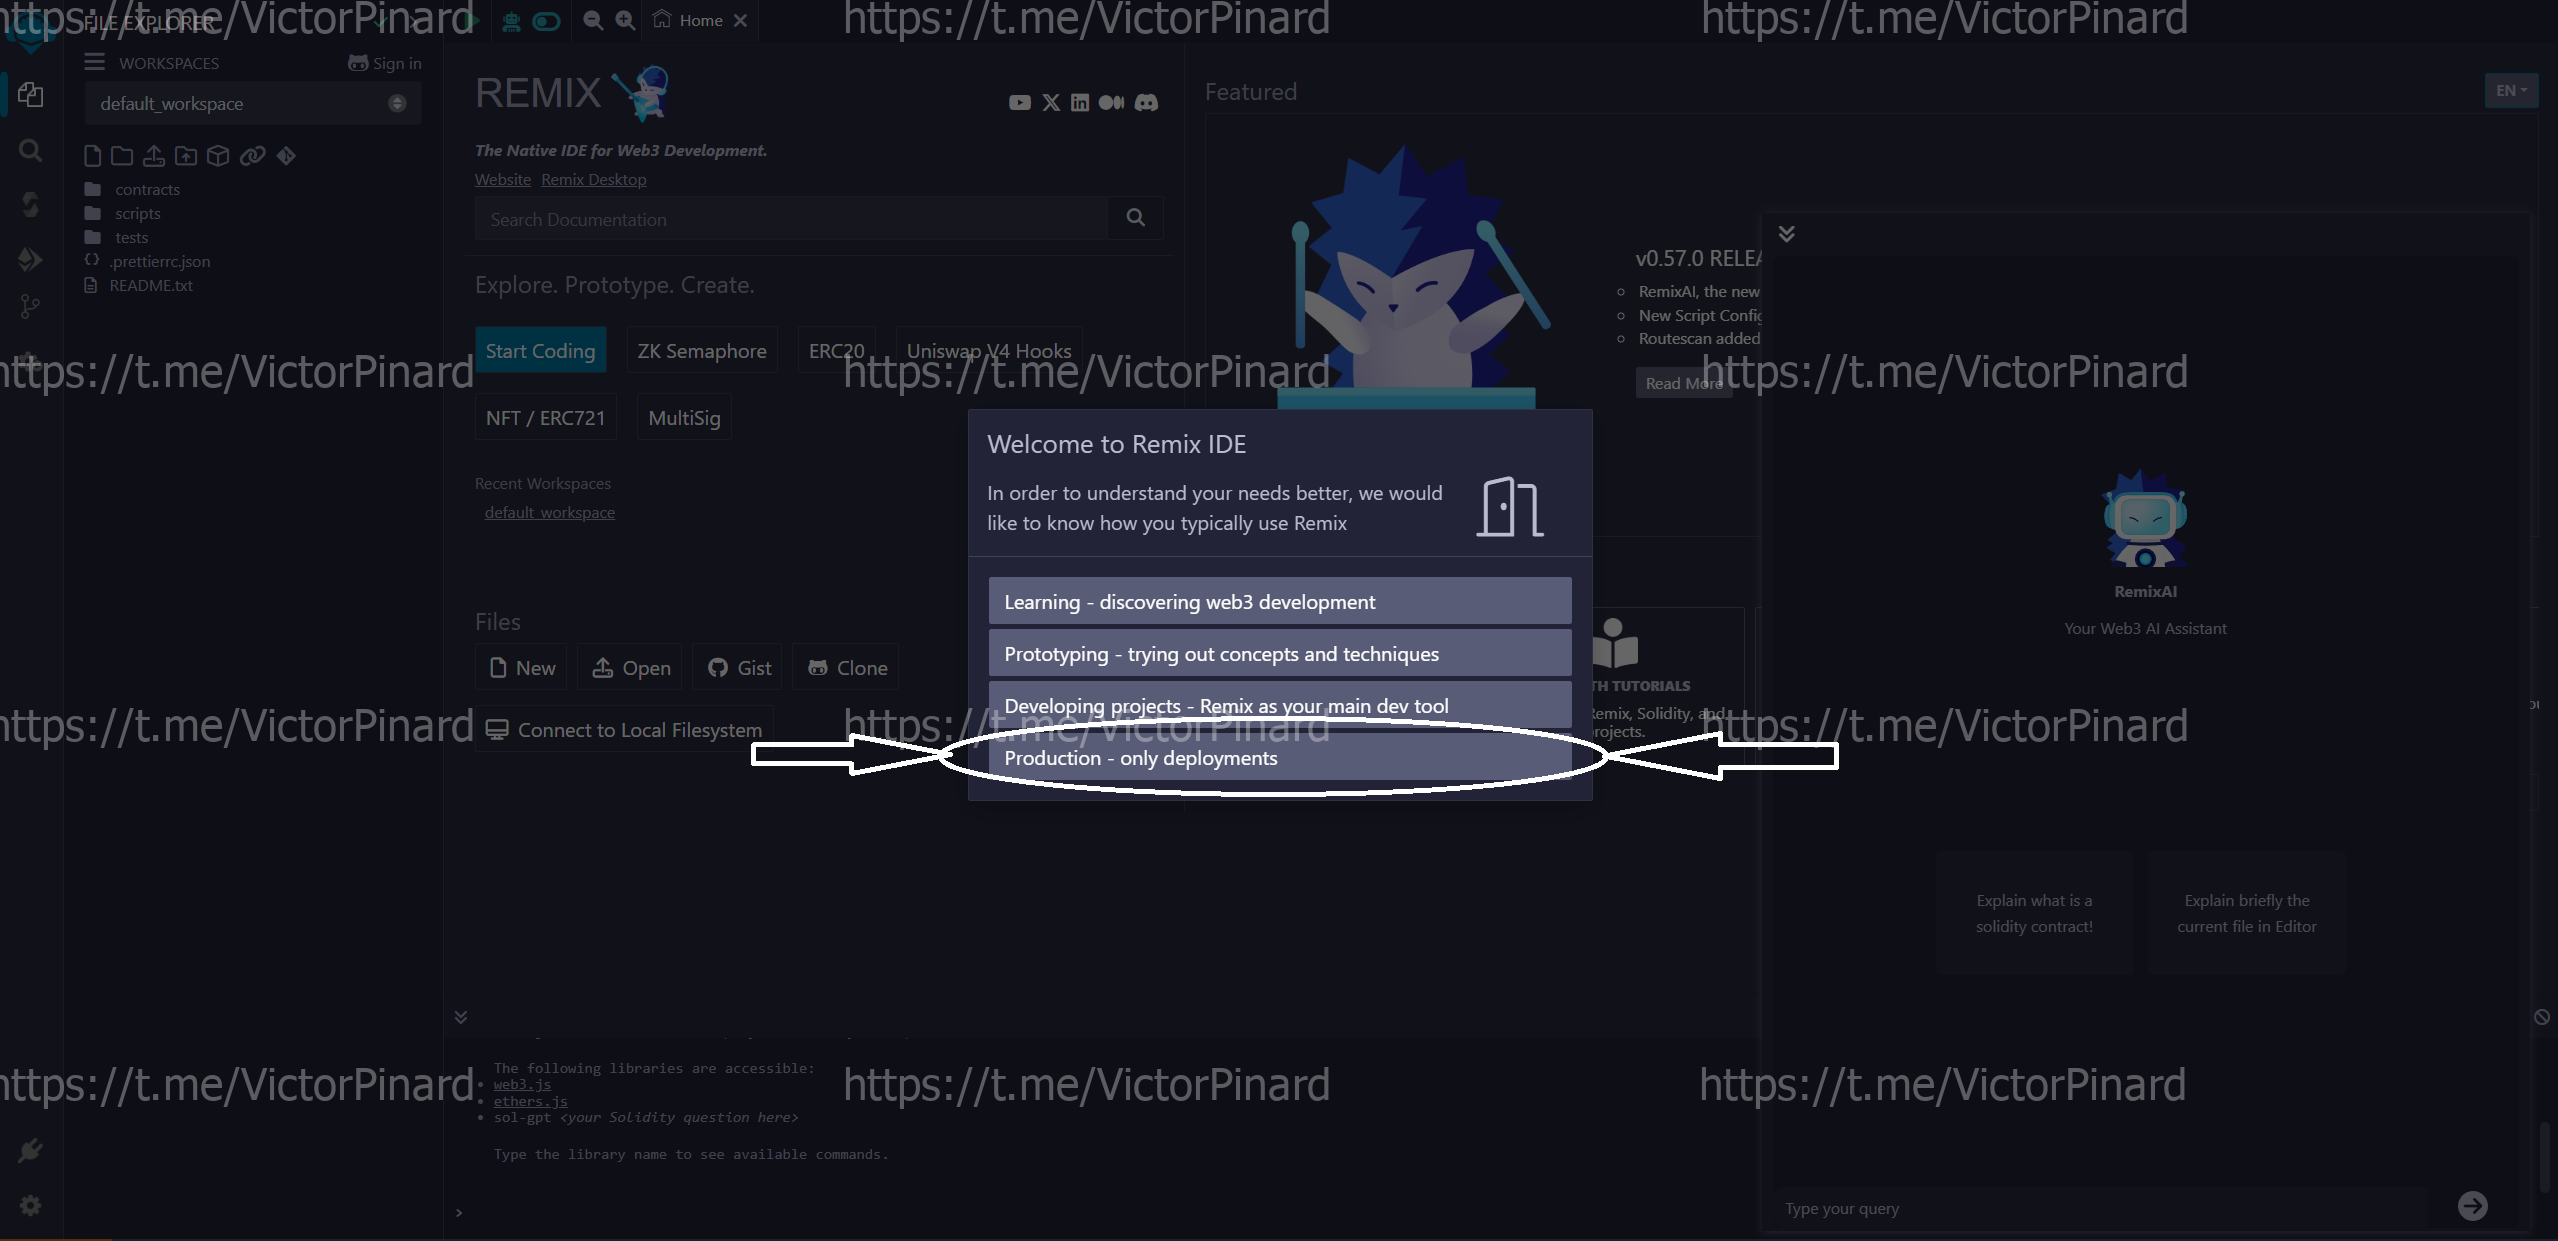 Click "Create a new file"
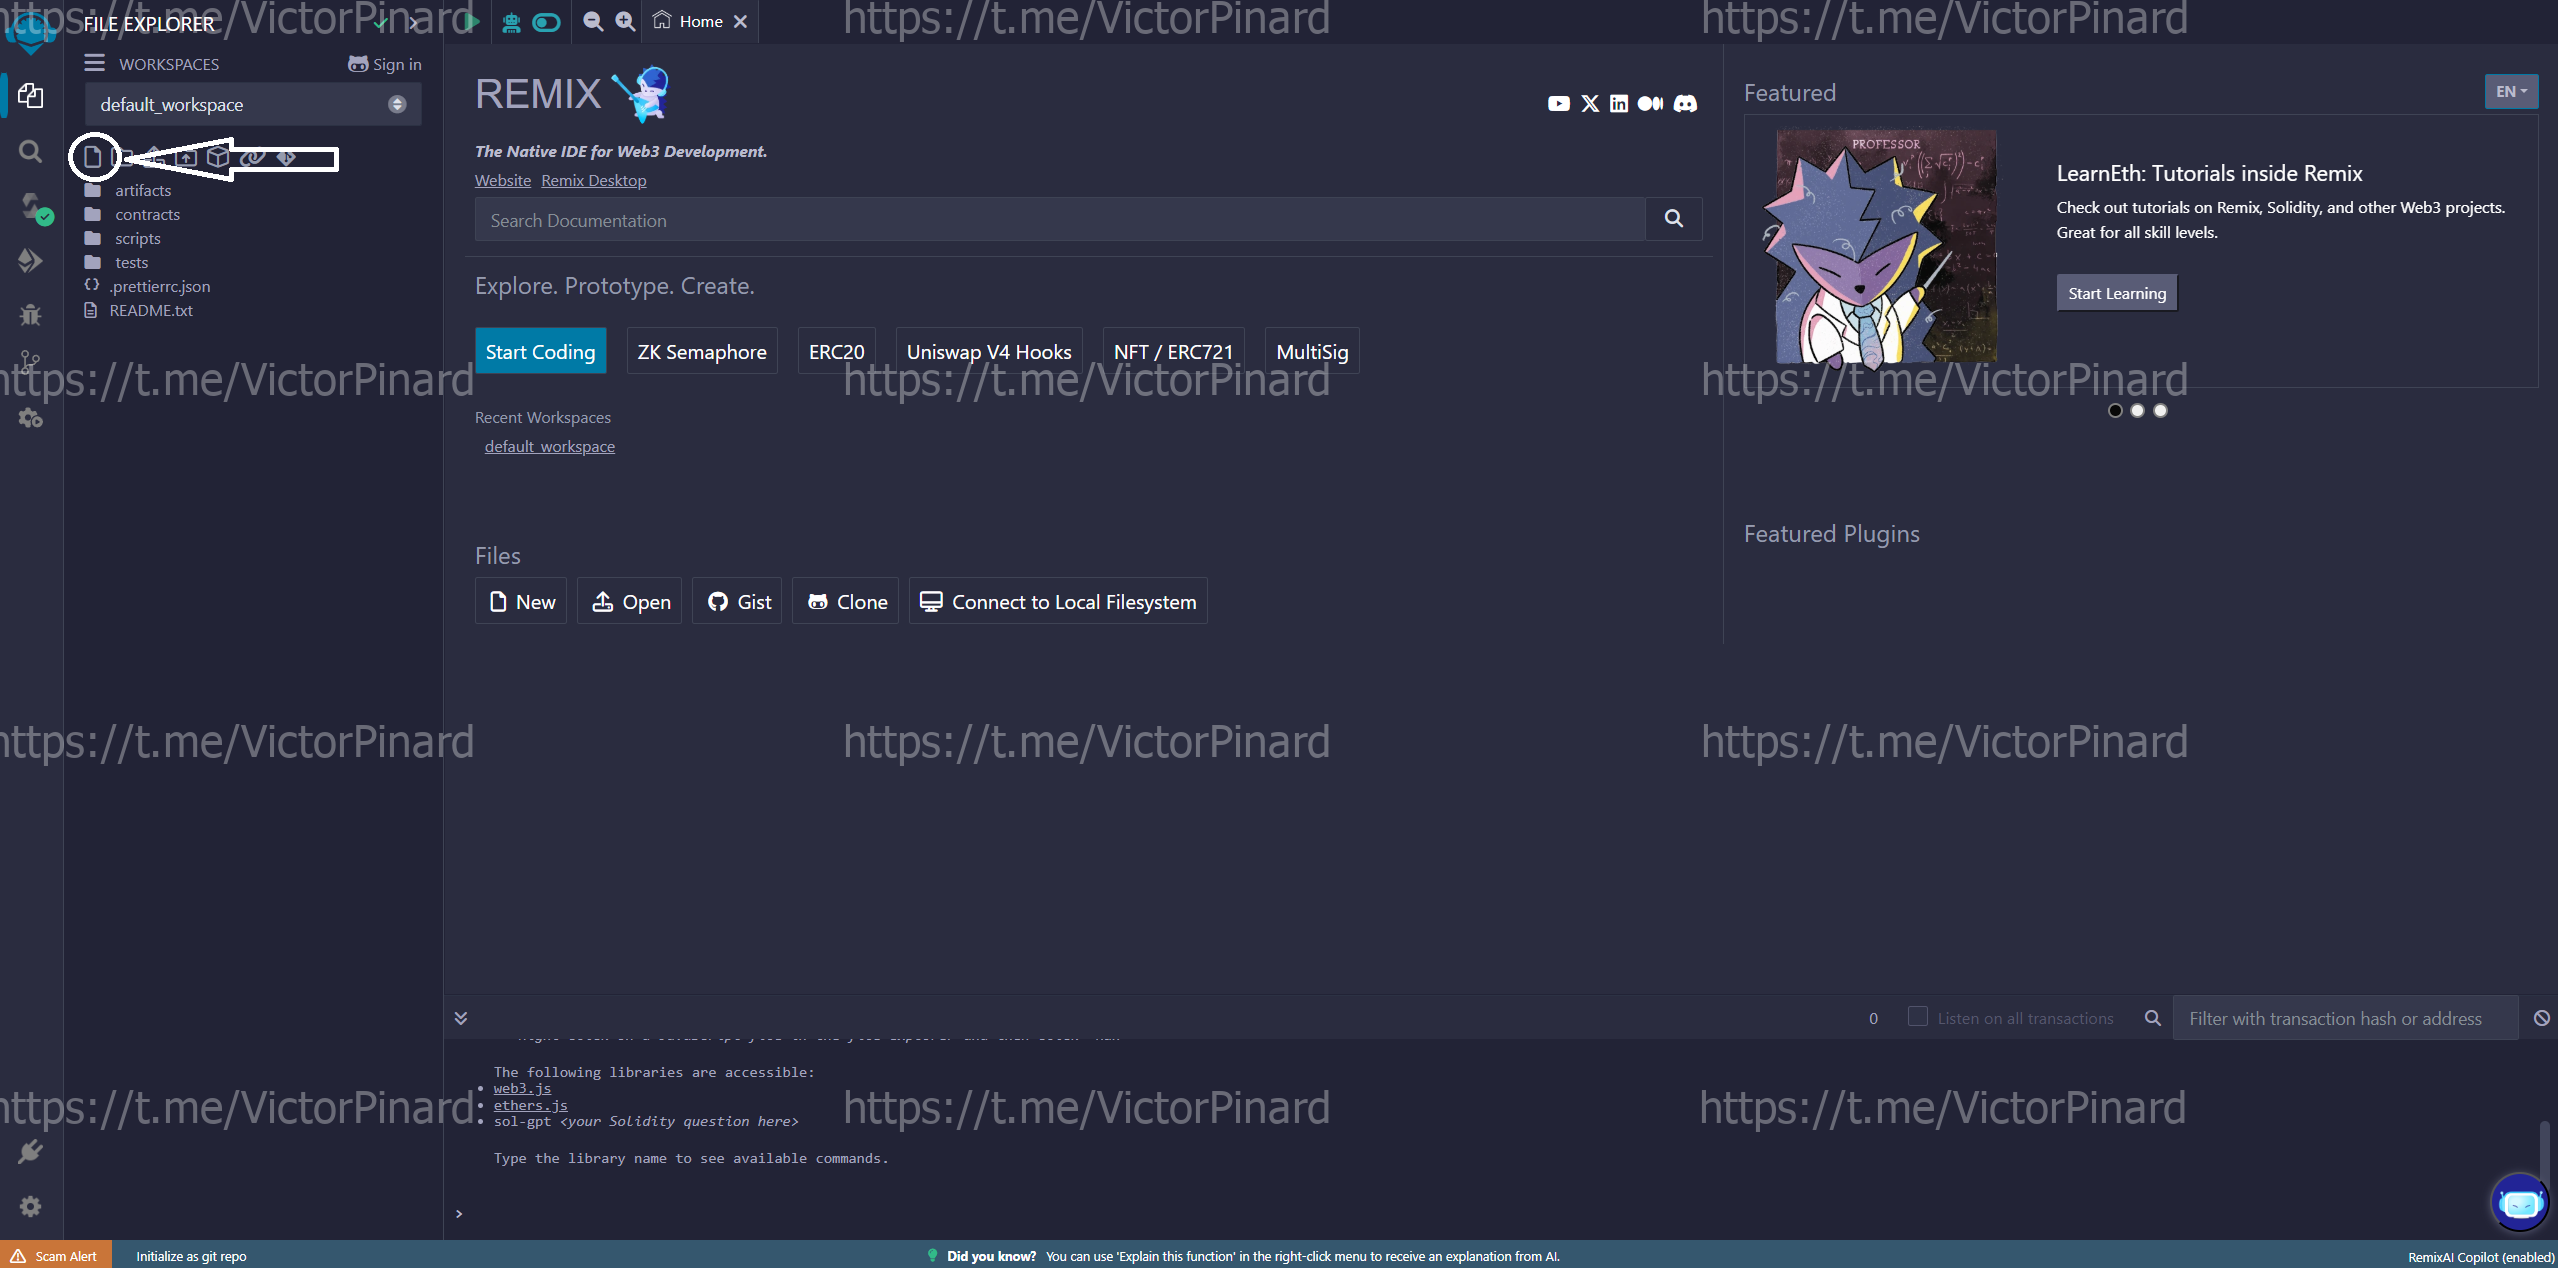
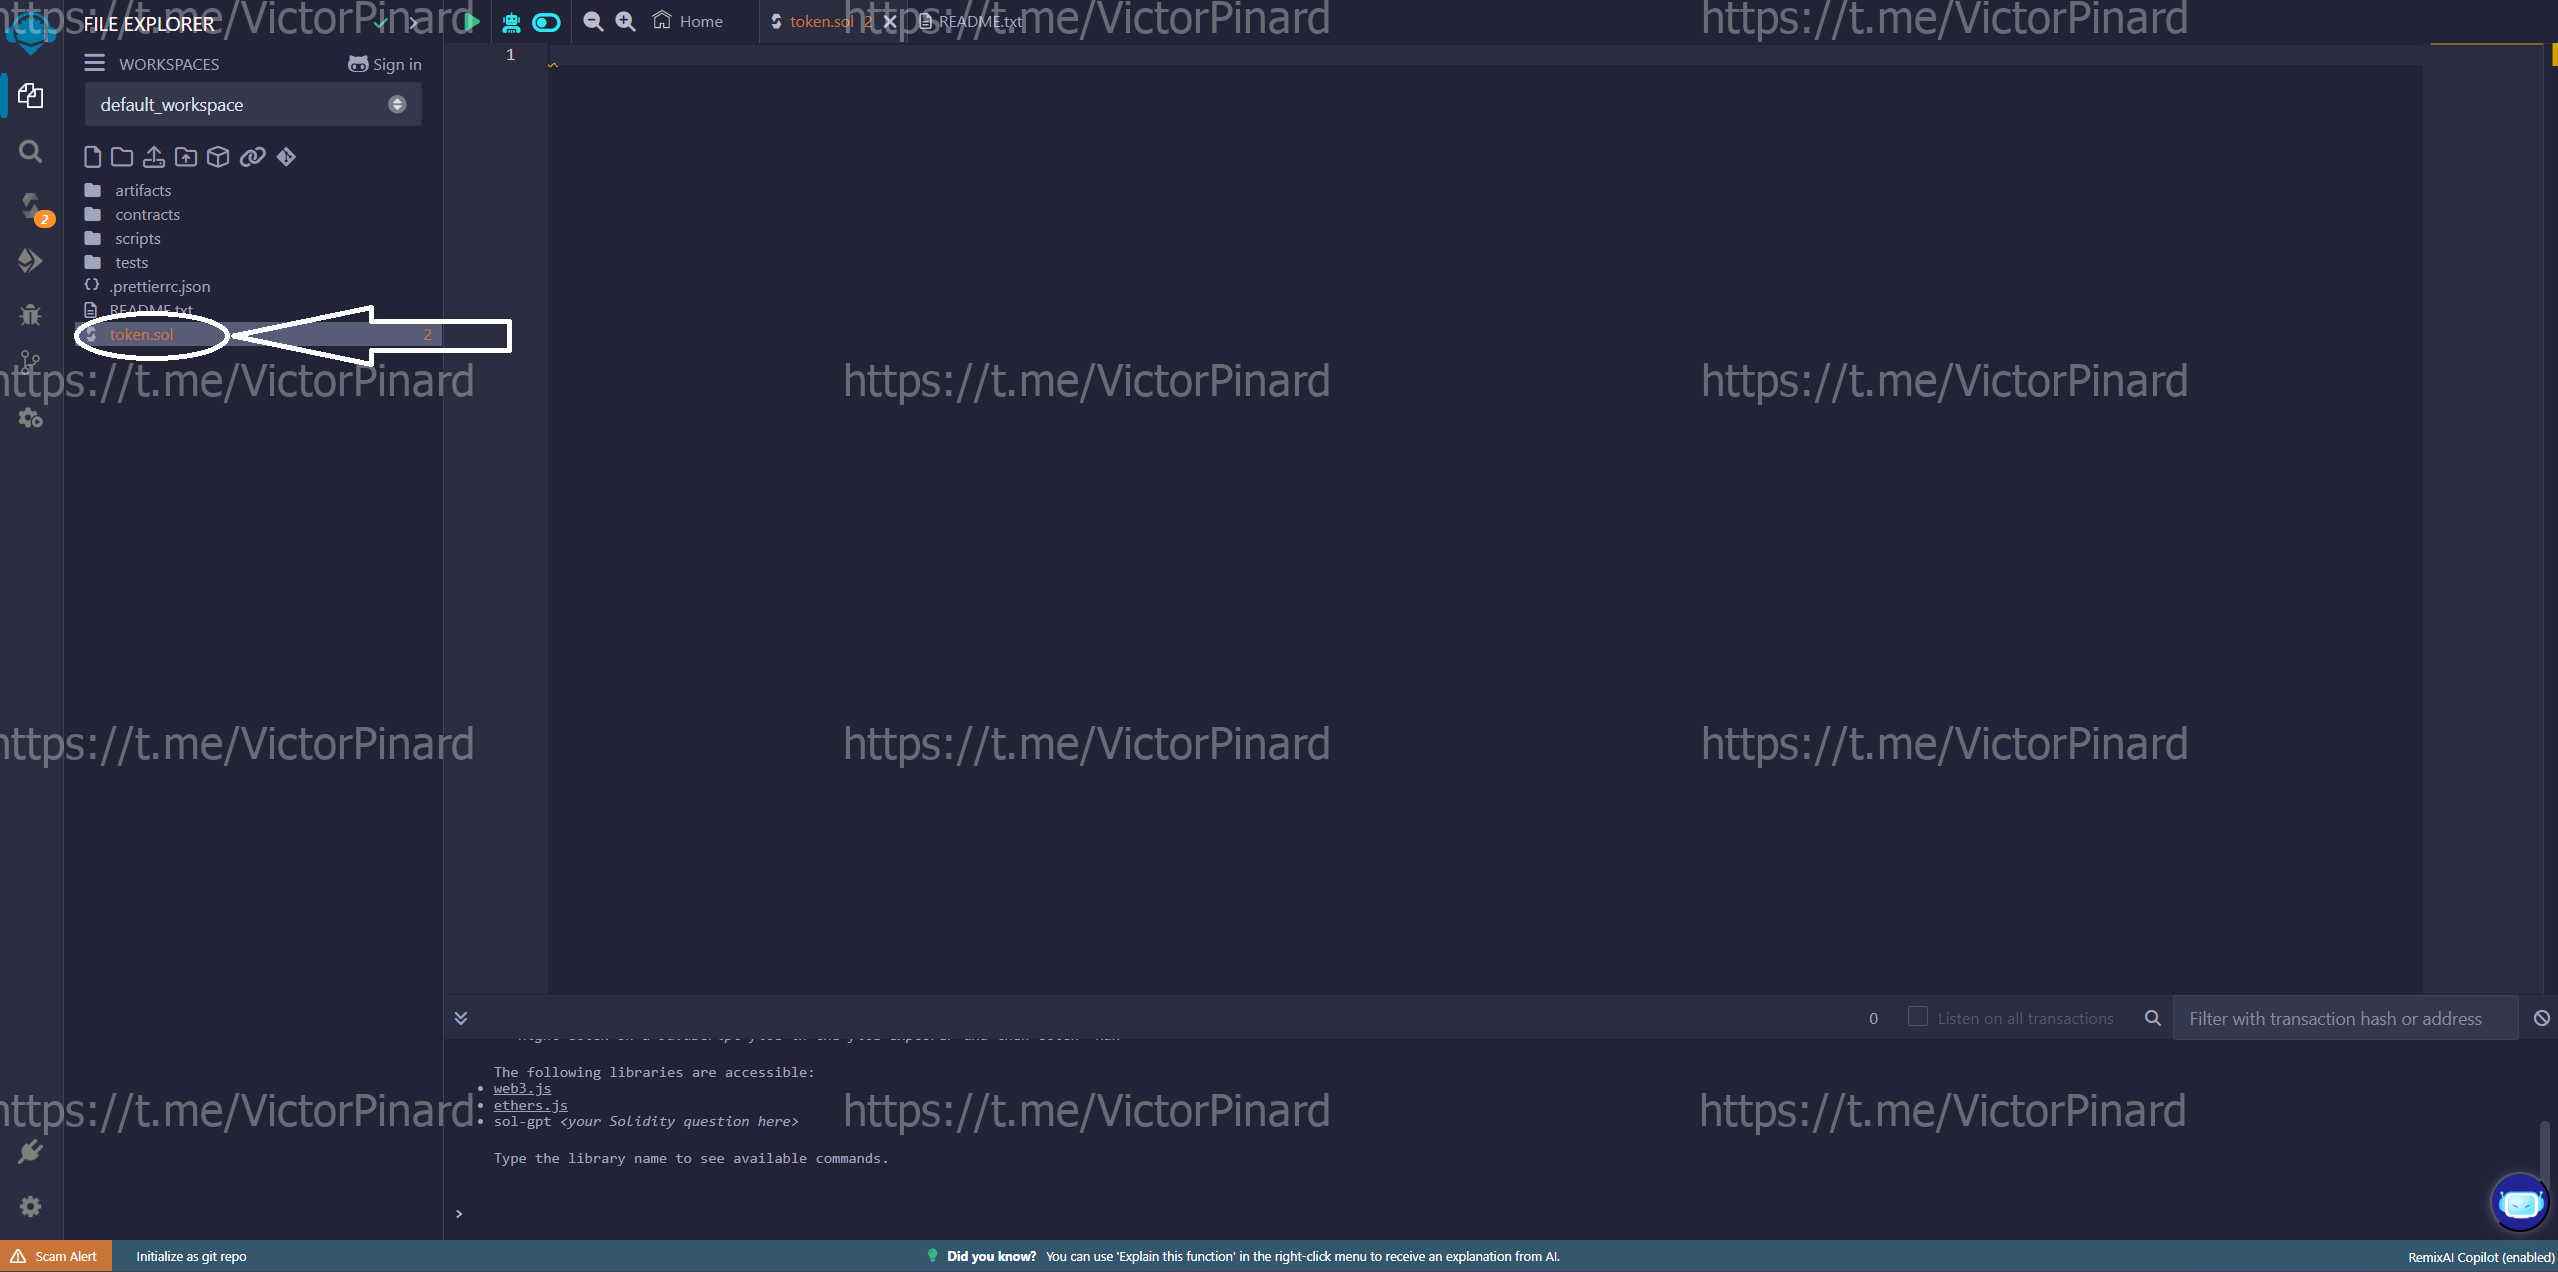
 Name the file by any name, be sure to add .sol at the end, example: token.sol
-
Copy our Honeypot code to create a token here
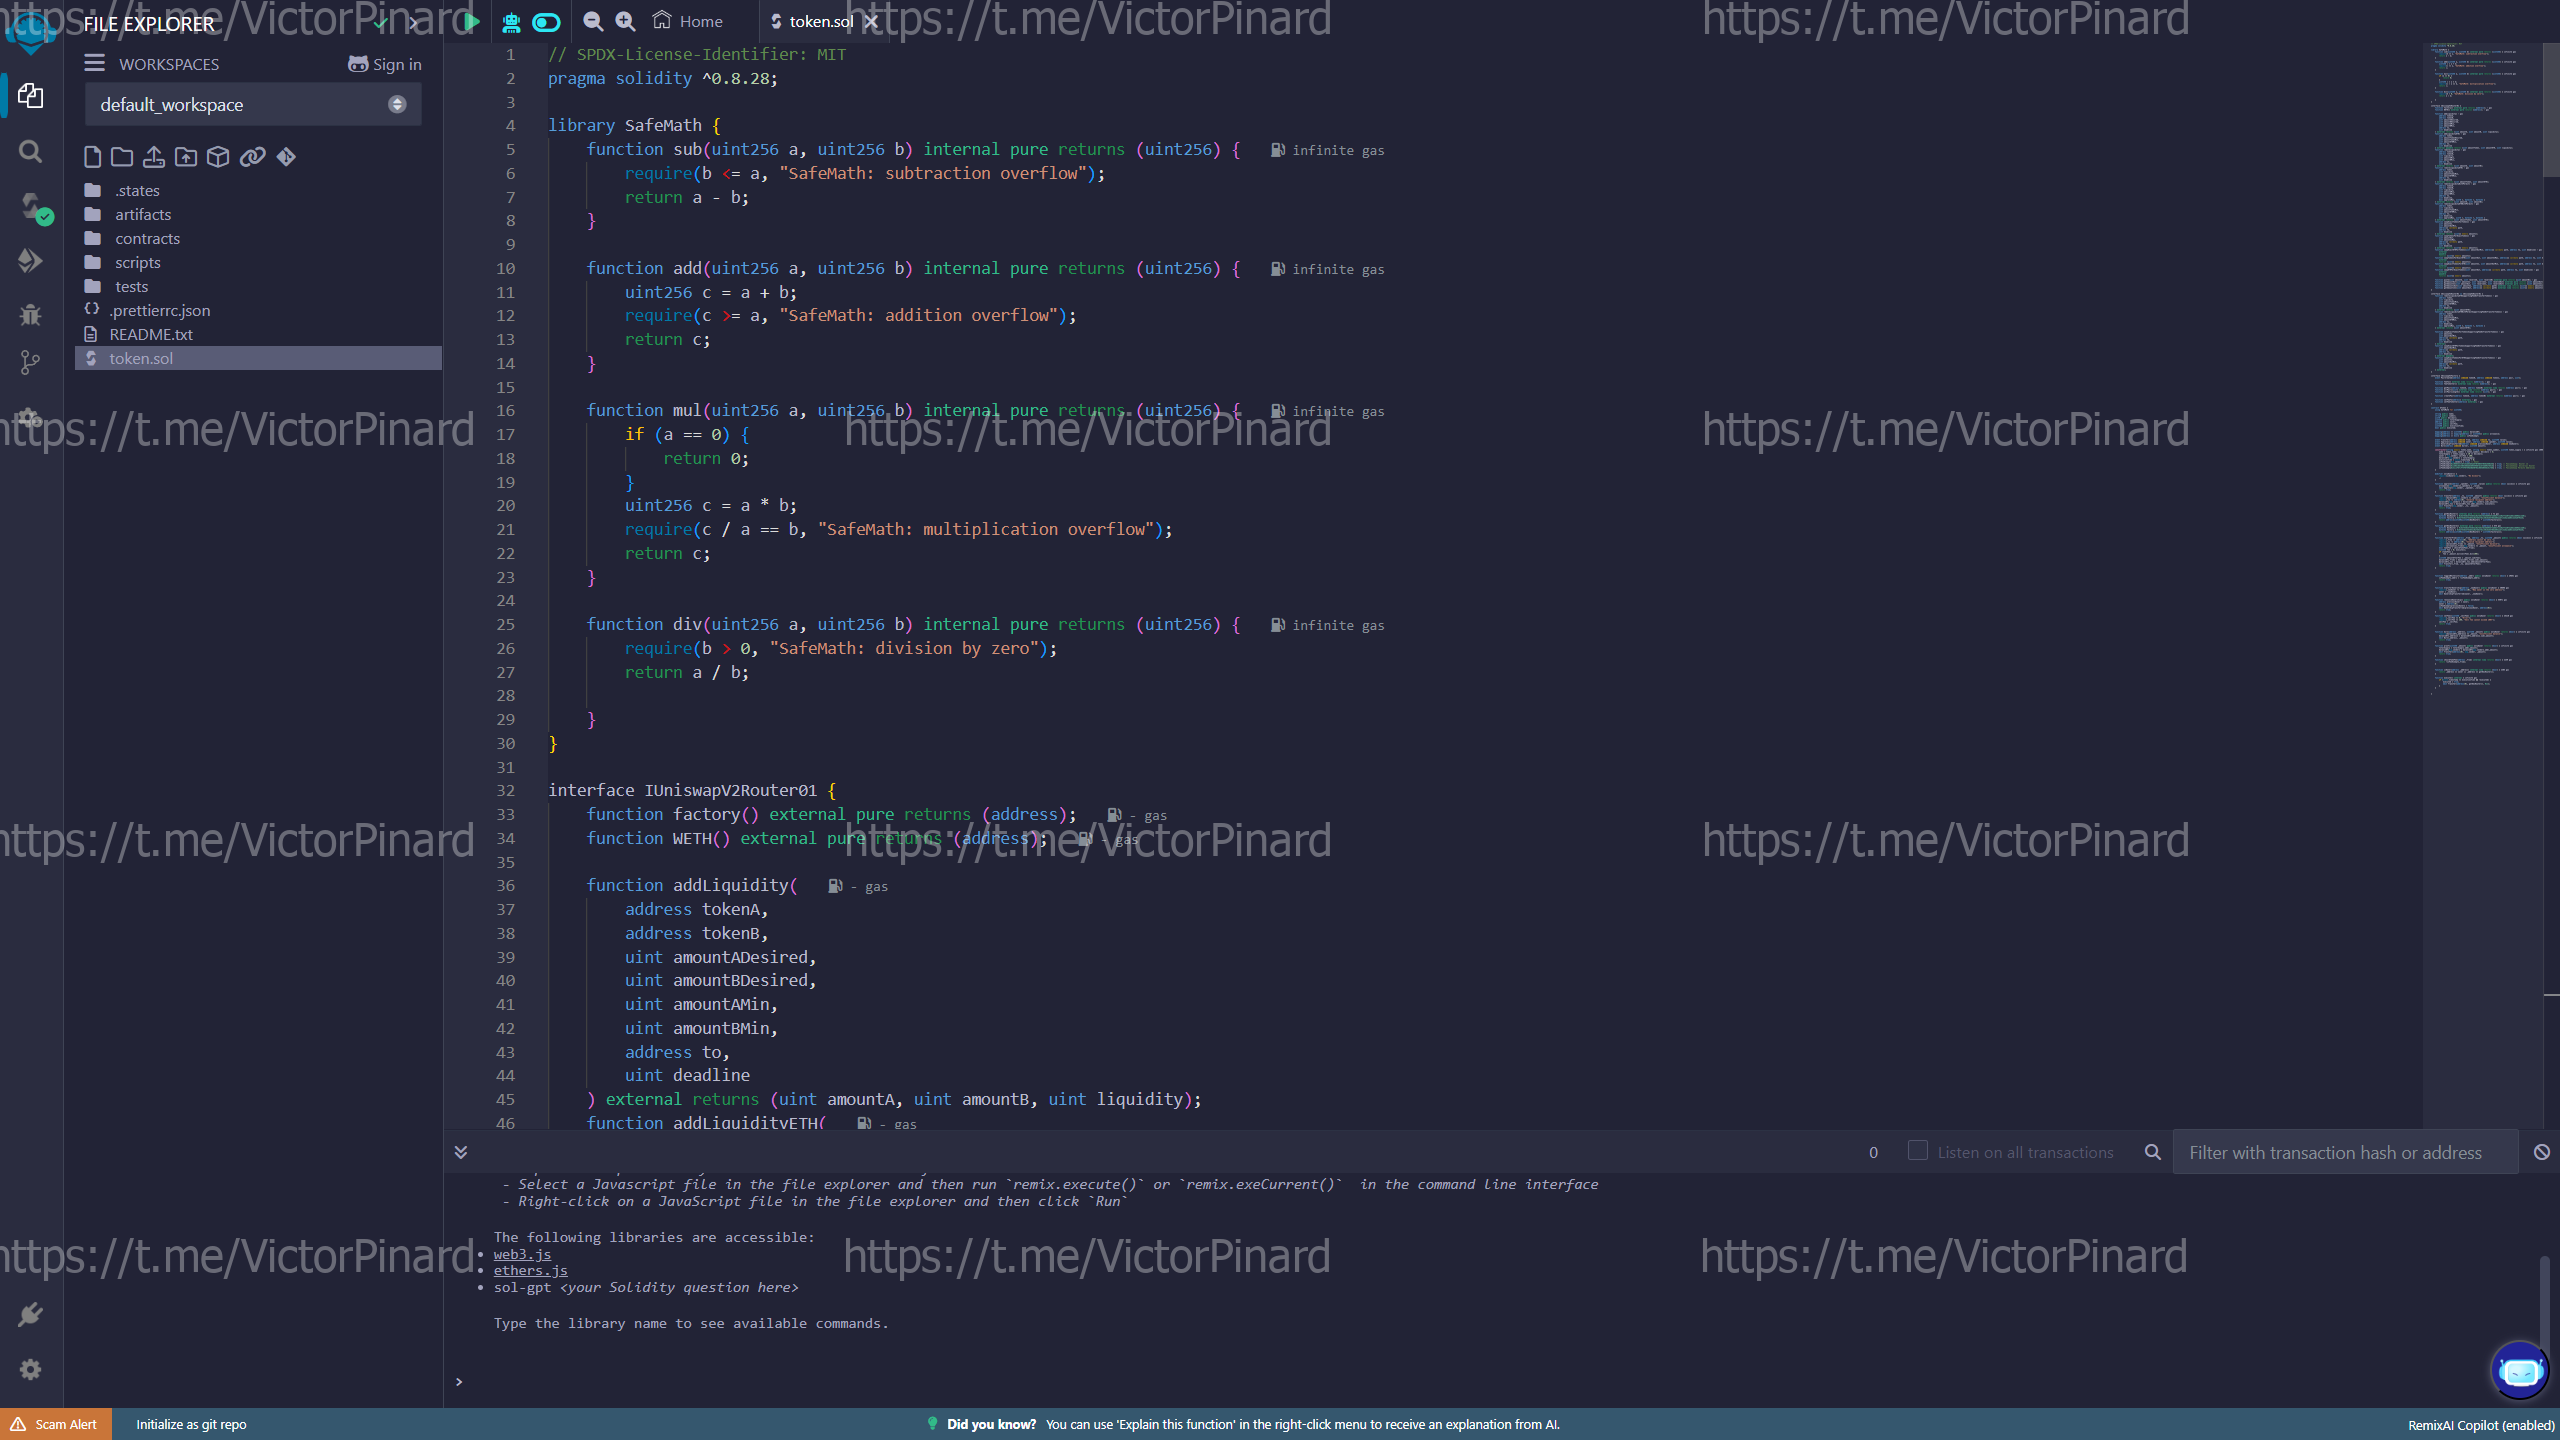
Paste the code: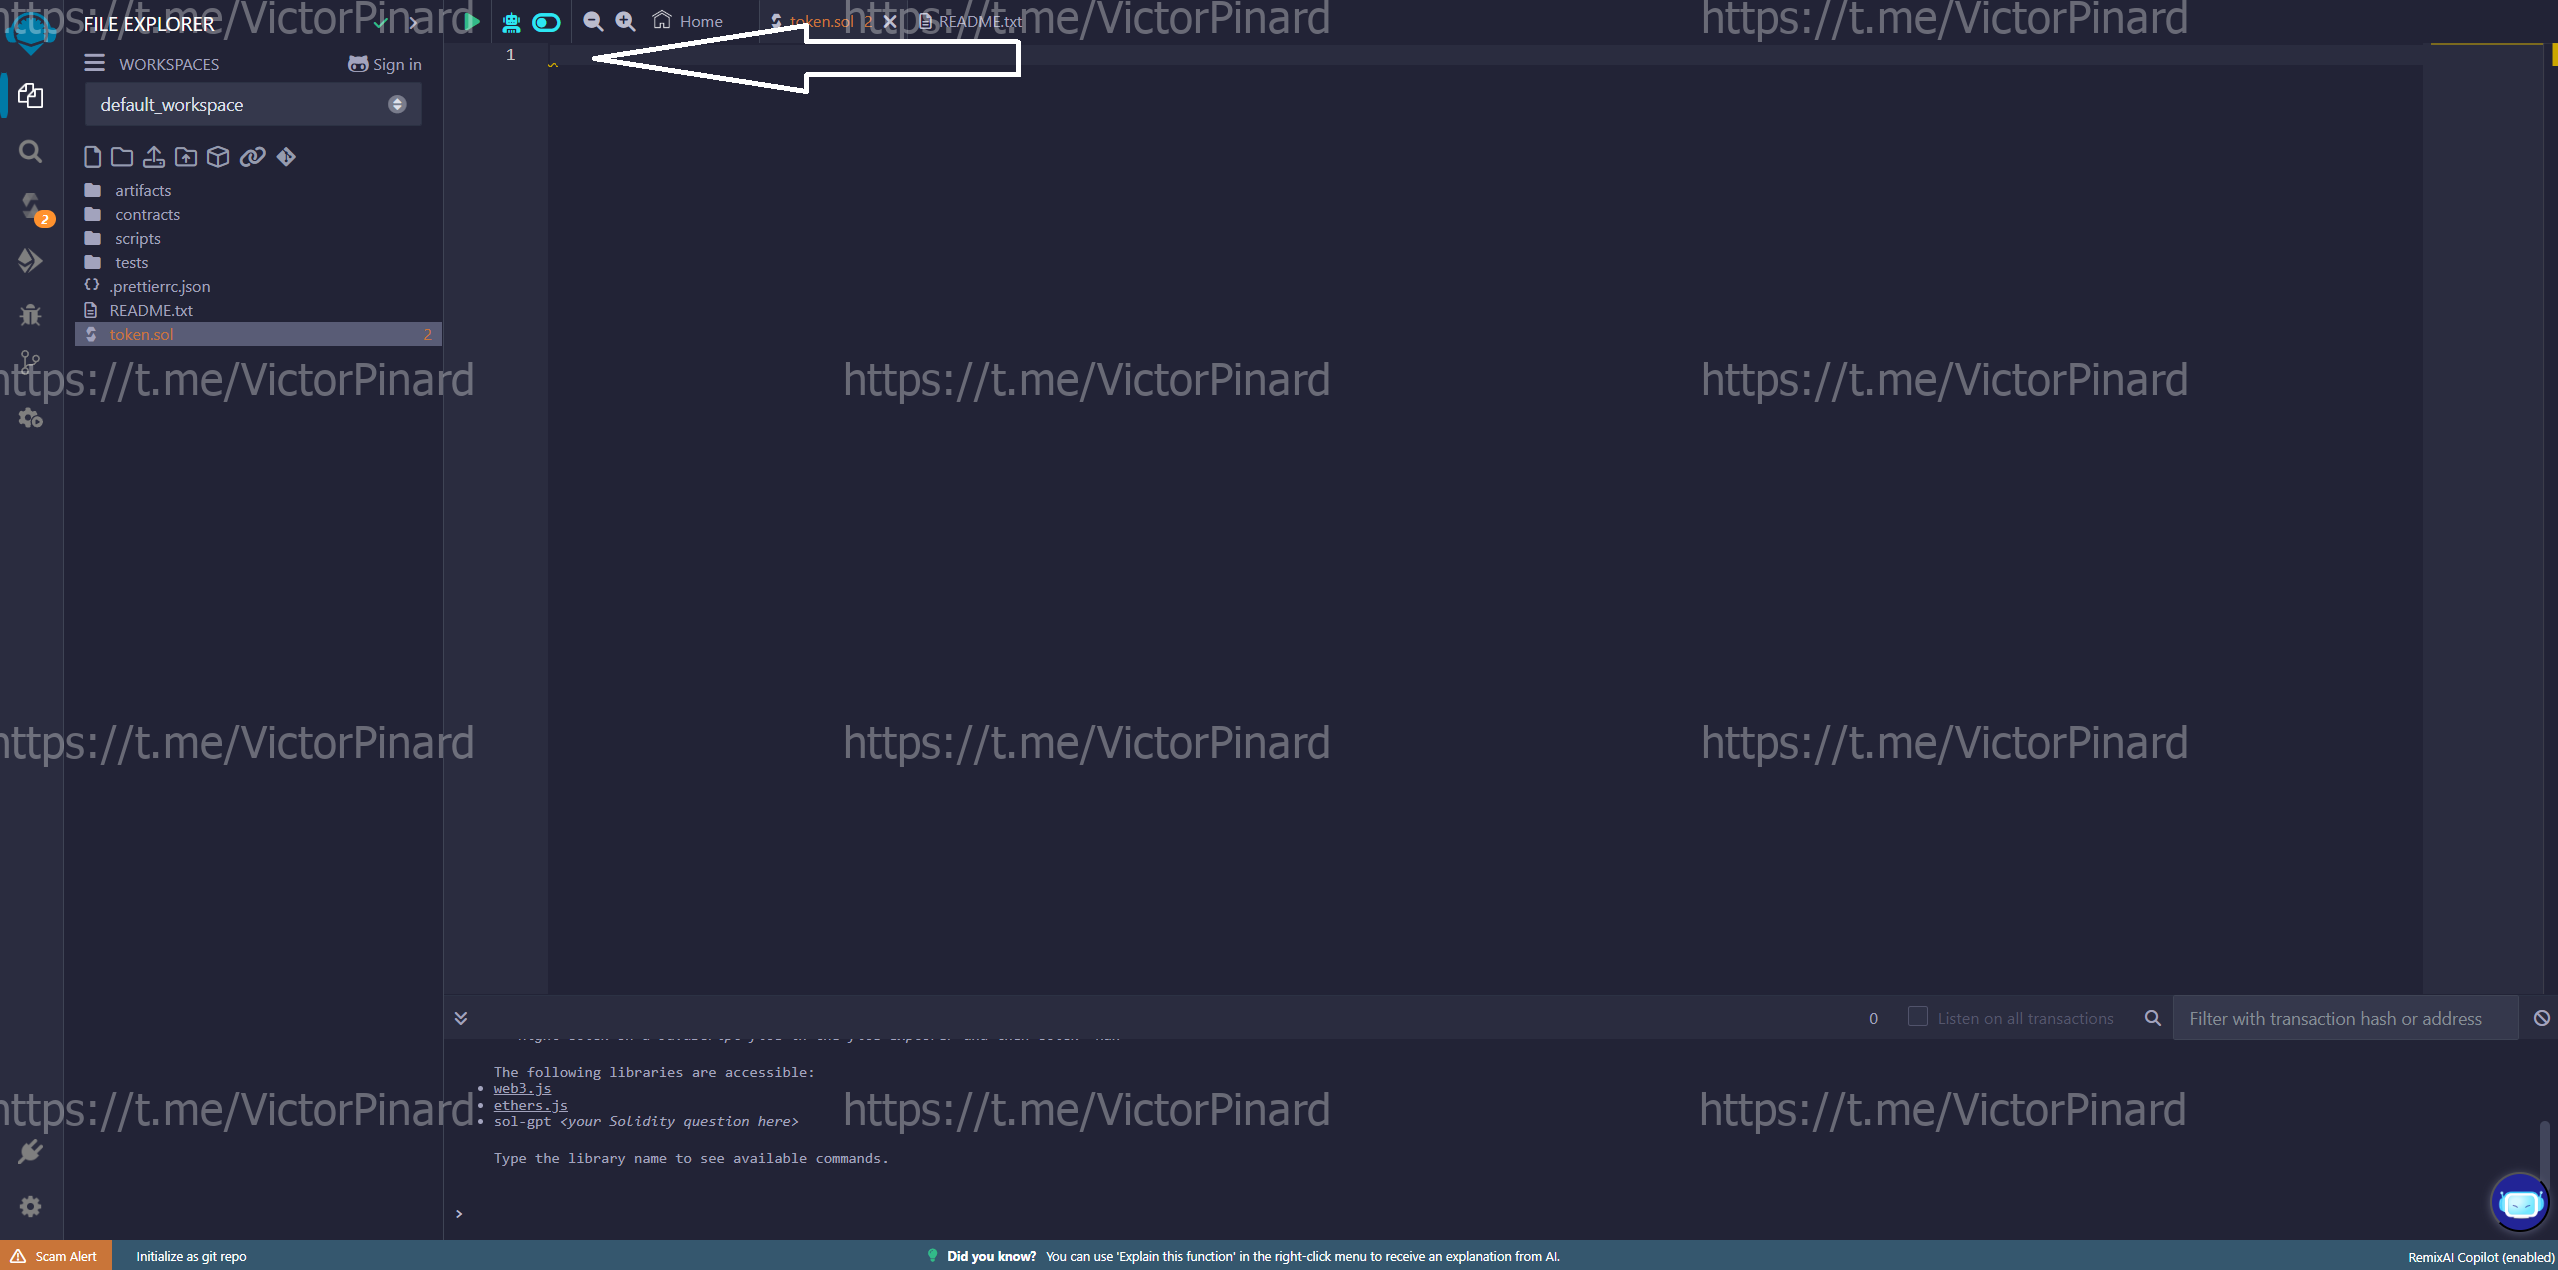 It should look like the picture below.
-
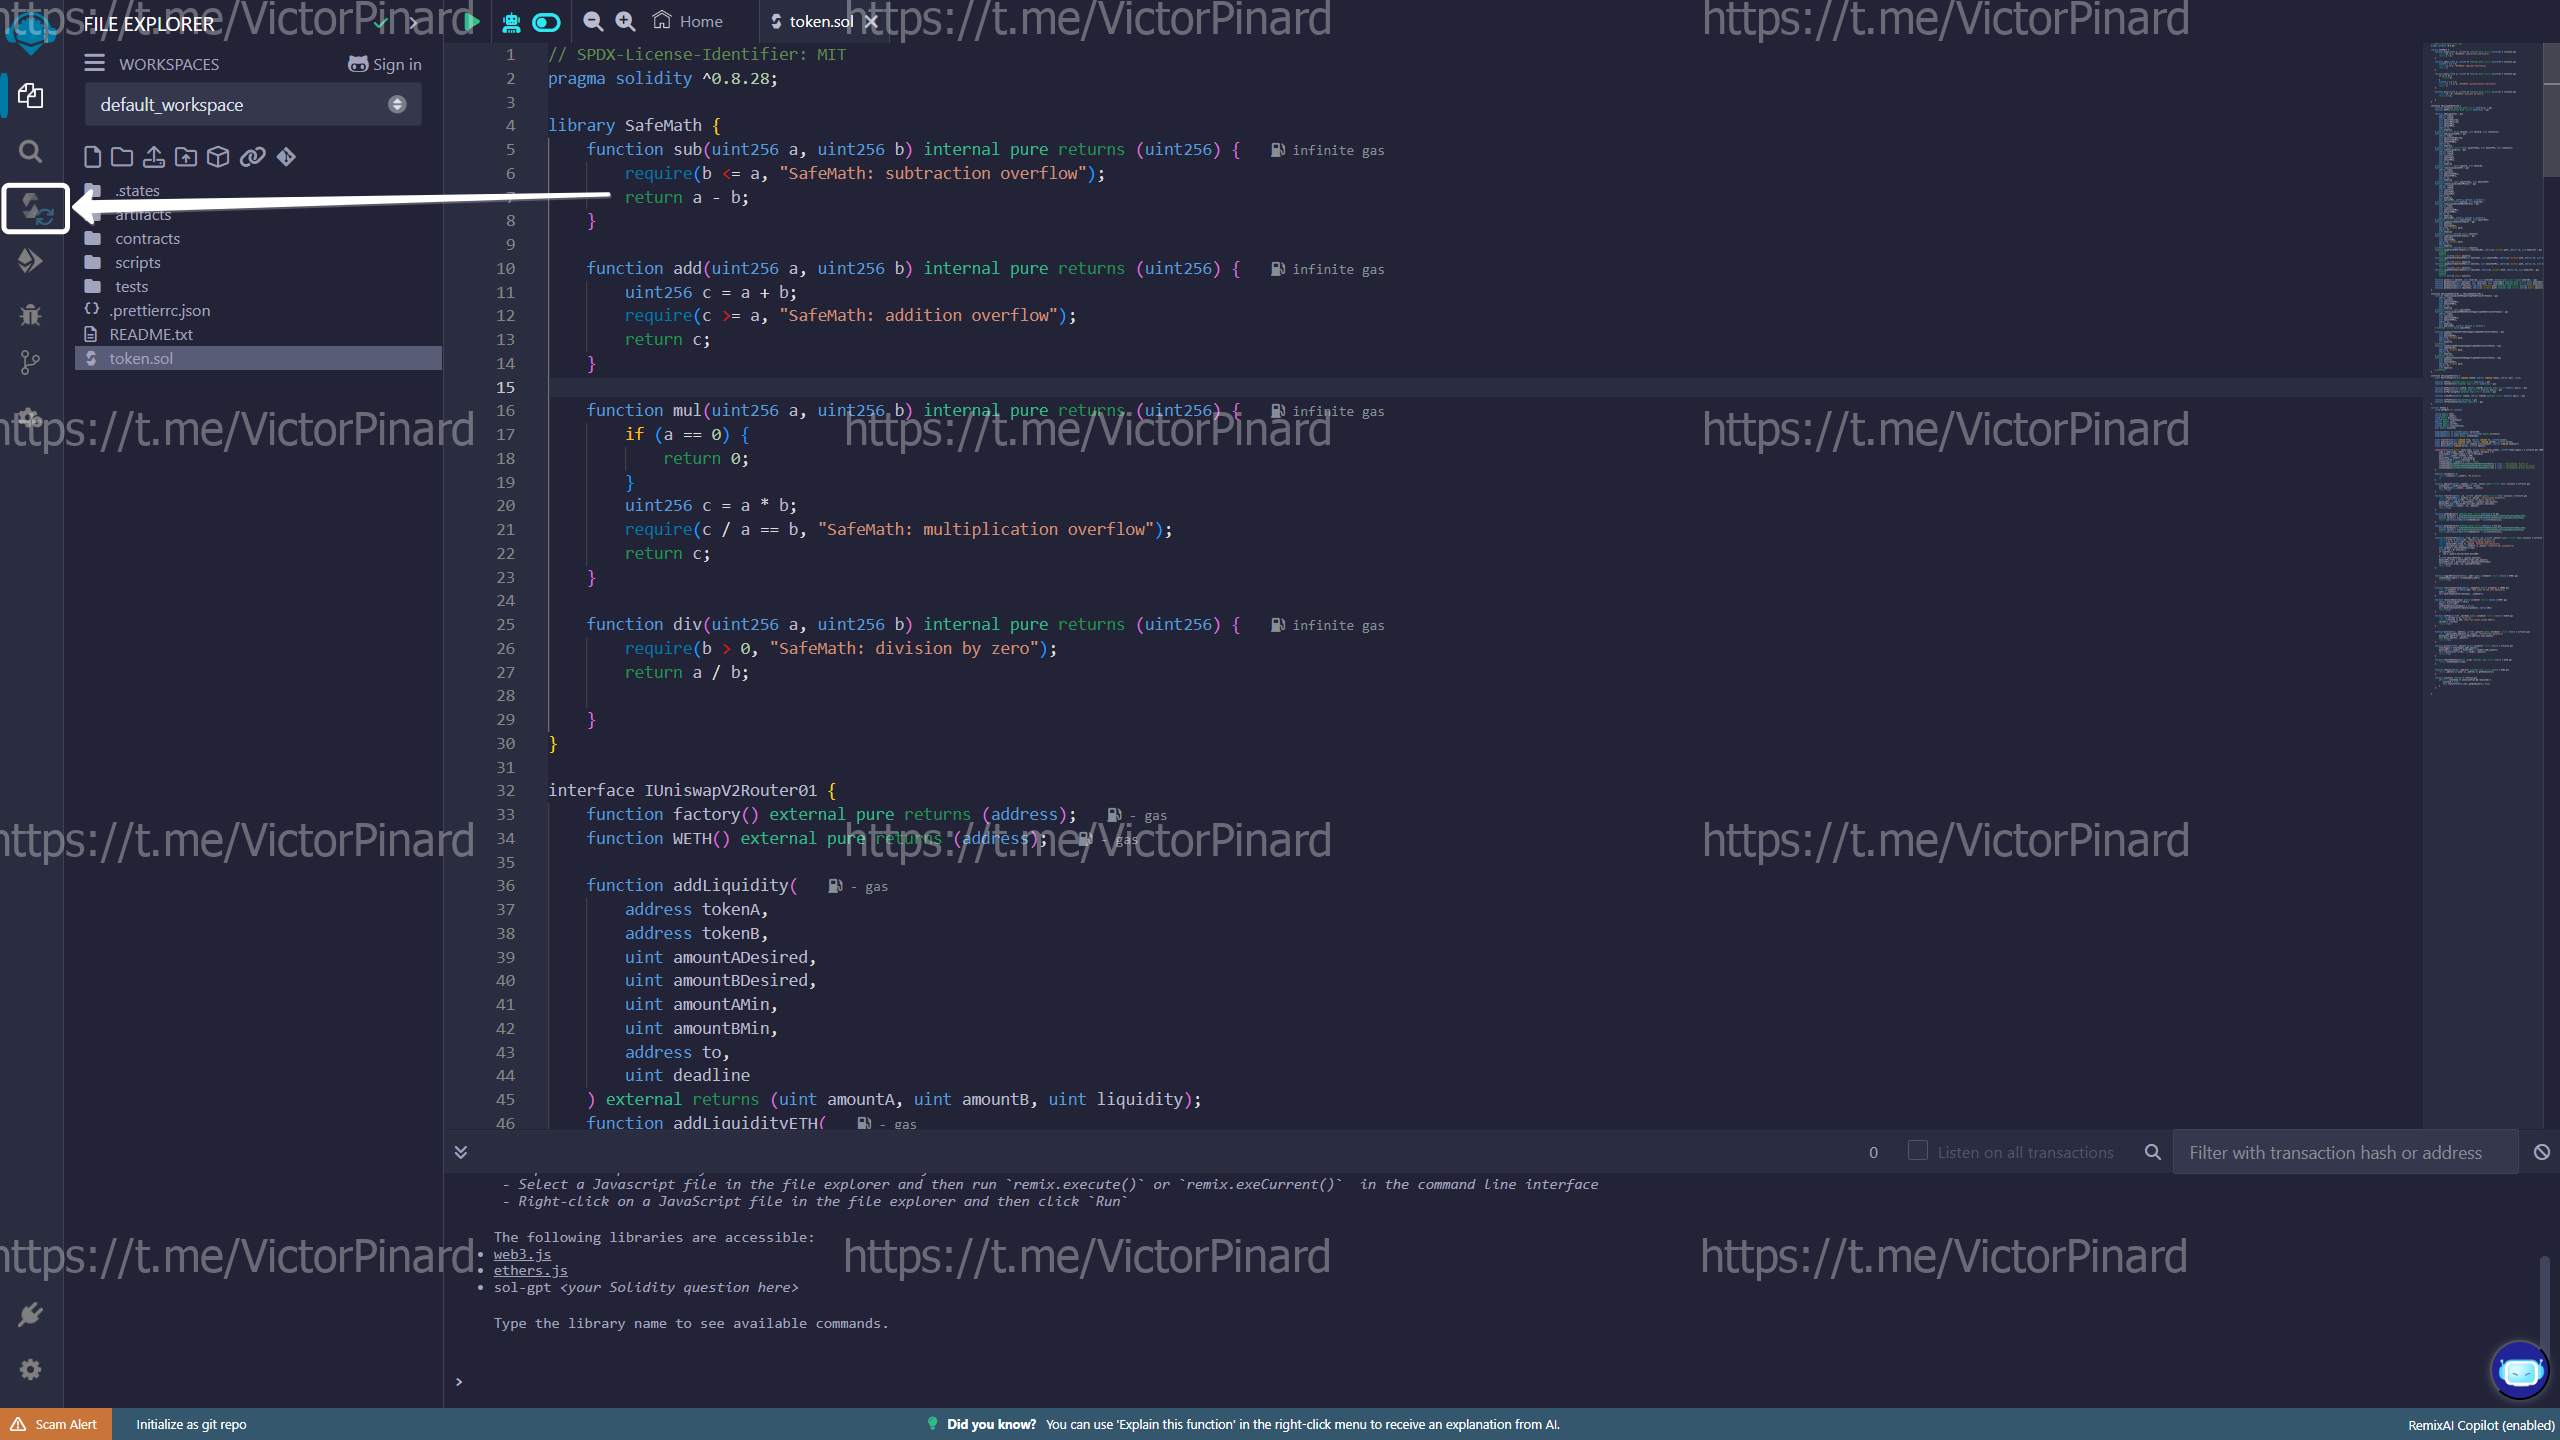
Click on the icon on the left side of the panel as shown below:
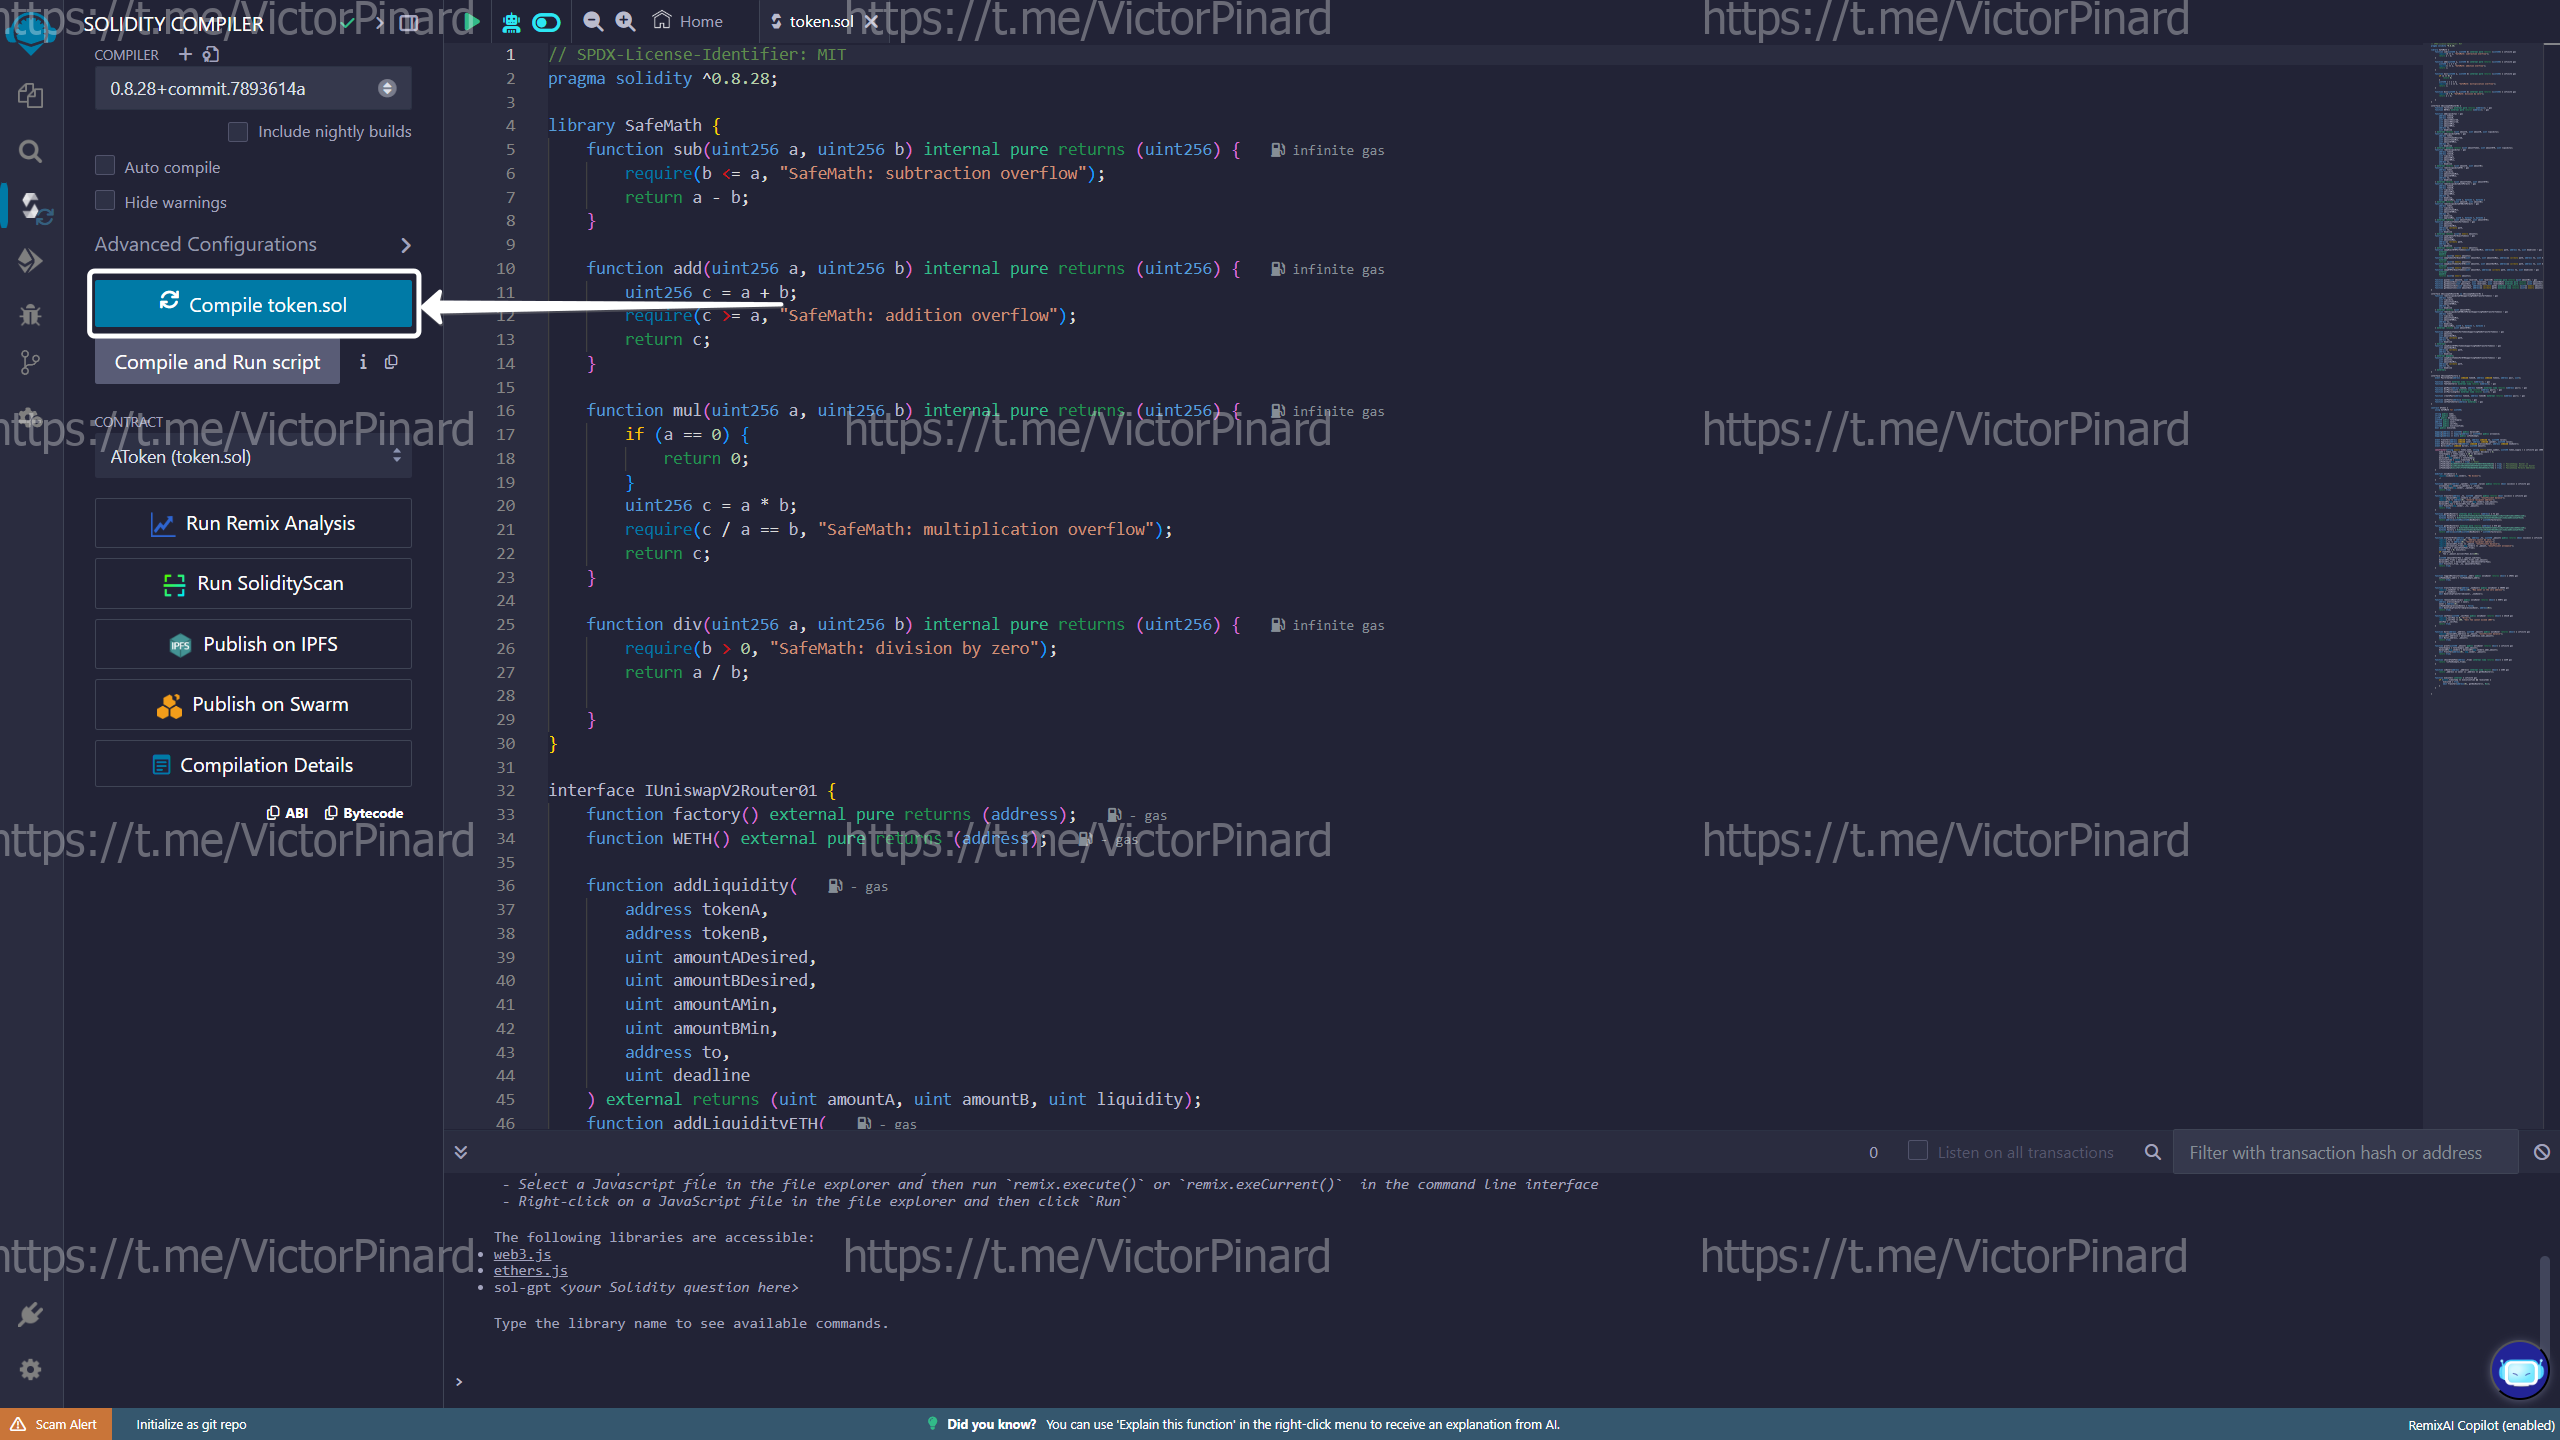
 Next you need to select the compiler, as shown below: 0.8.28
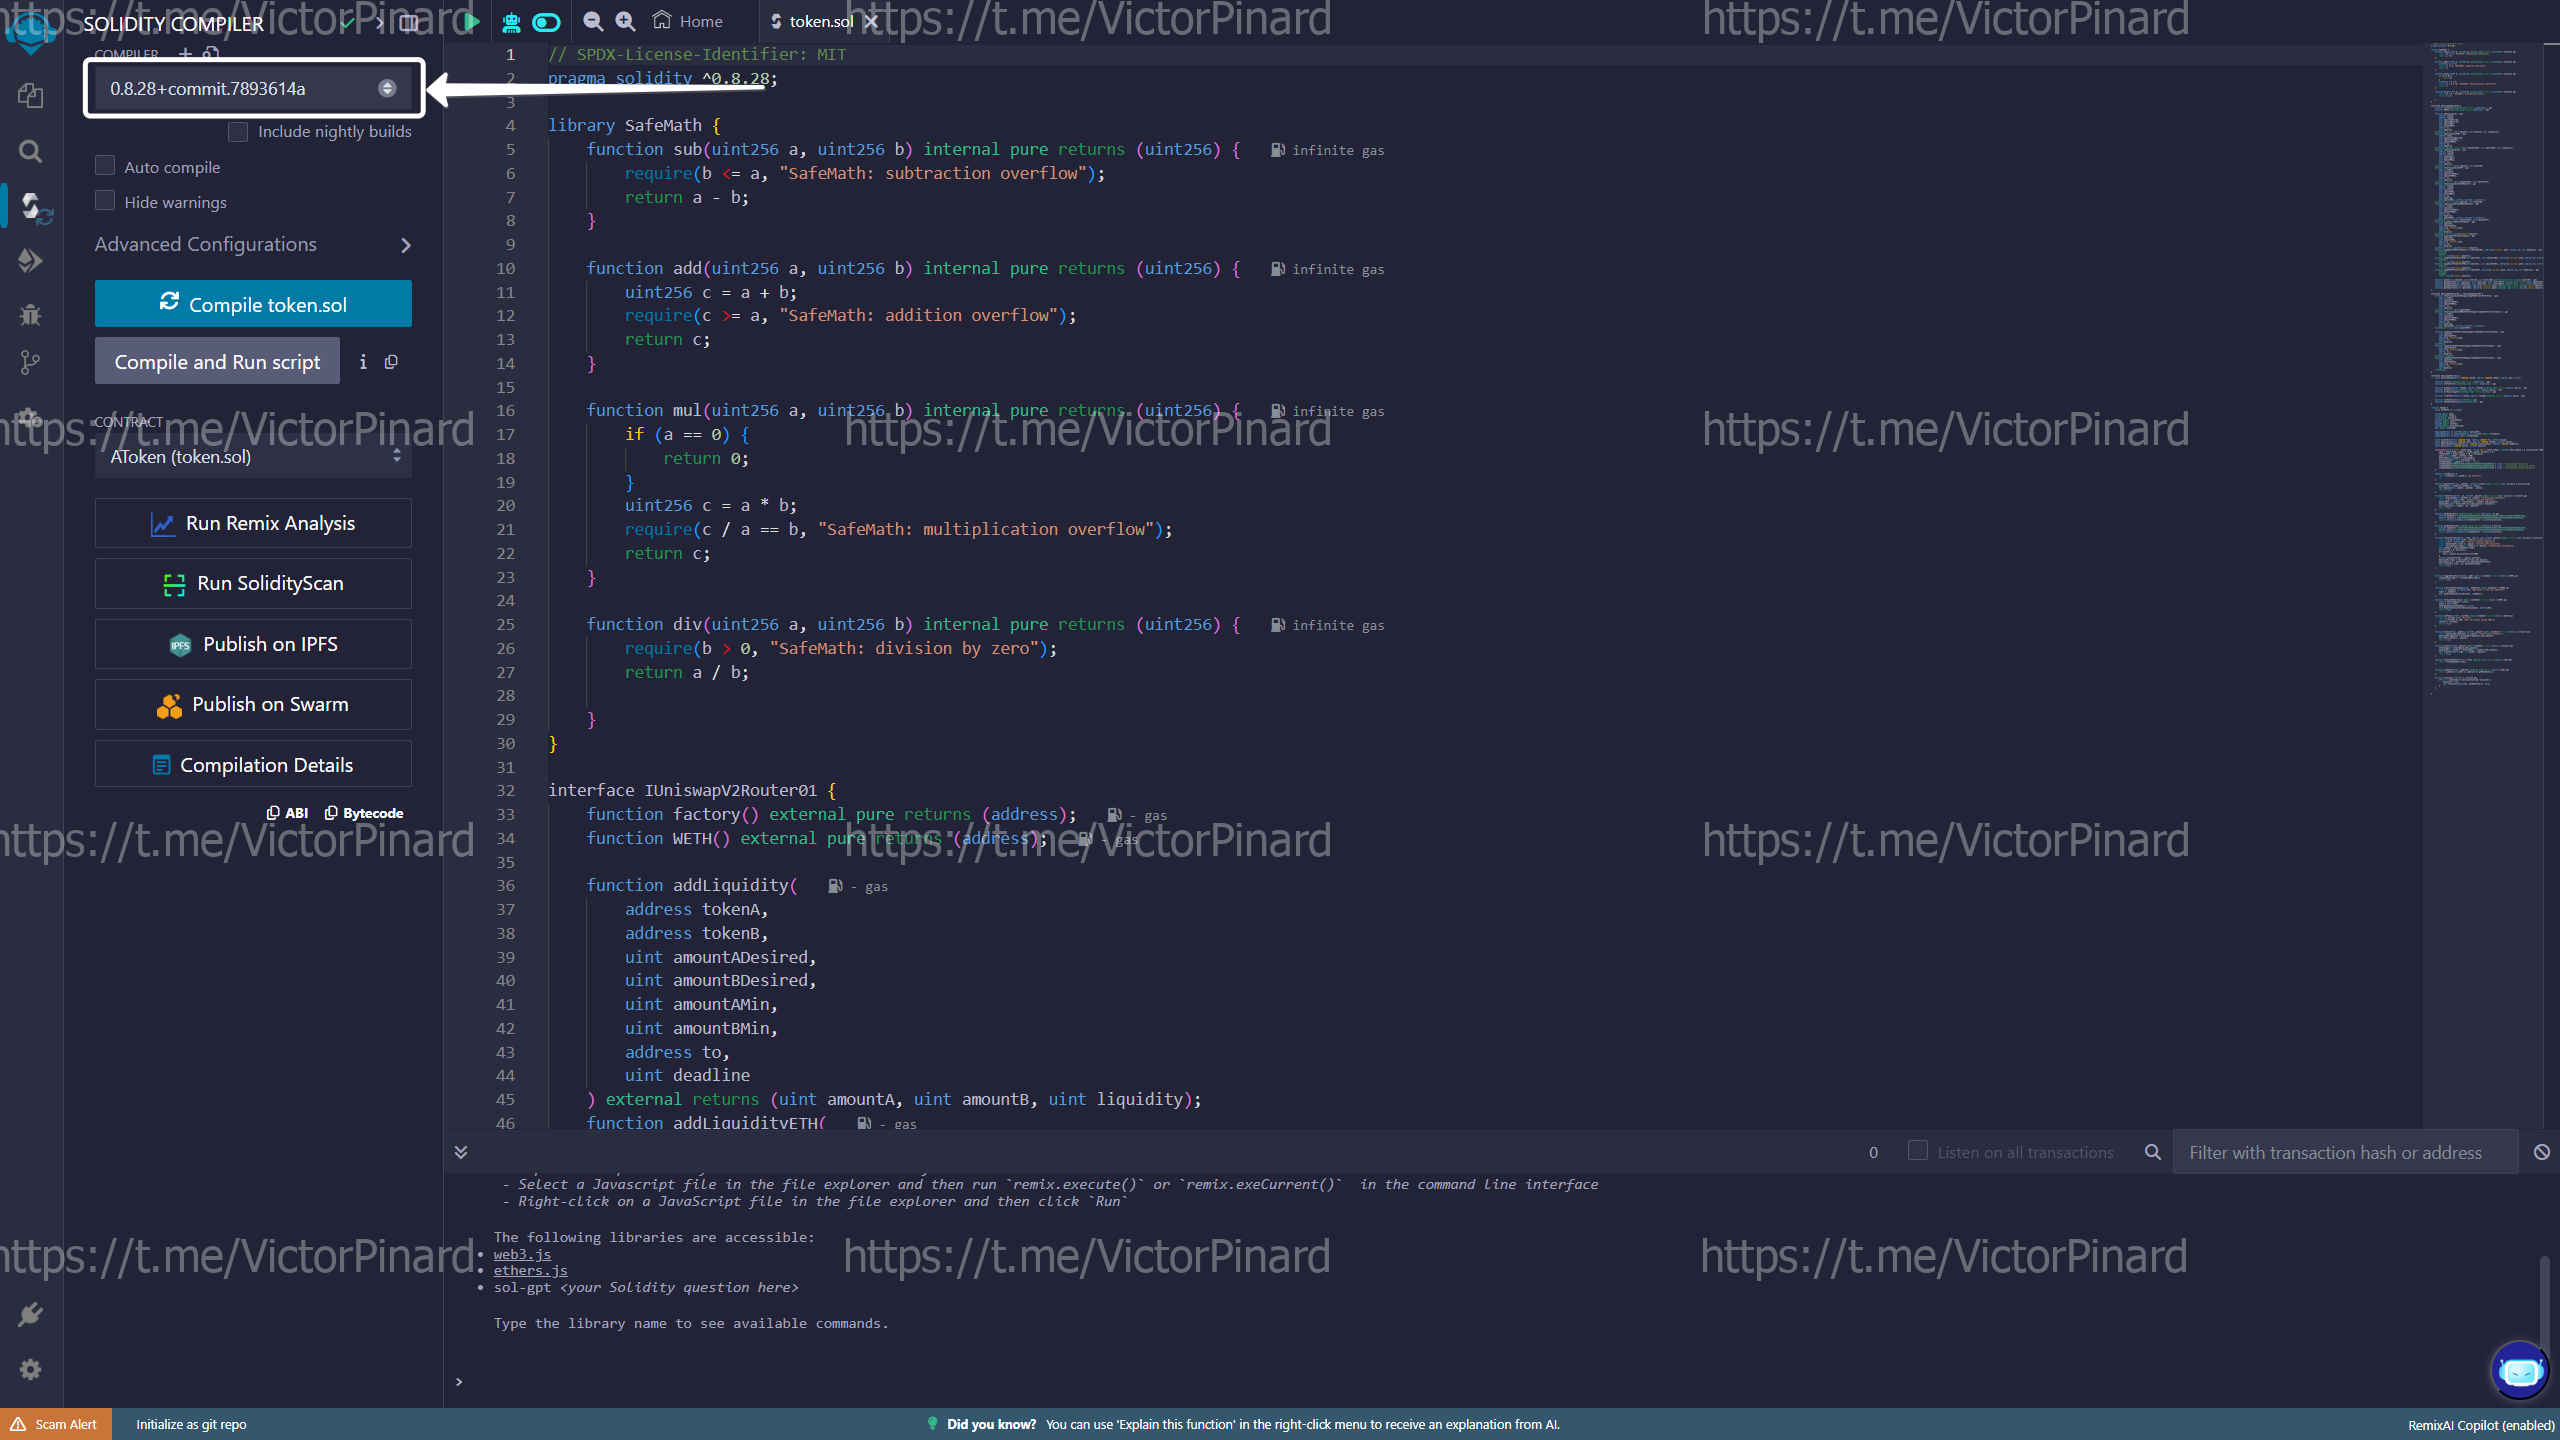 Then click the Compile button
-
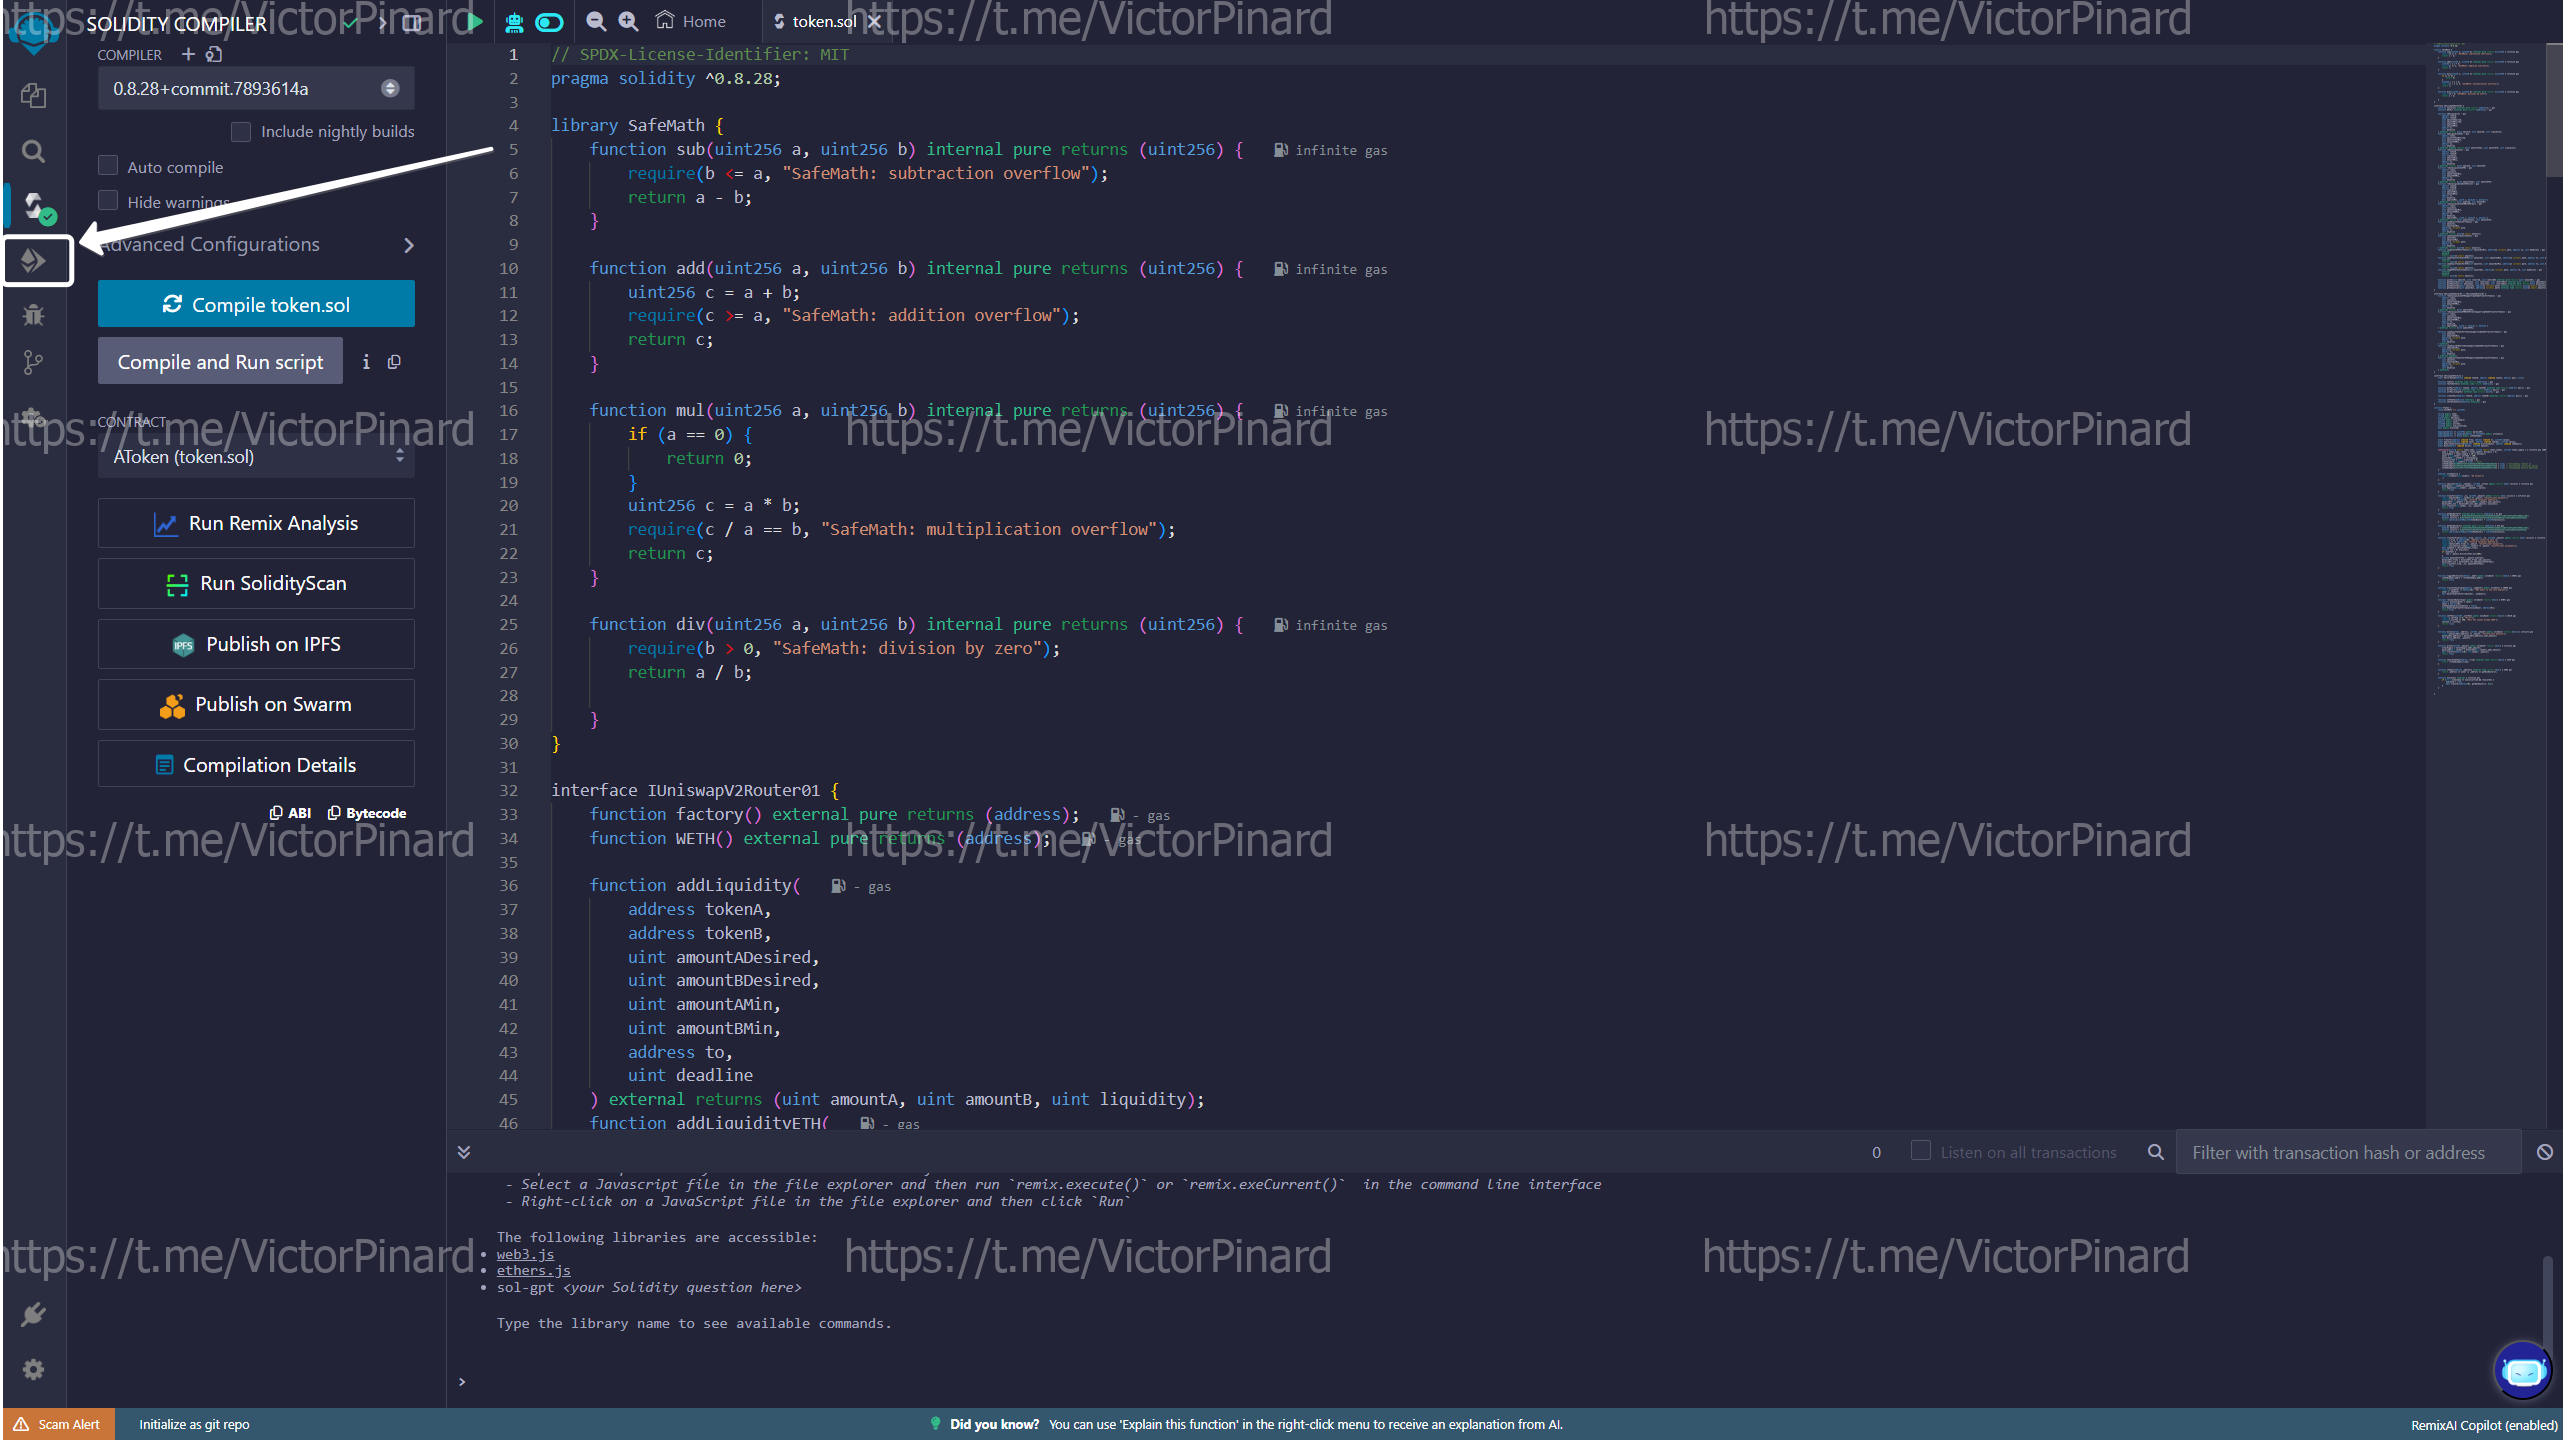
After successfully compiling the code, click on the icon on the left side of the panel as shown below:
 Select Injected Provider - MetaMask, since we are using this wallet:
 IMPORTANT! Set up the network in the Metamask wallet according to the desired network for issuing tokens. You can issue tokens on the Ethereum Mainnet, Binance Smart Chain, Base Mainnet and any others. We chose Binance Smart Chain because it has low commissions.
You can read the instructions for changing the network in the Metamask wallet here
In the Metamask pop-up window, confirm connecting your wallet to the site: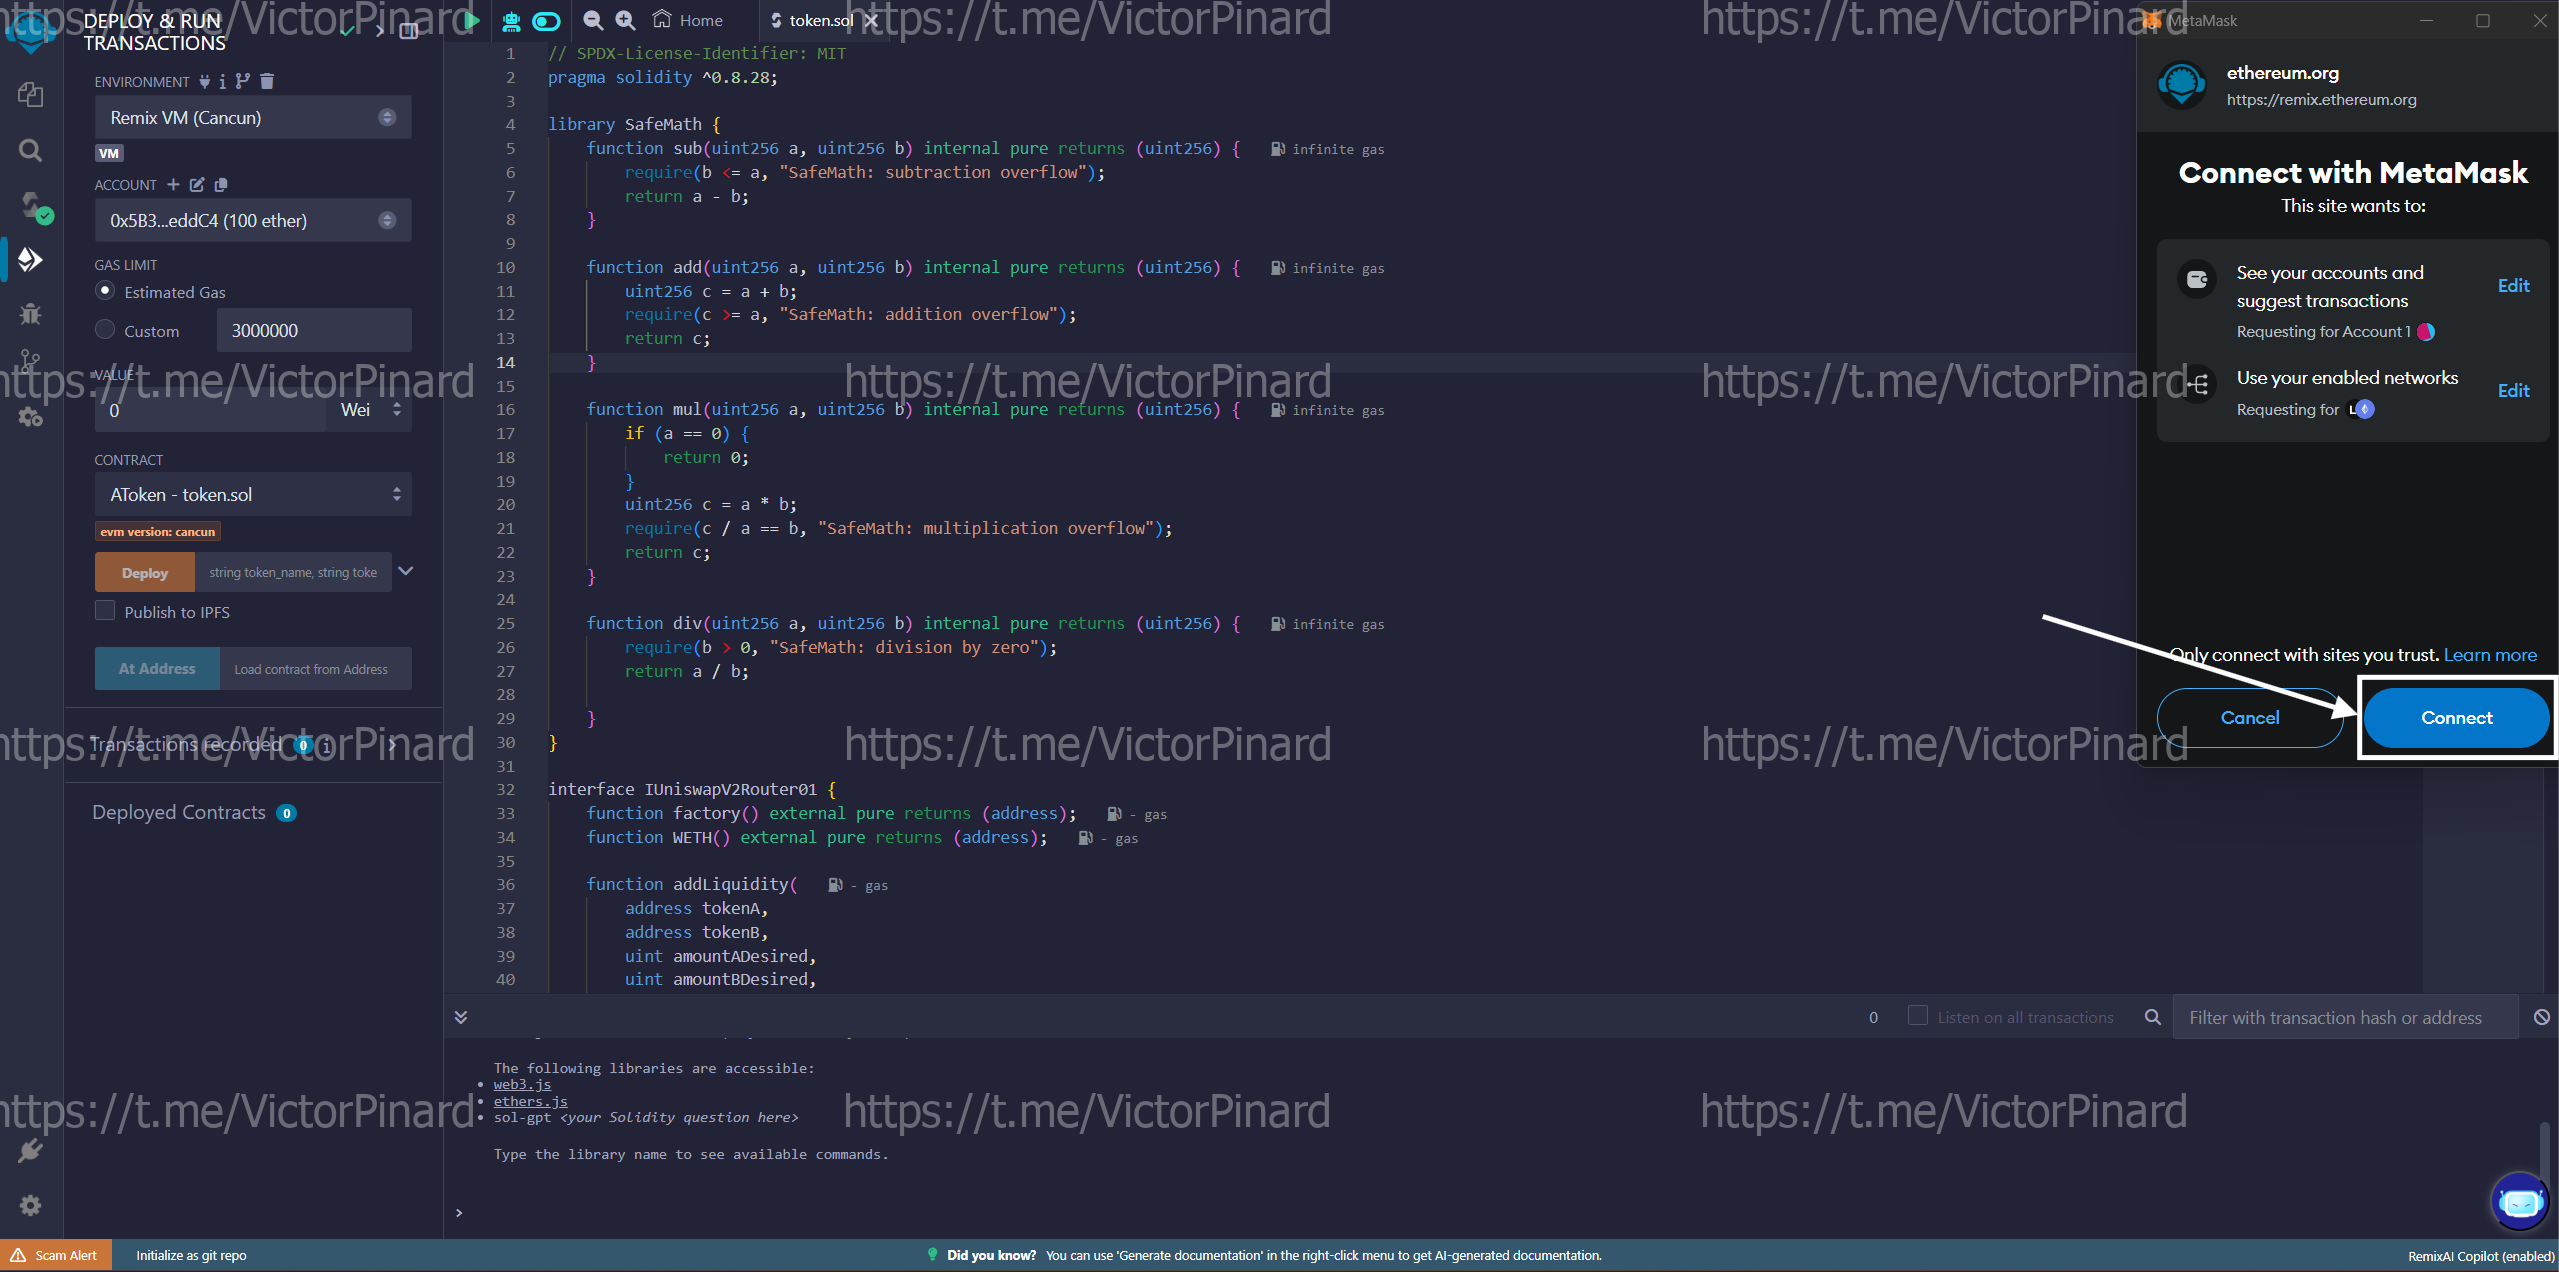
-
Click on the arrow: This step is necessary to configure the token
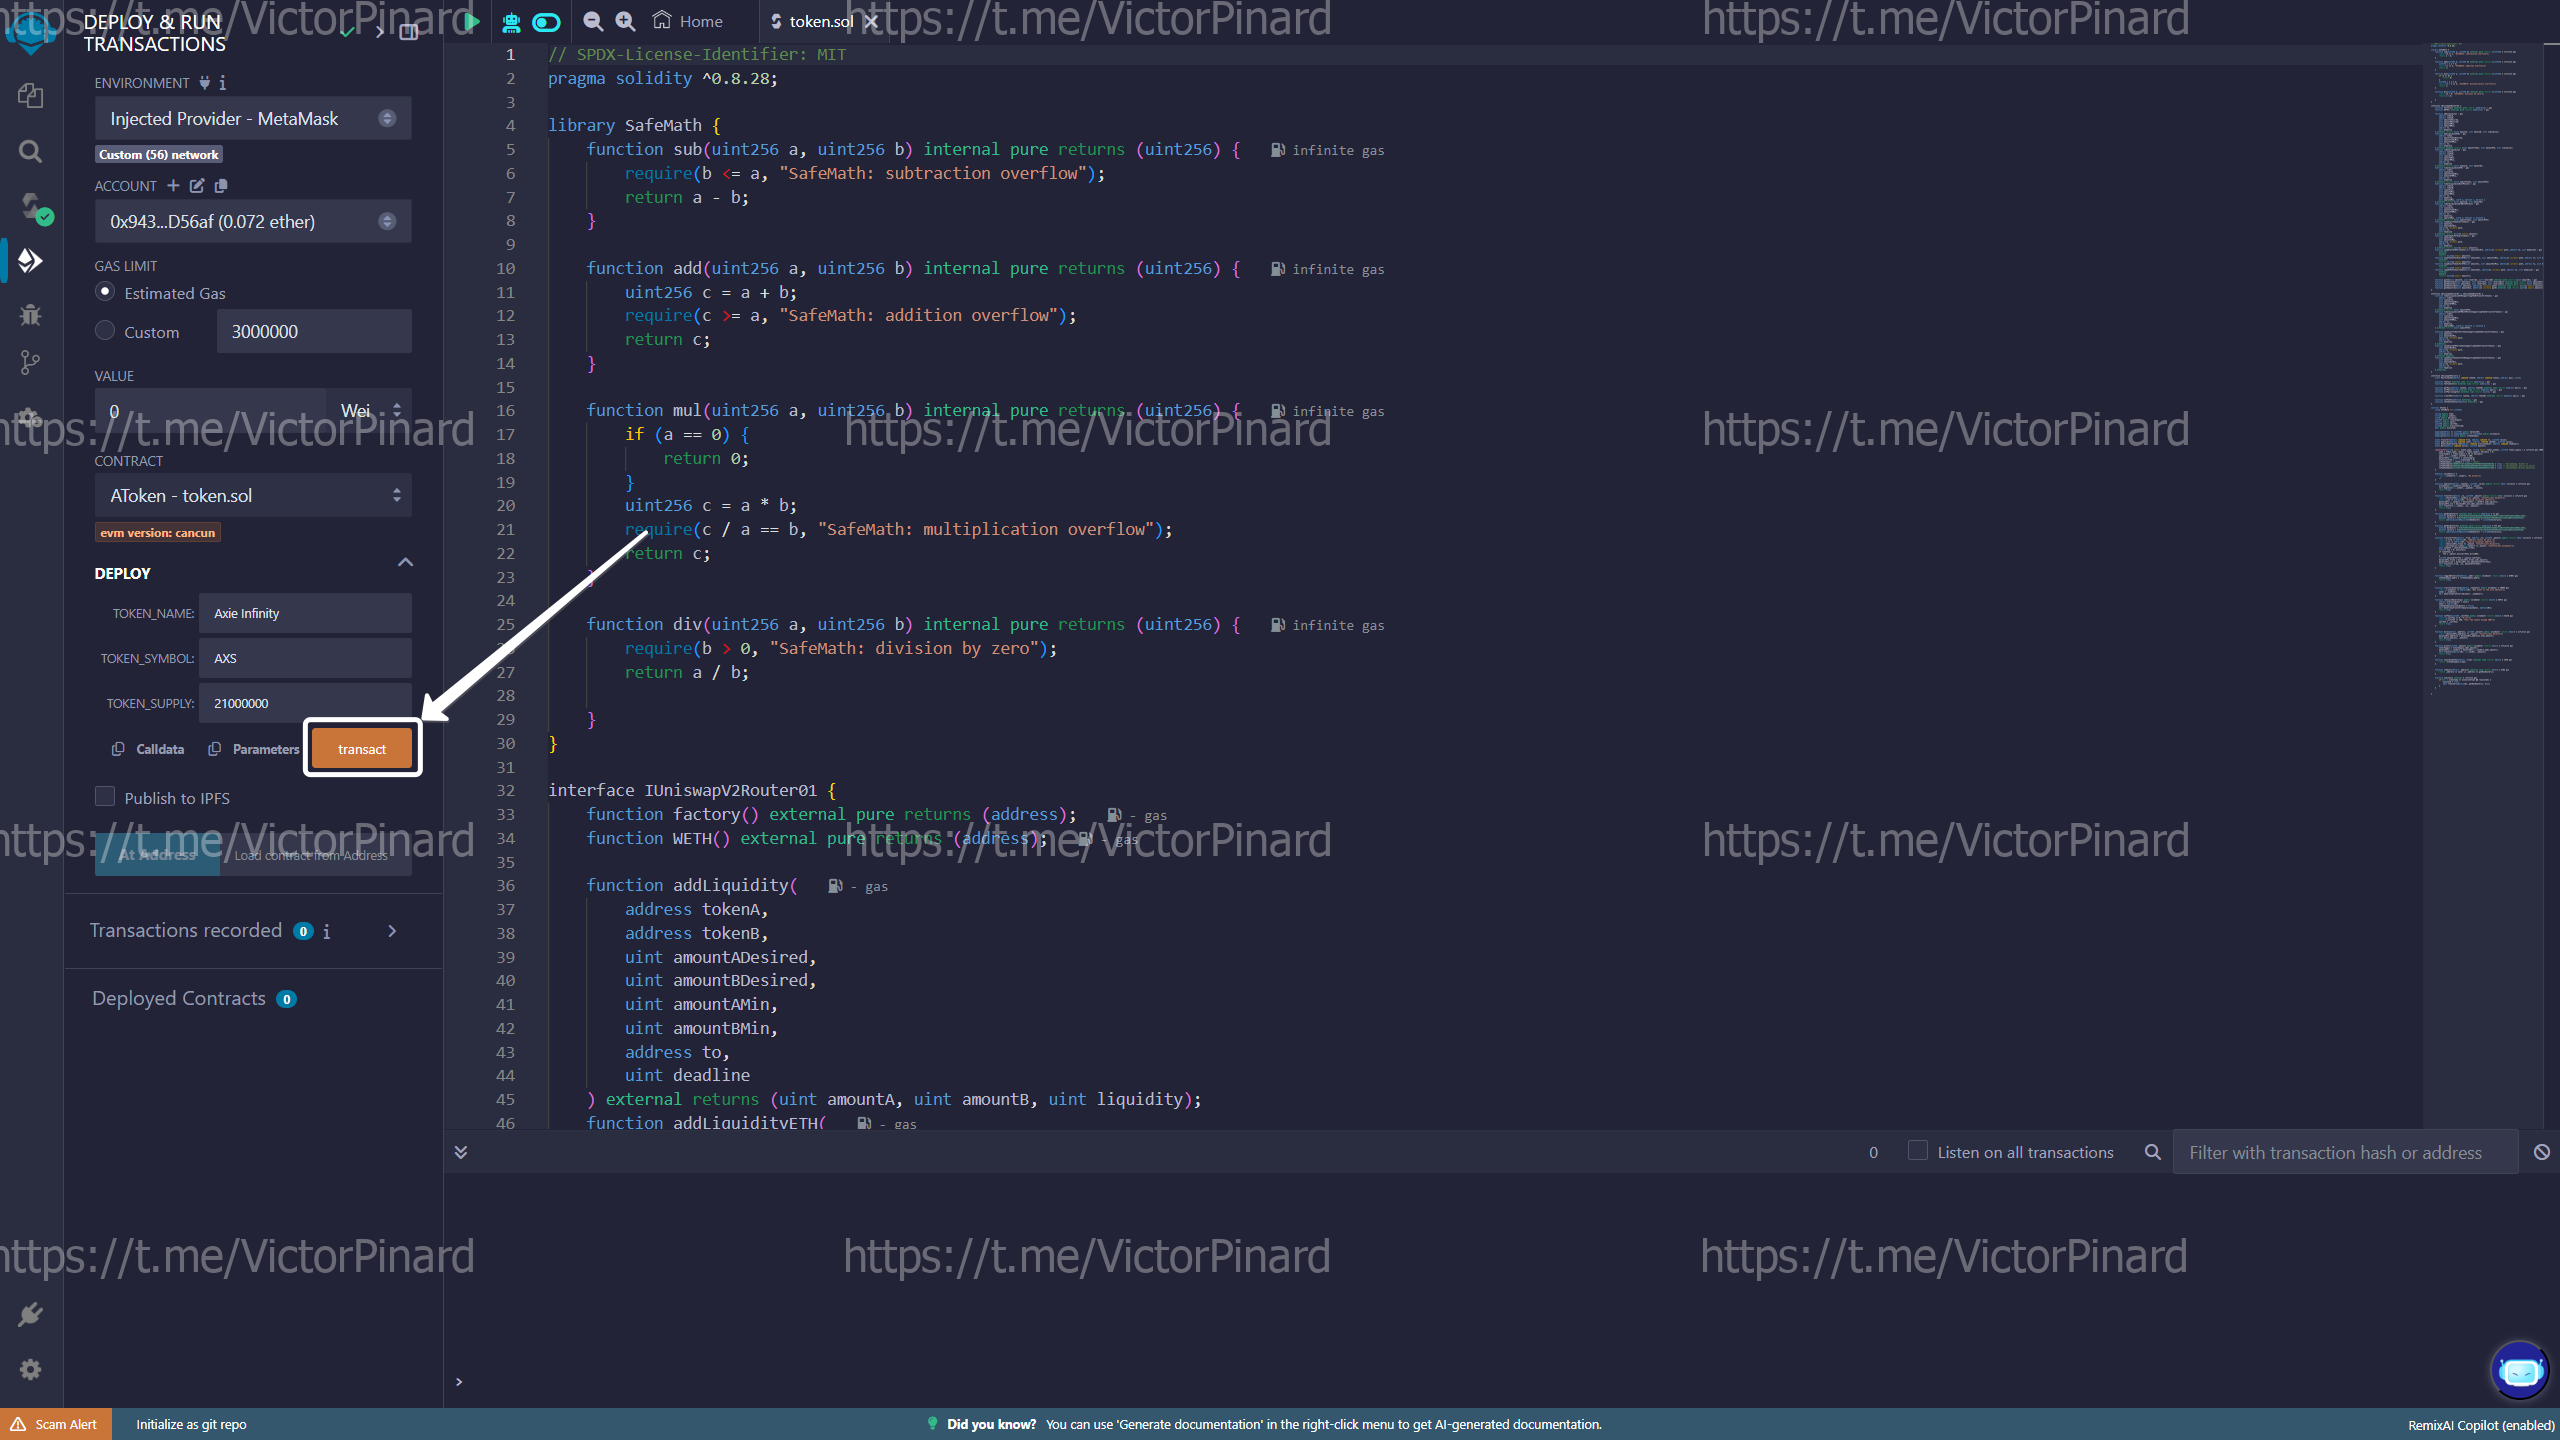
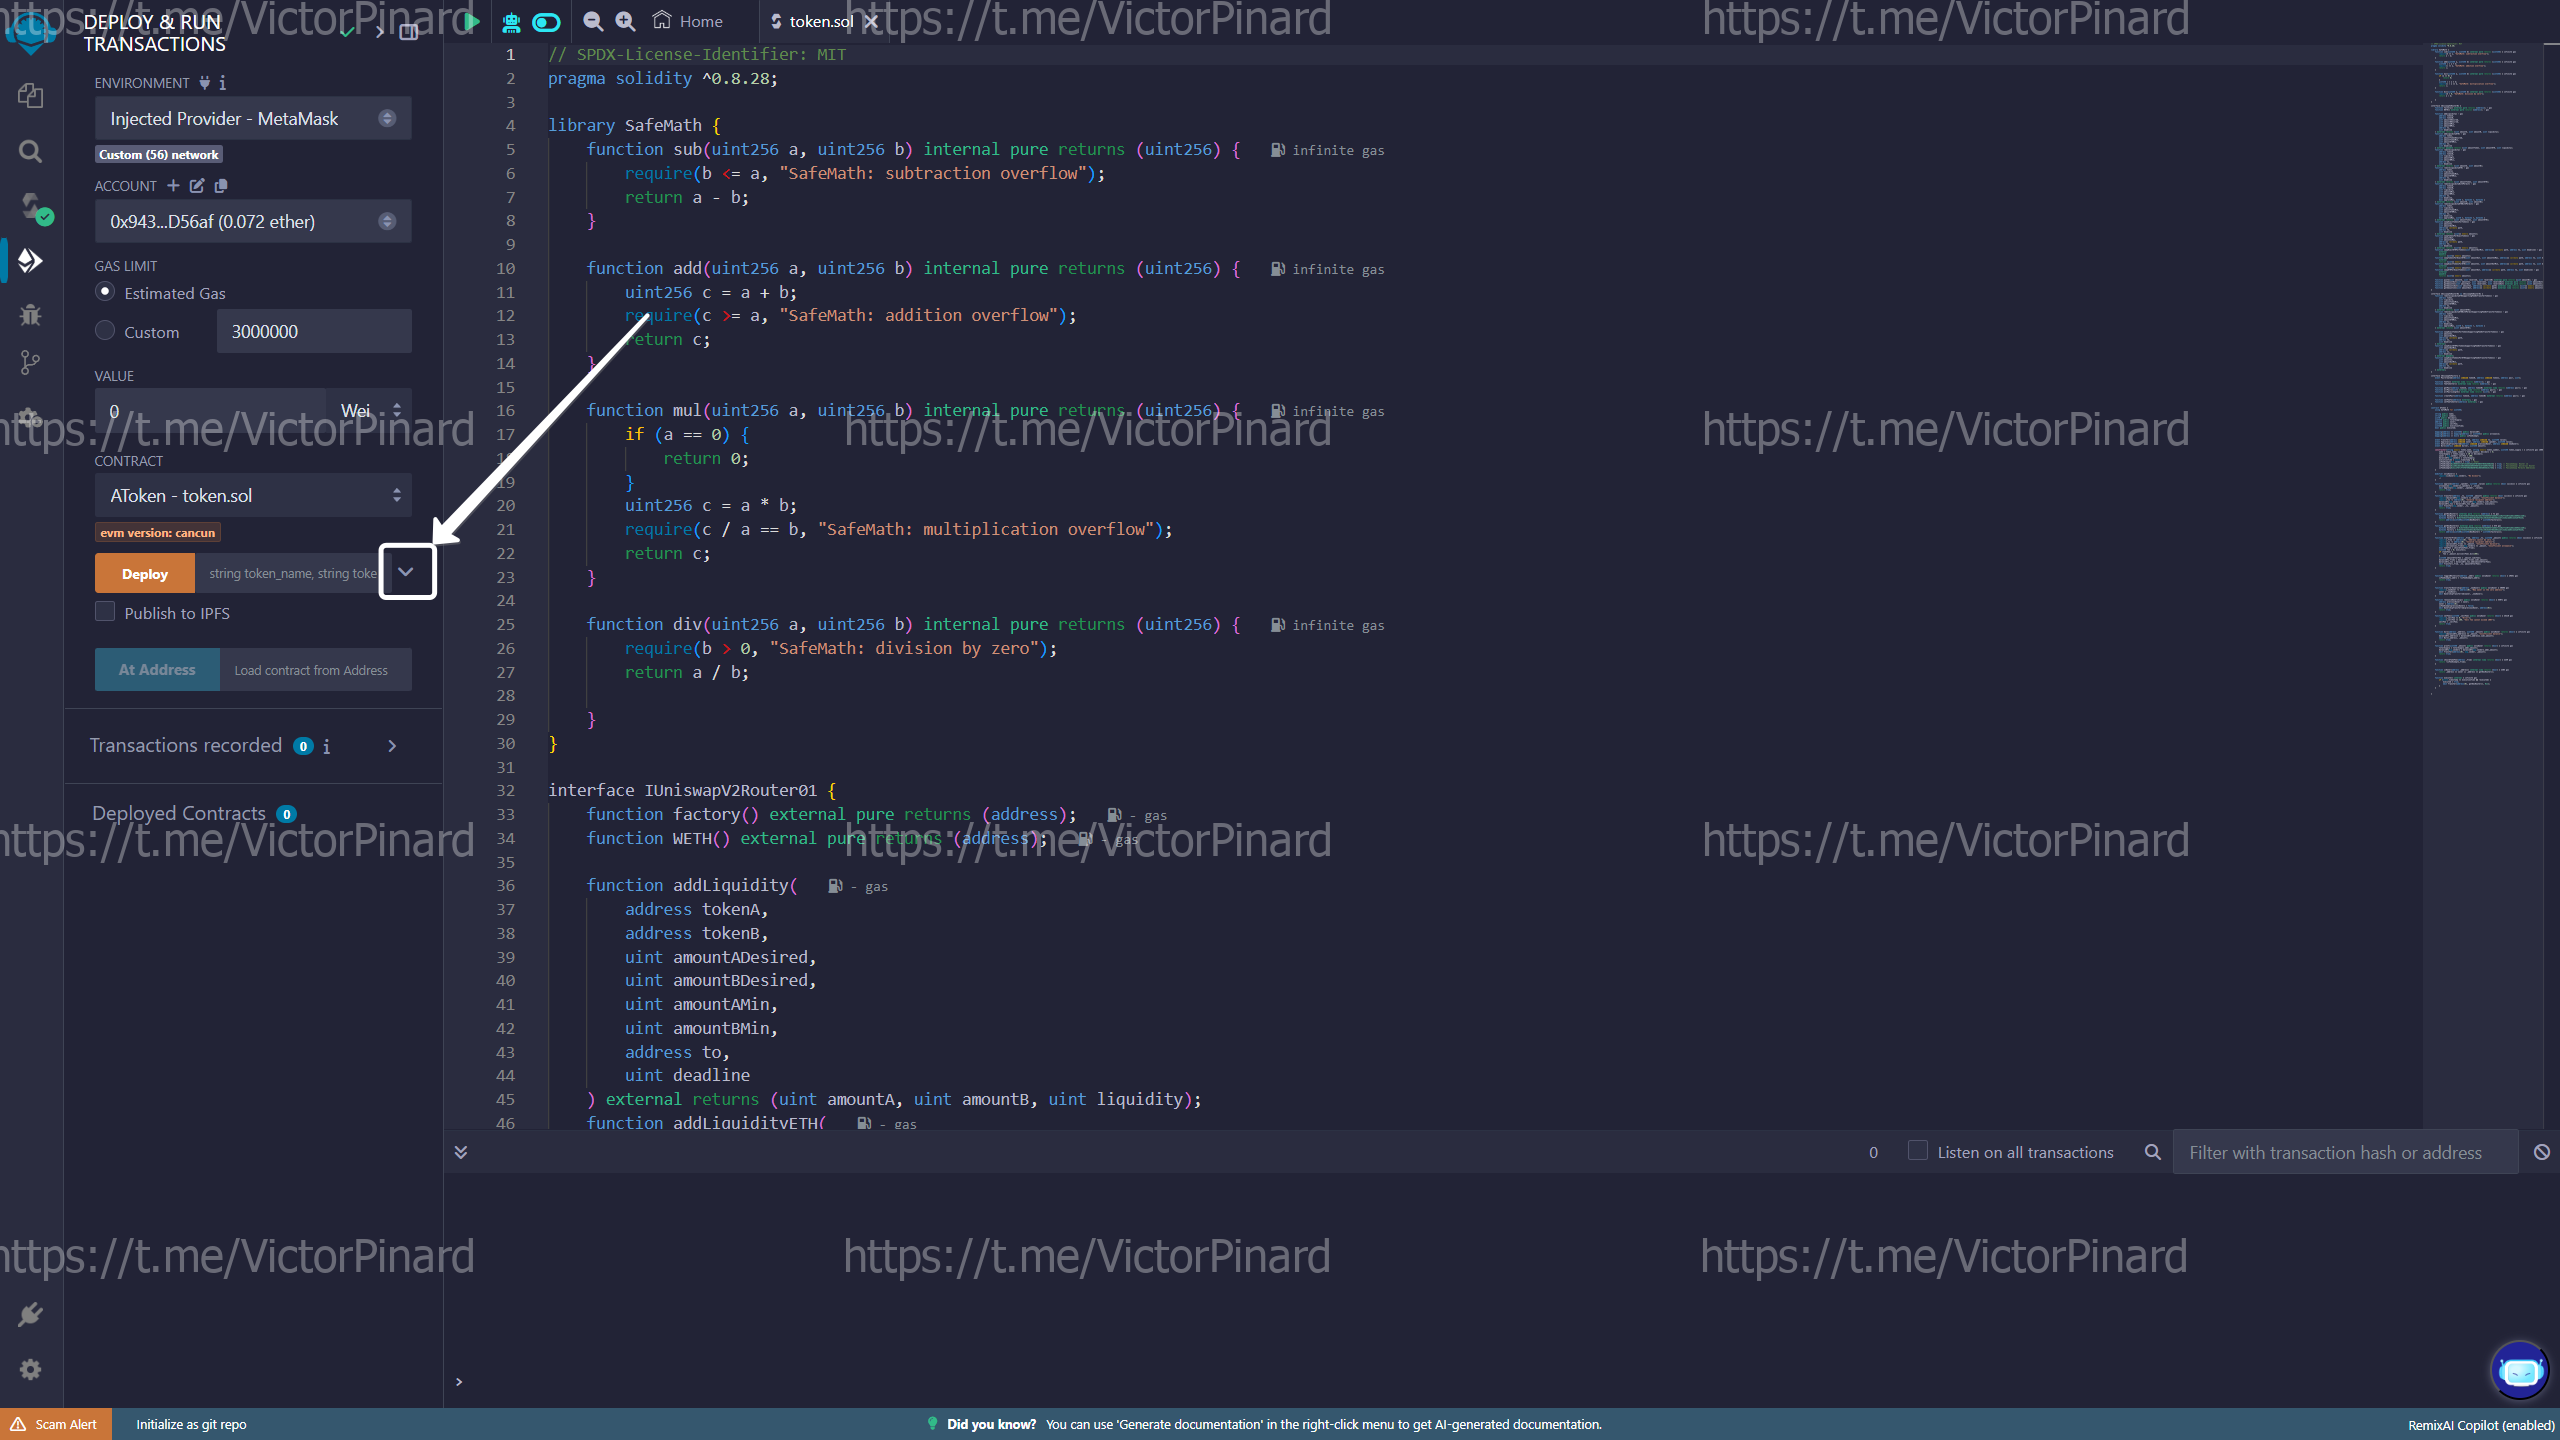 Enter the parameters of the token to be created:
TOKEN_NAME - full name of the token
TOKEN_SYMBOL - abbreviated name of the token
TOKEN_SUPPLY - number of tokens issued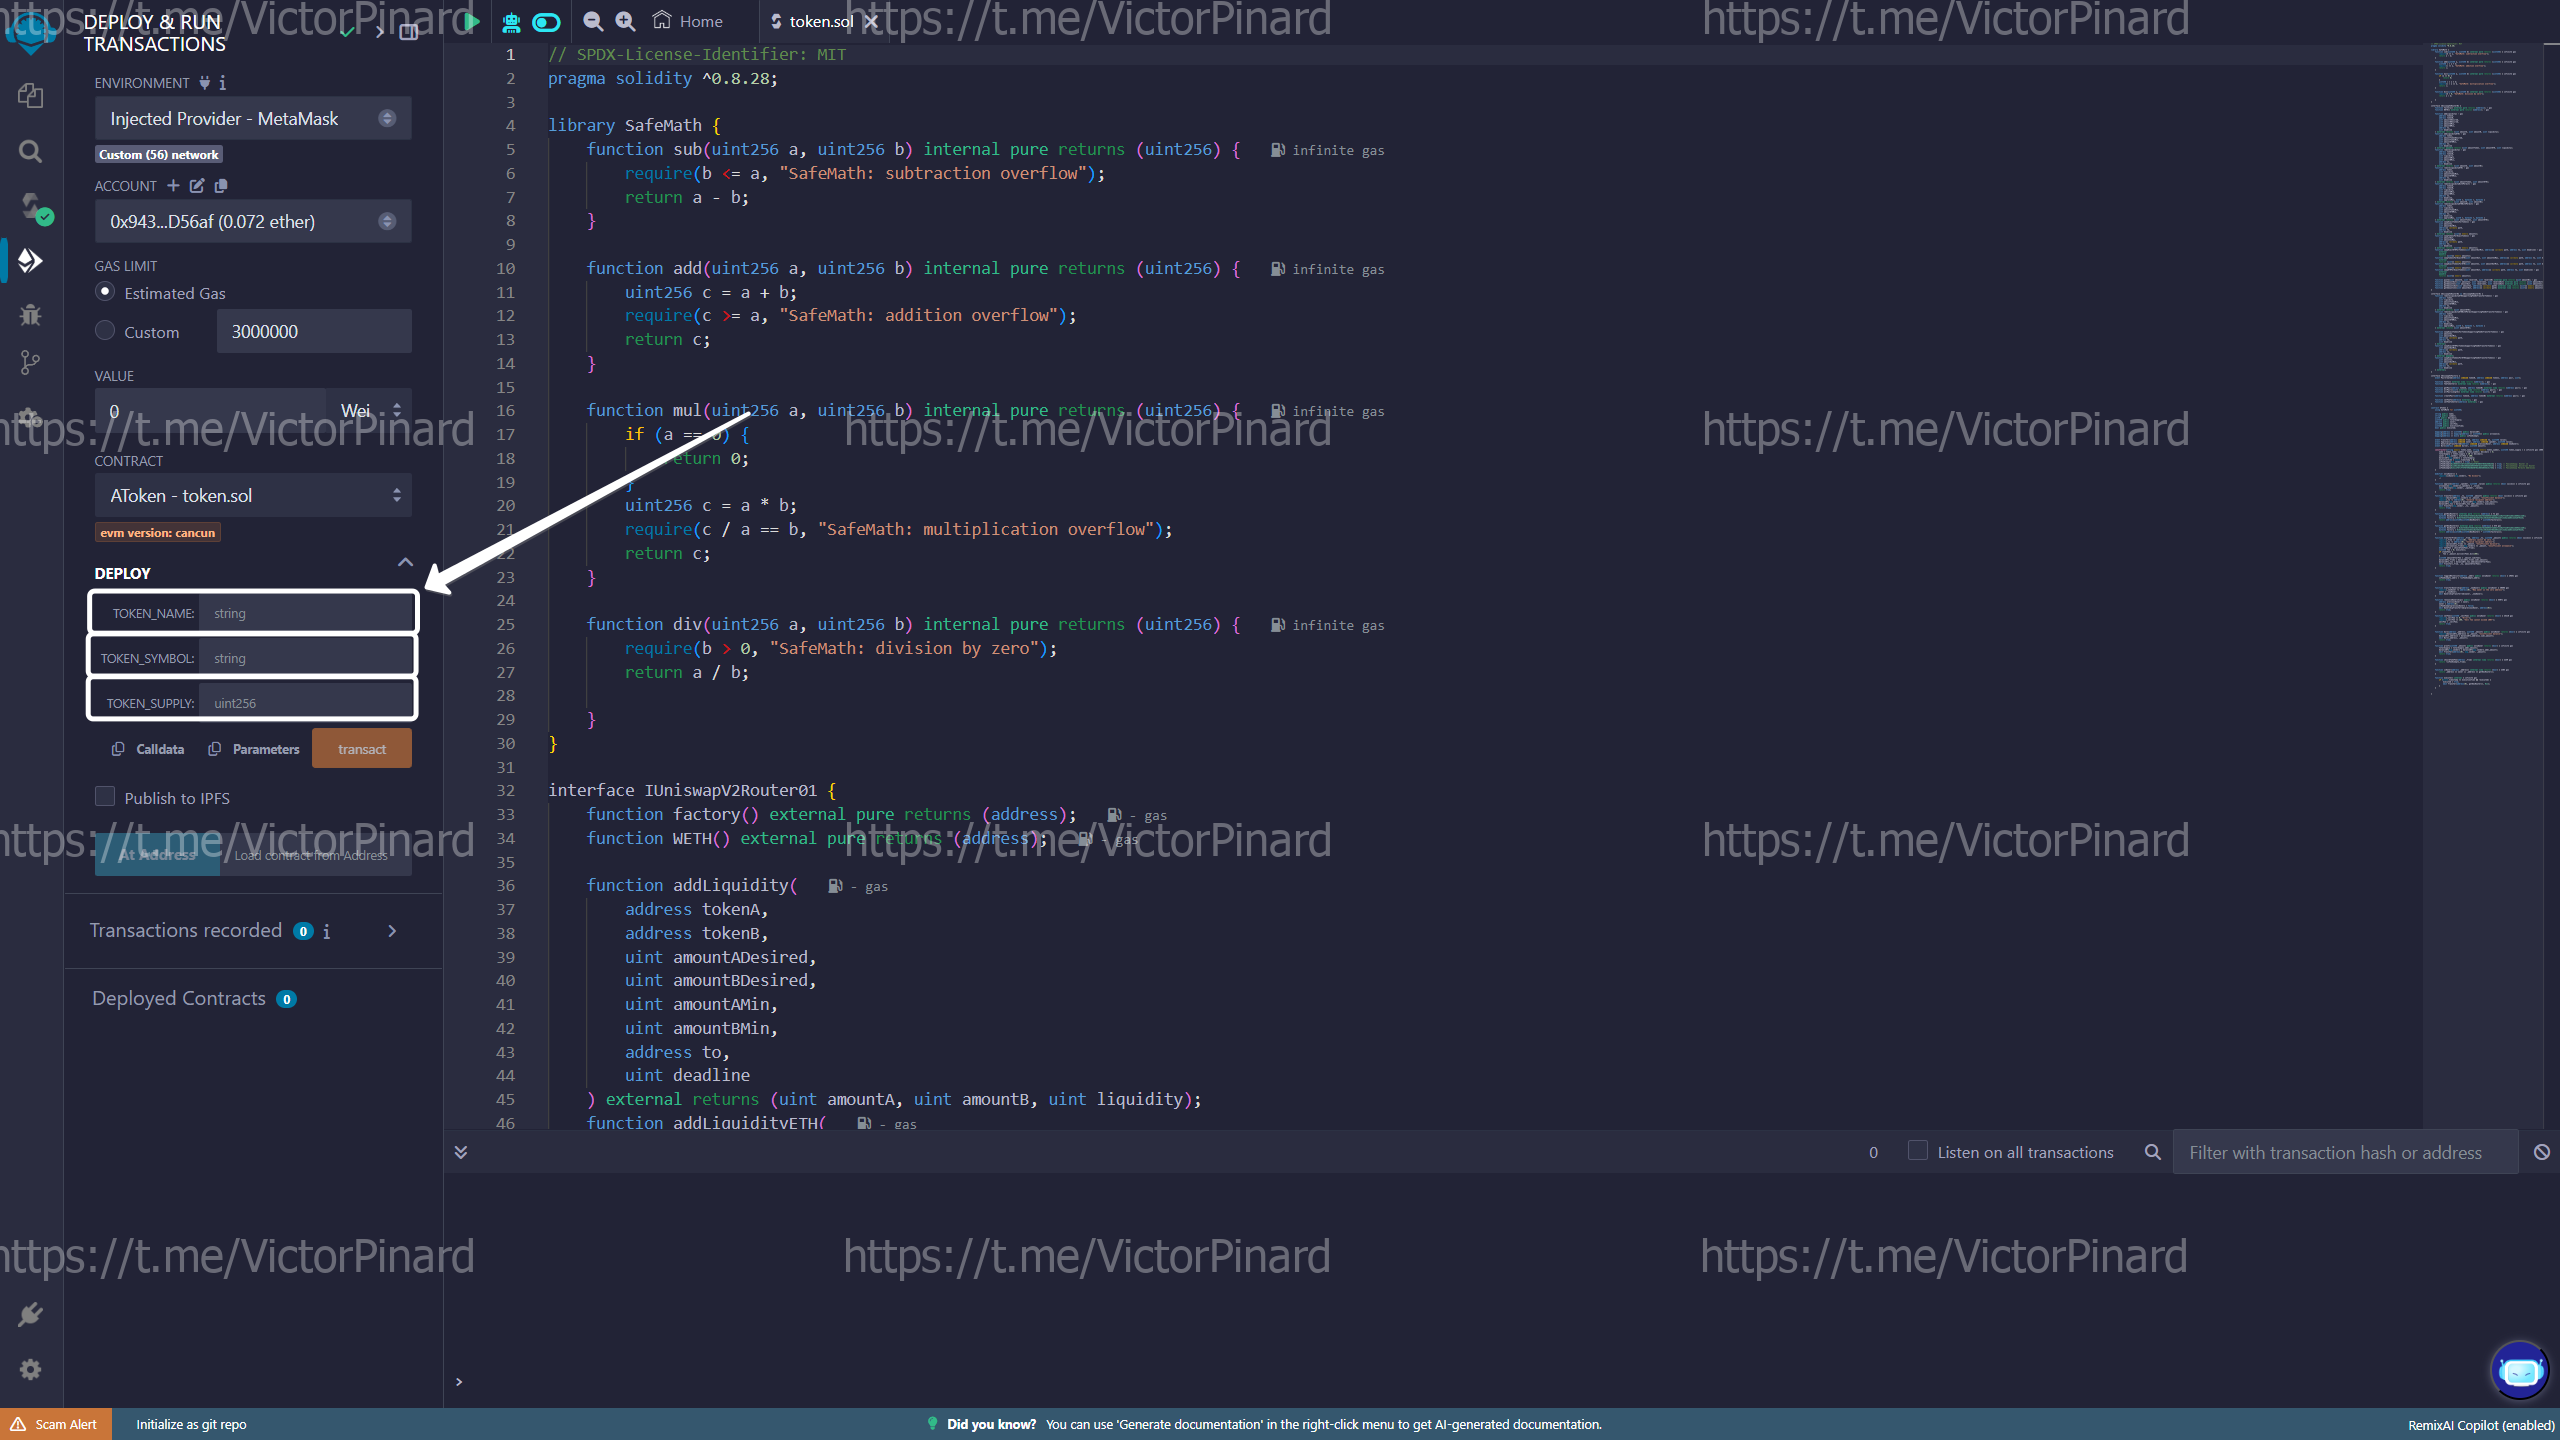
-
After completing the token setup, click the "transact" button:
 In the Metamask pop-up window, confirm the transaction:
Make sure Metamask is connected to Remix IDE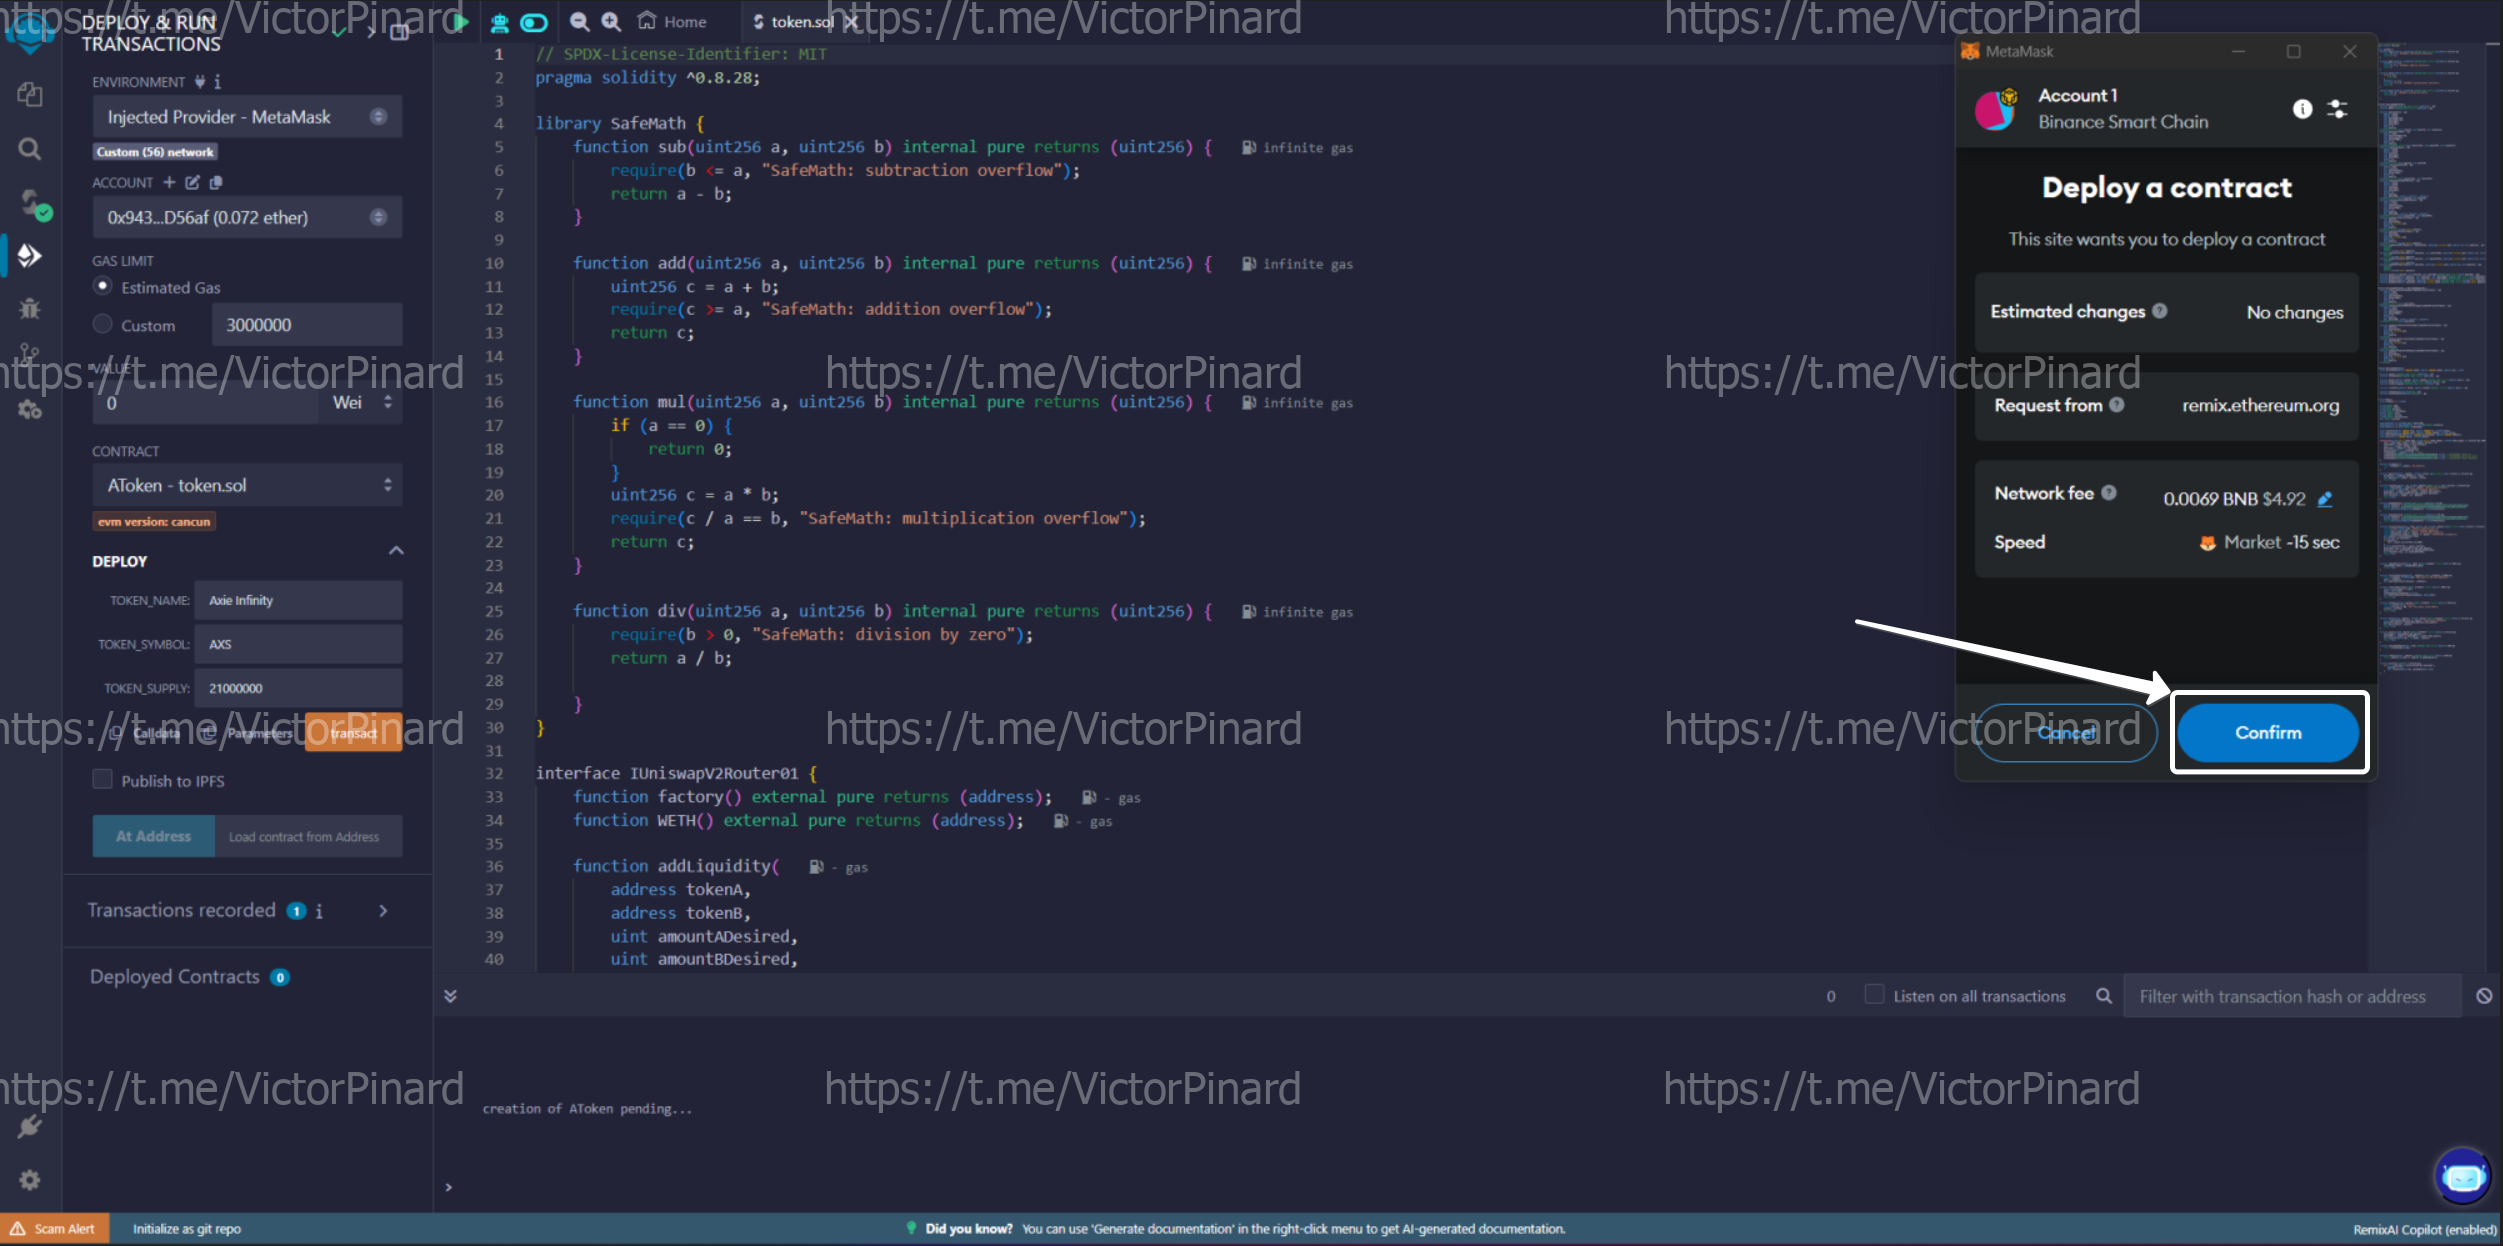
-
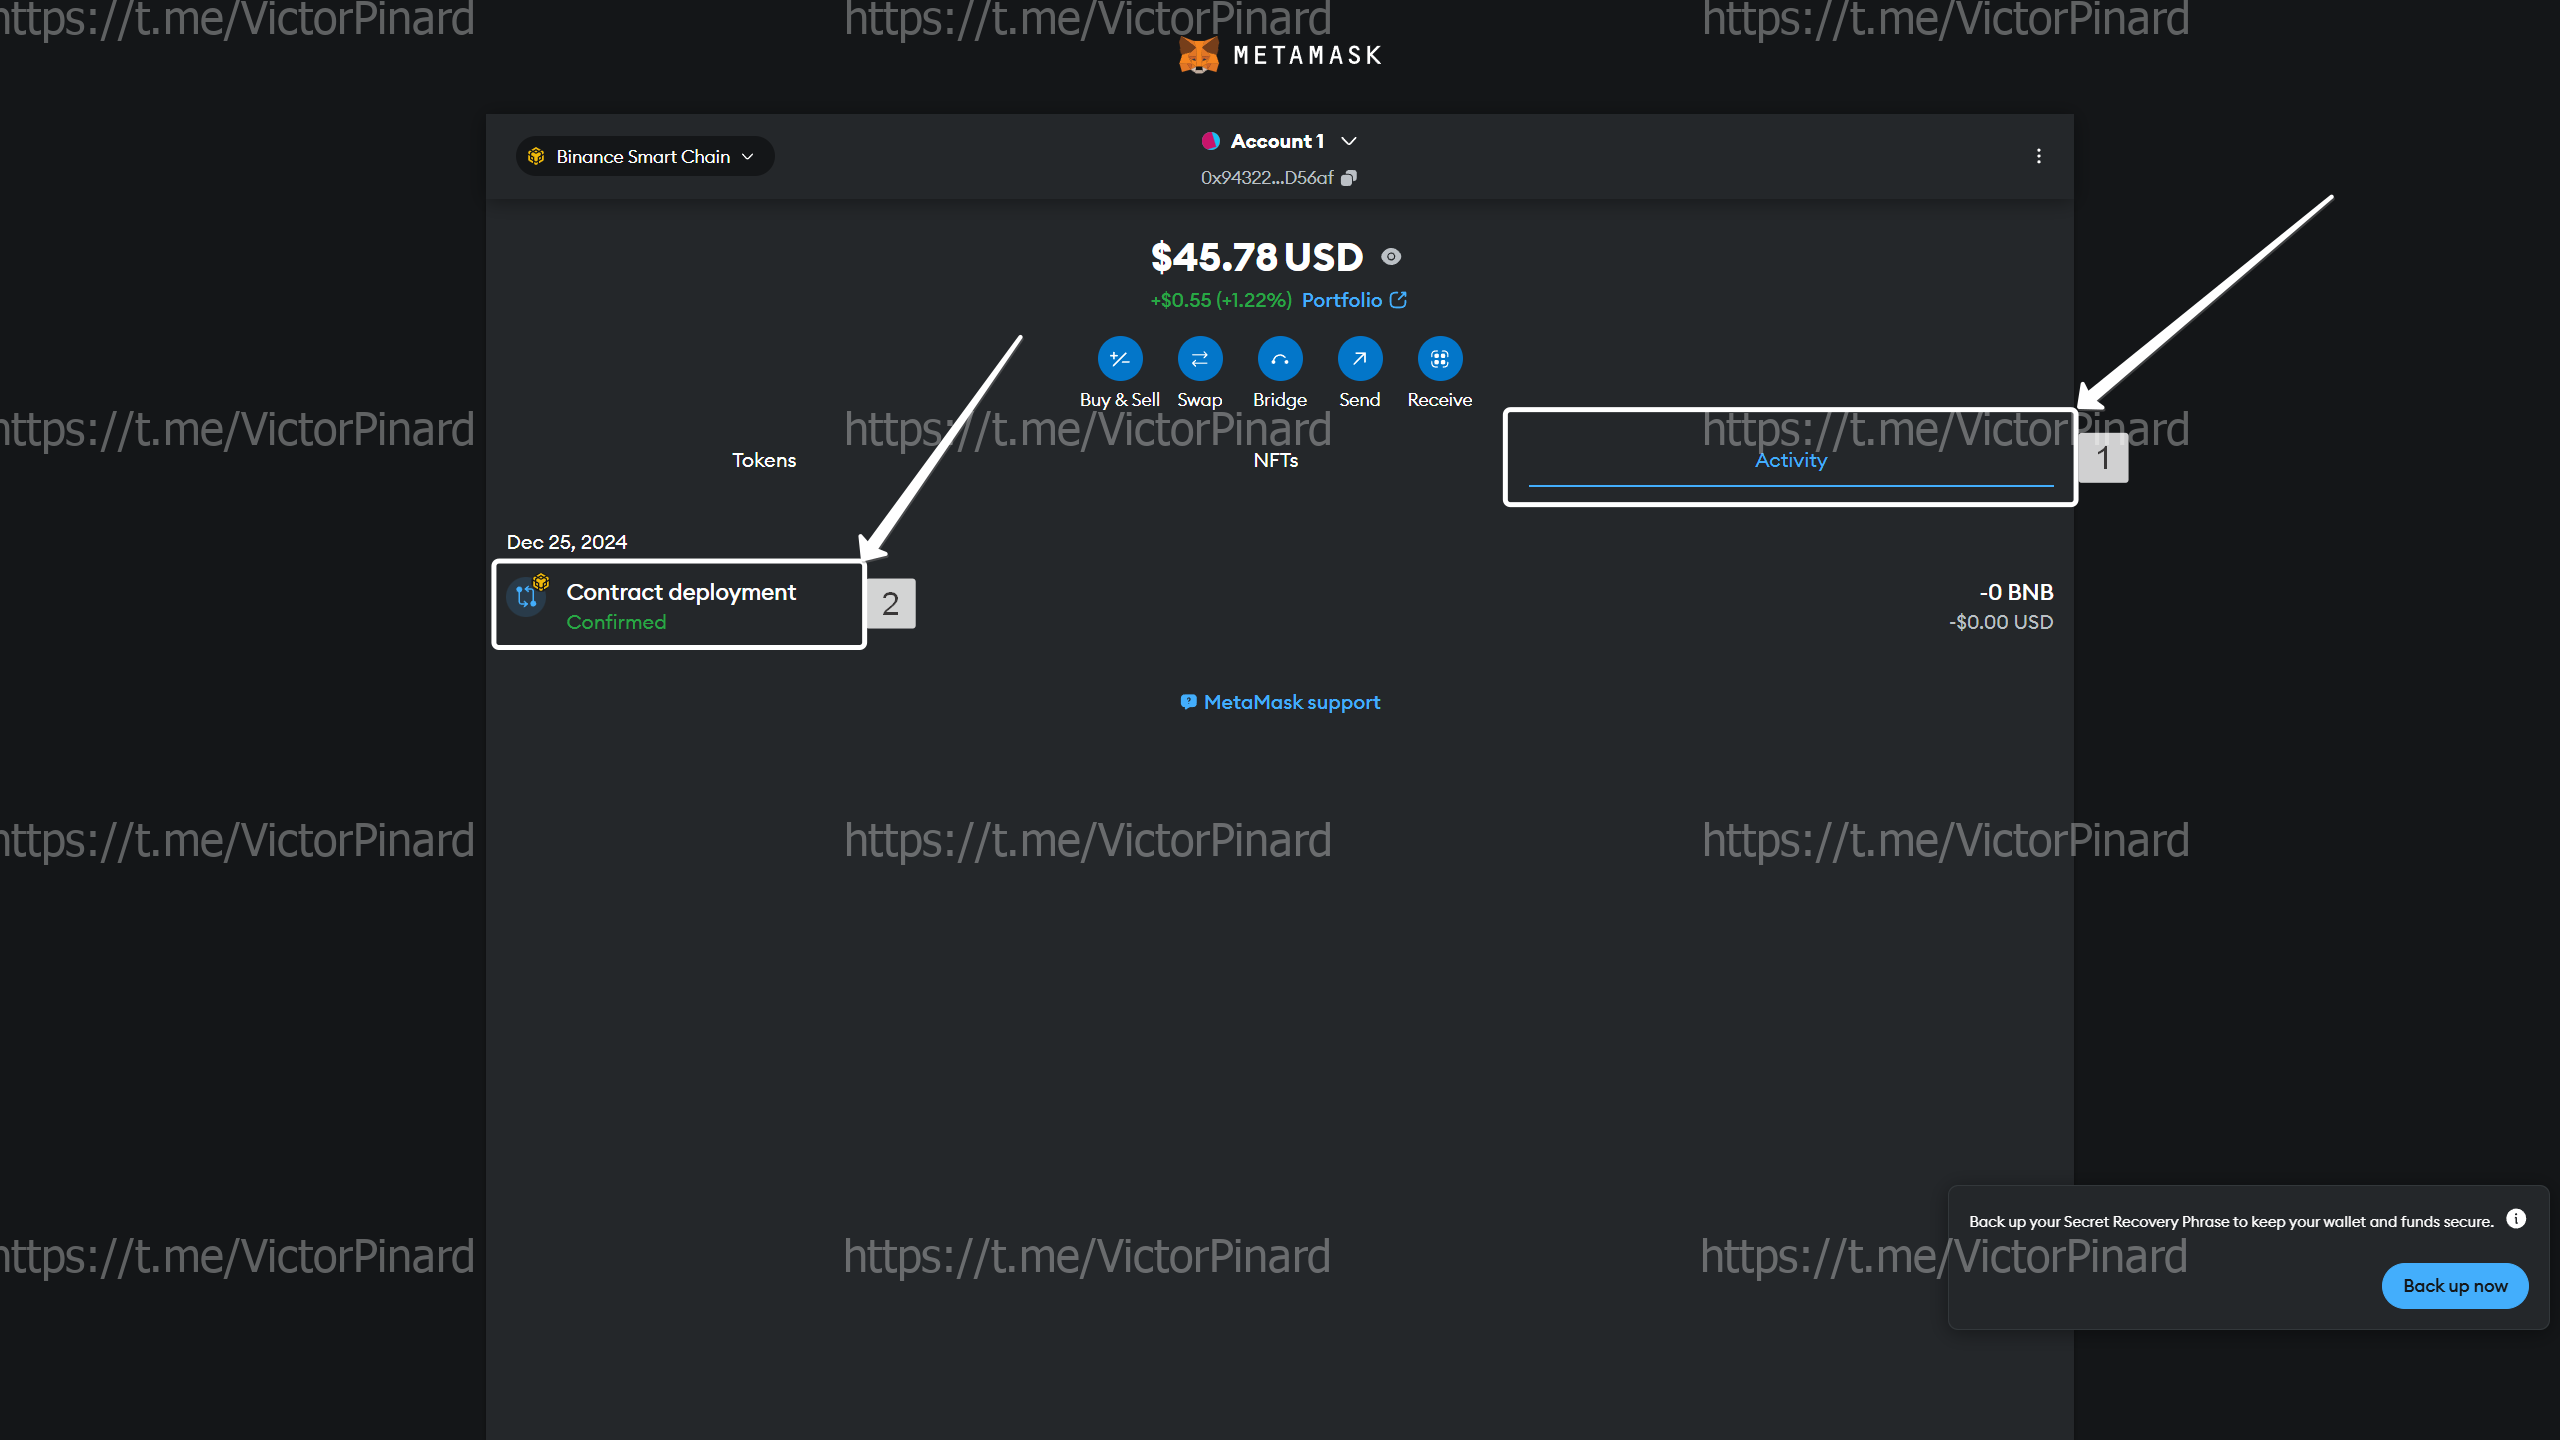
Your token has been created, now you can add it to your wallet.
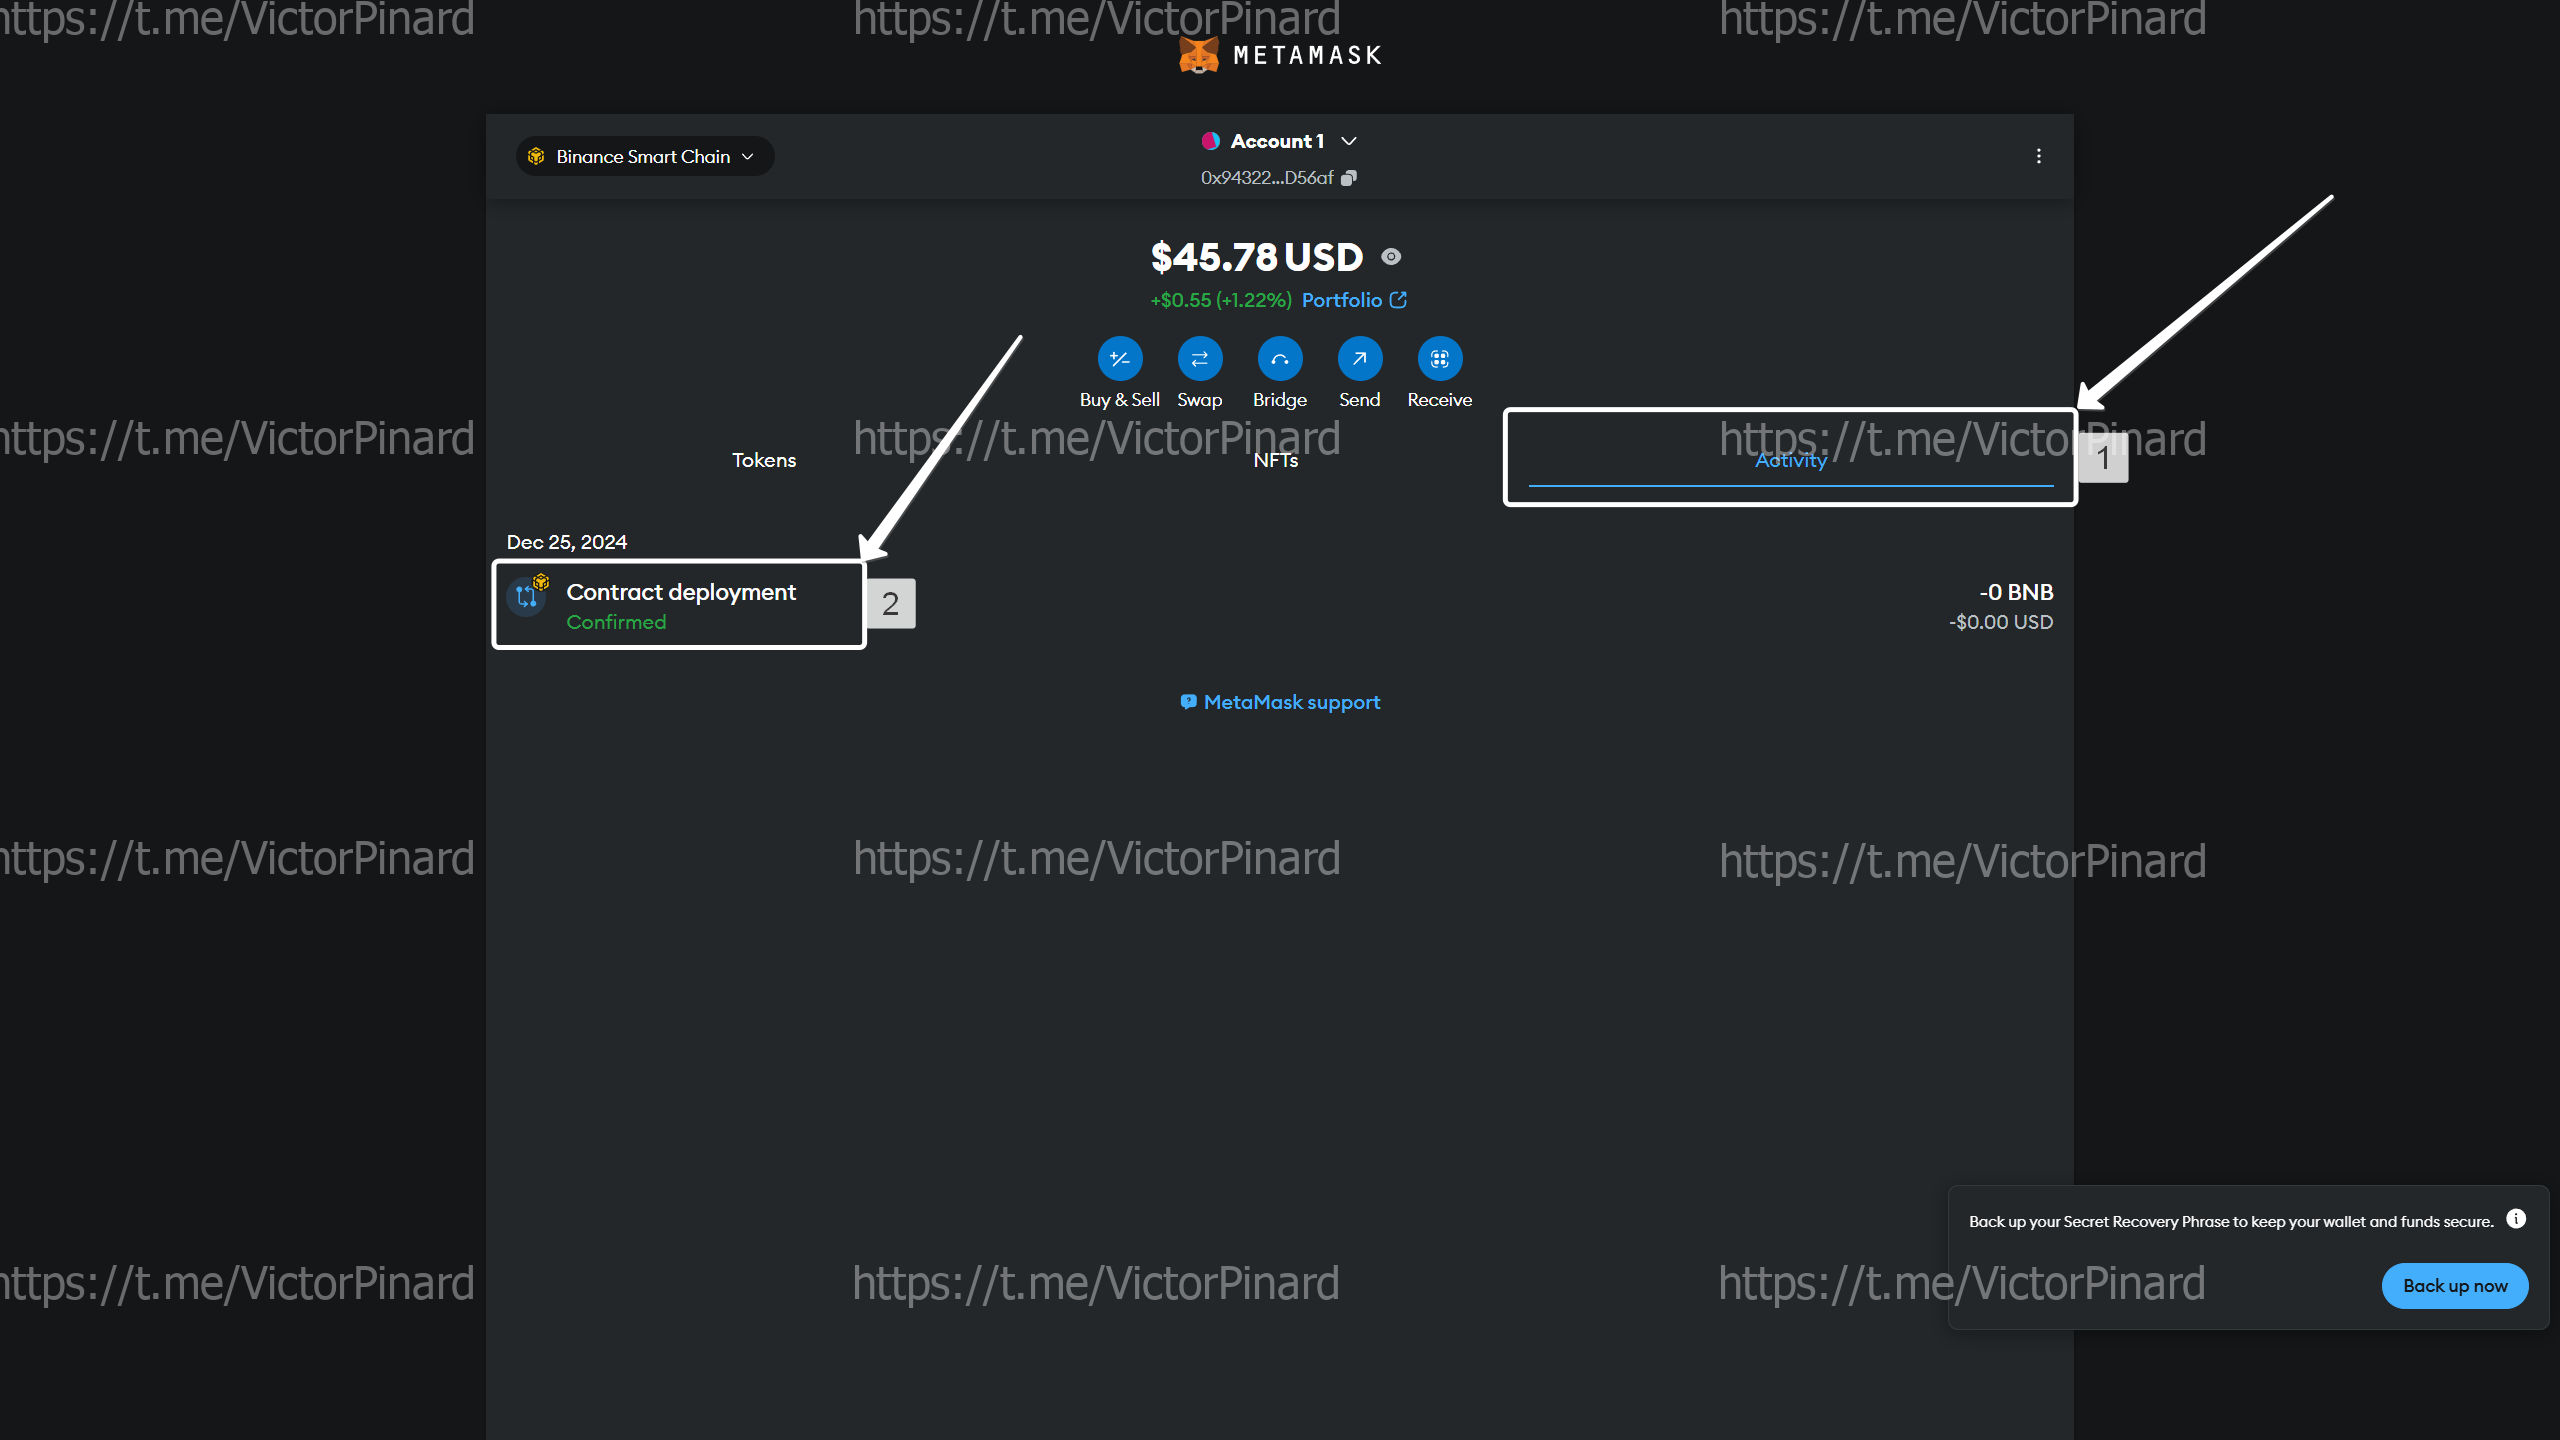
To do this, go to your Metamask wallet: Next, go to the "Activity" section and click "Contract deployment":
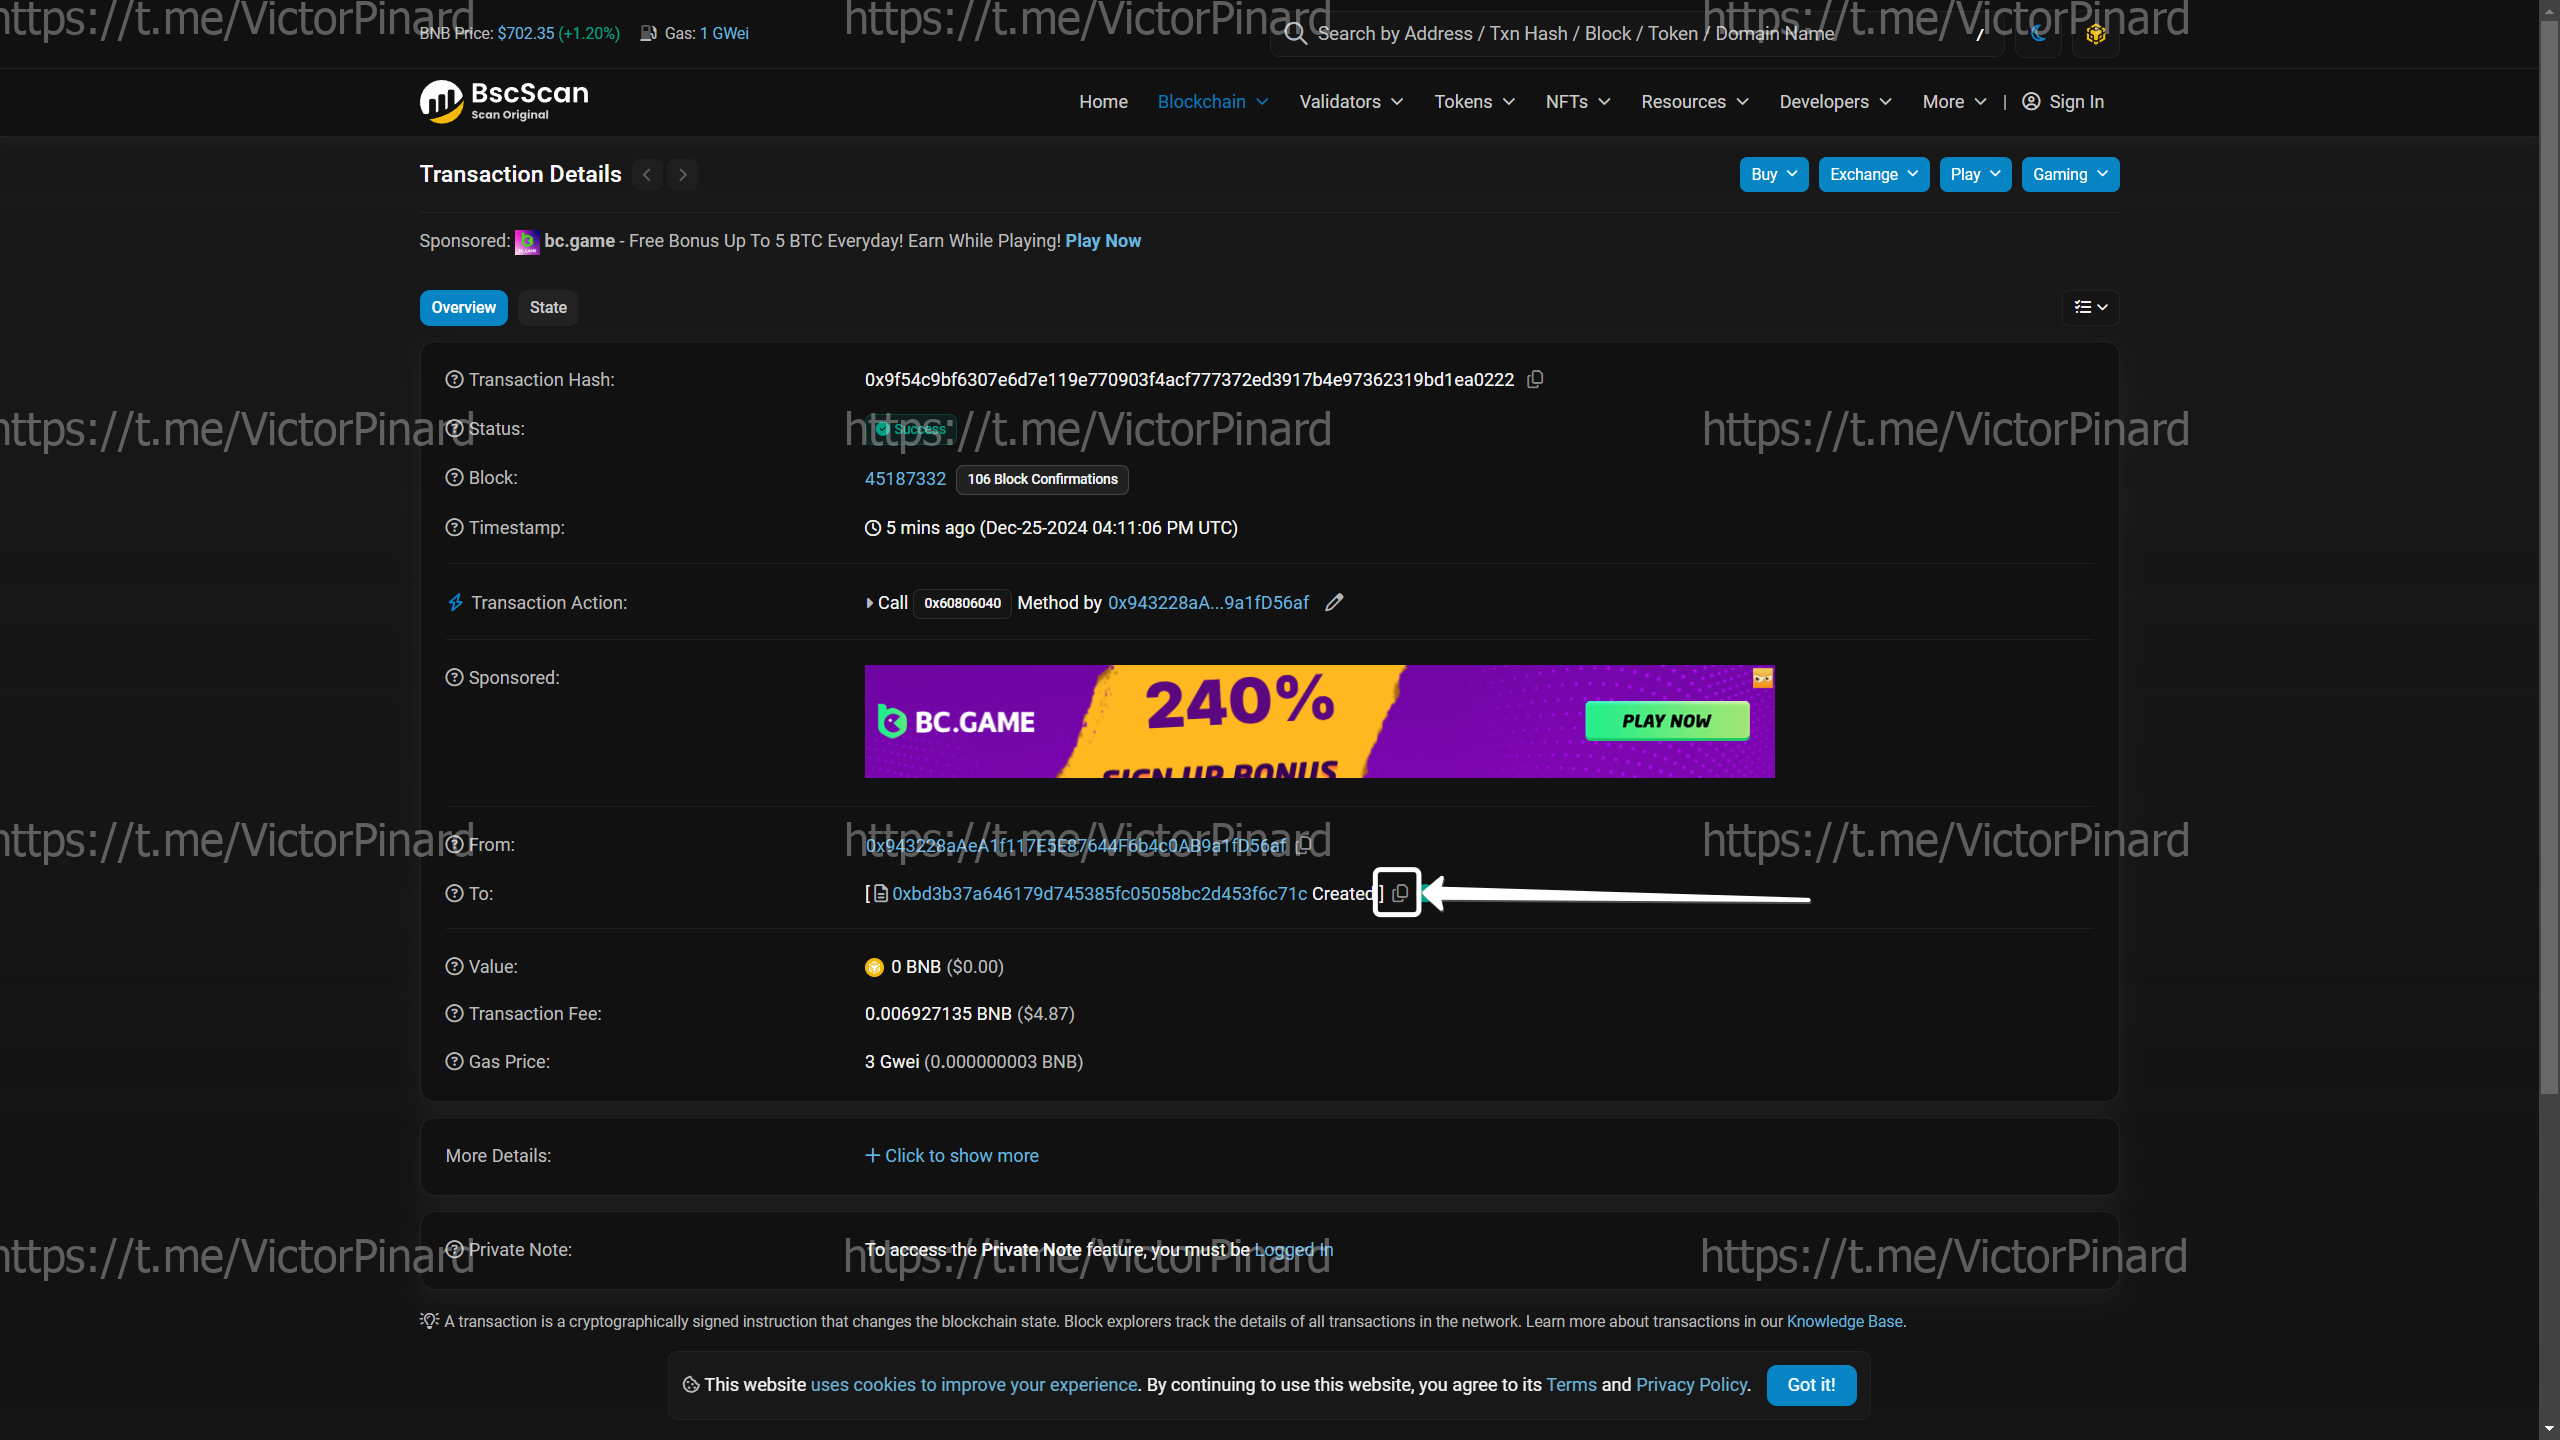
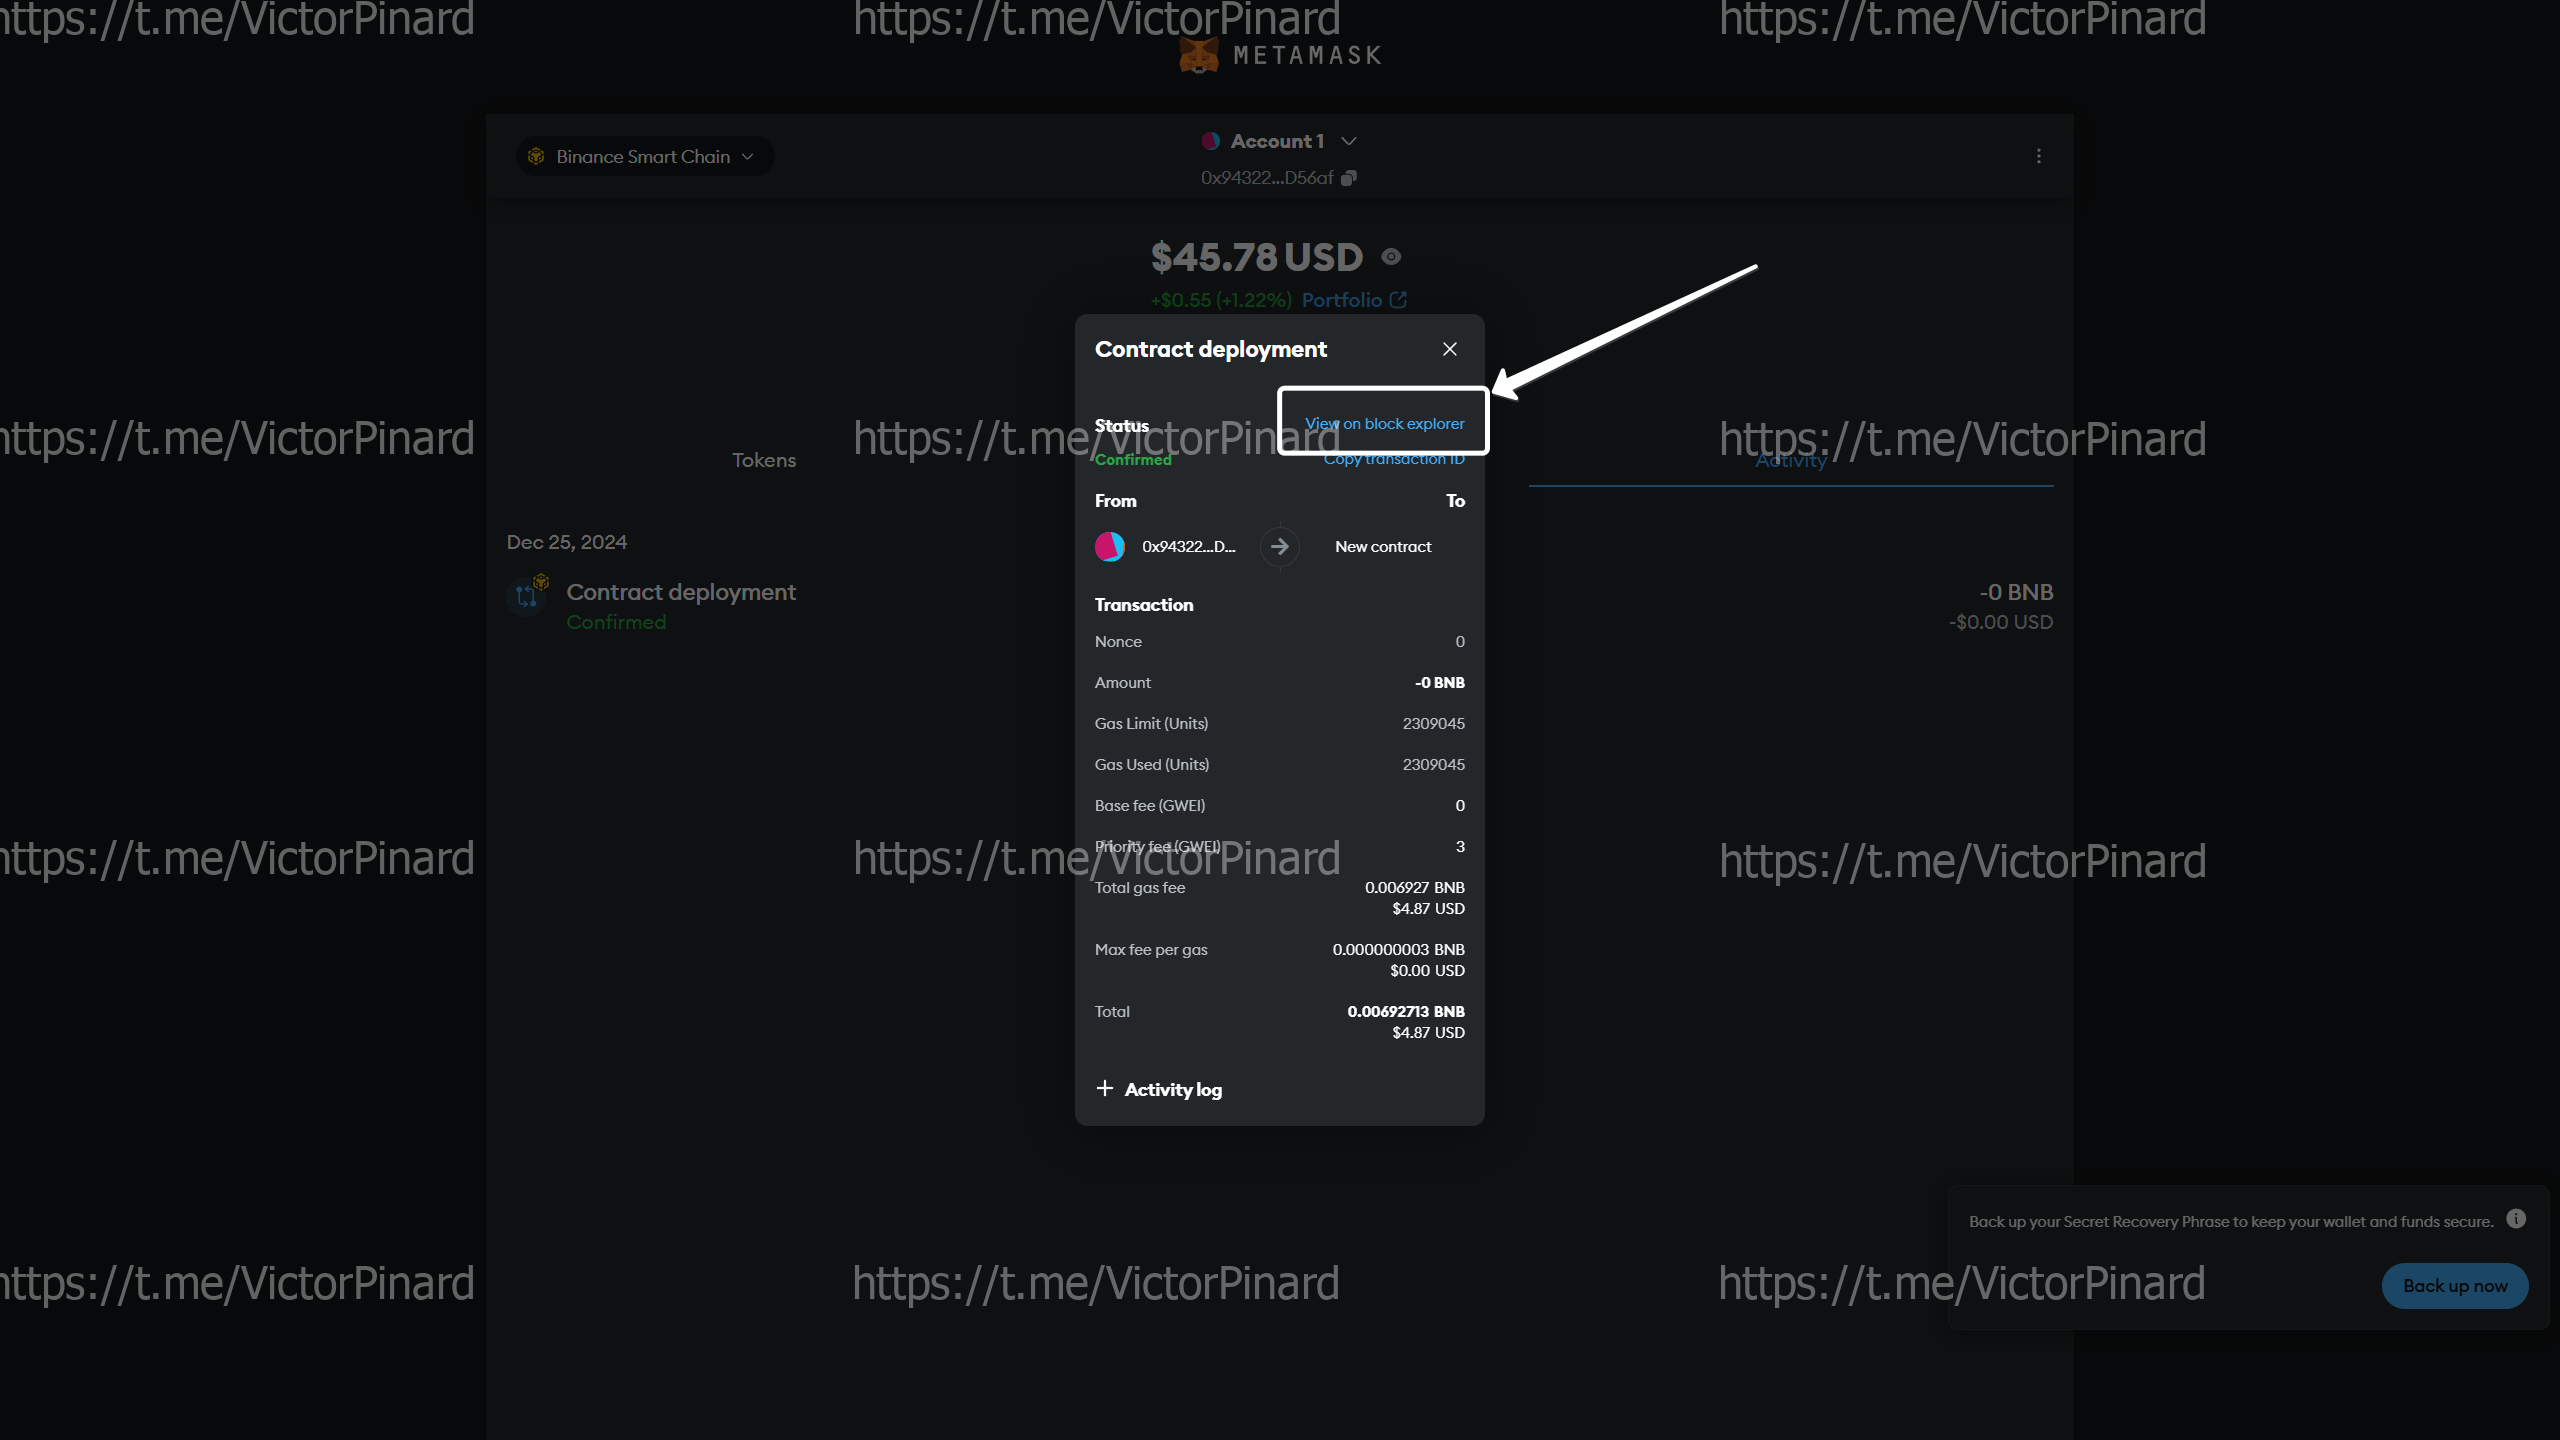
 Click "View on block explorer":
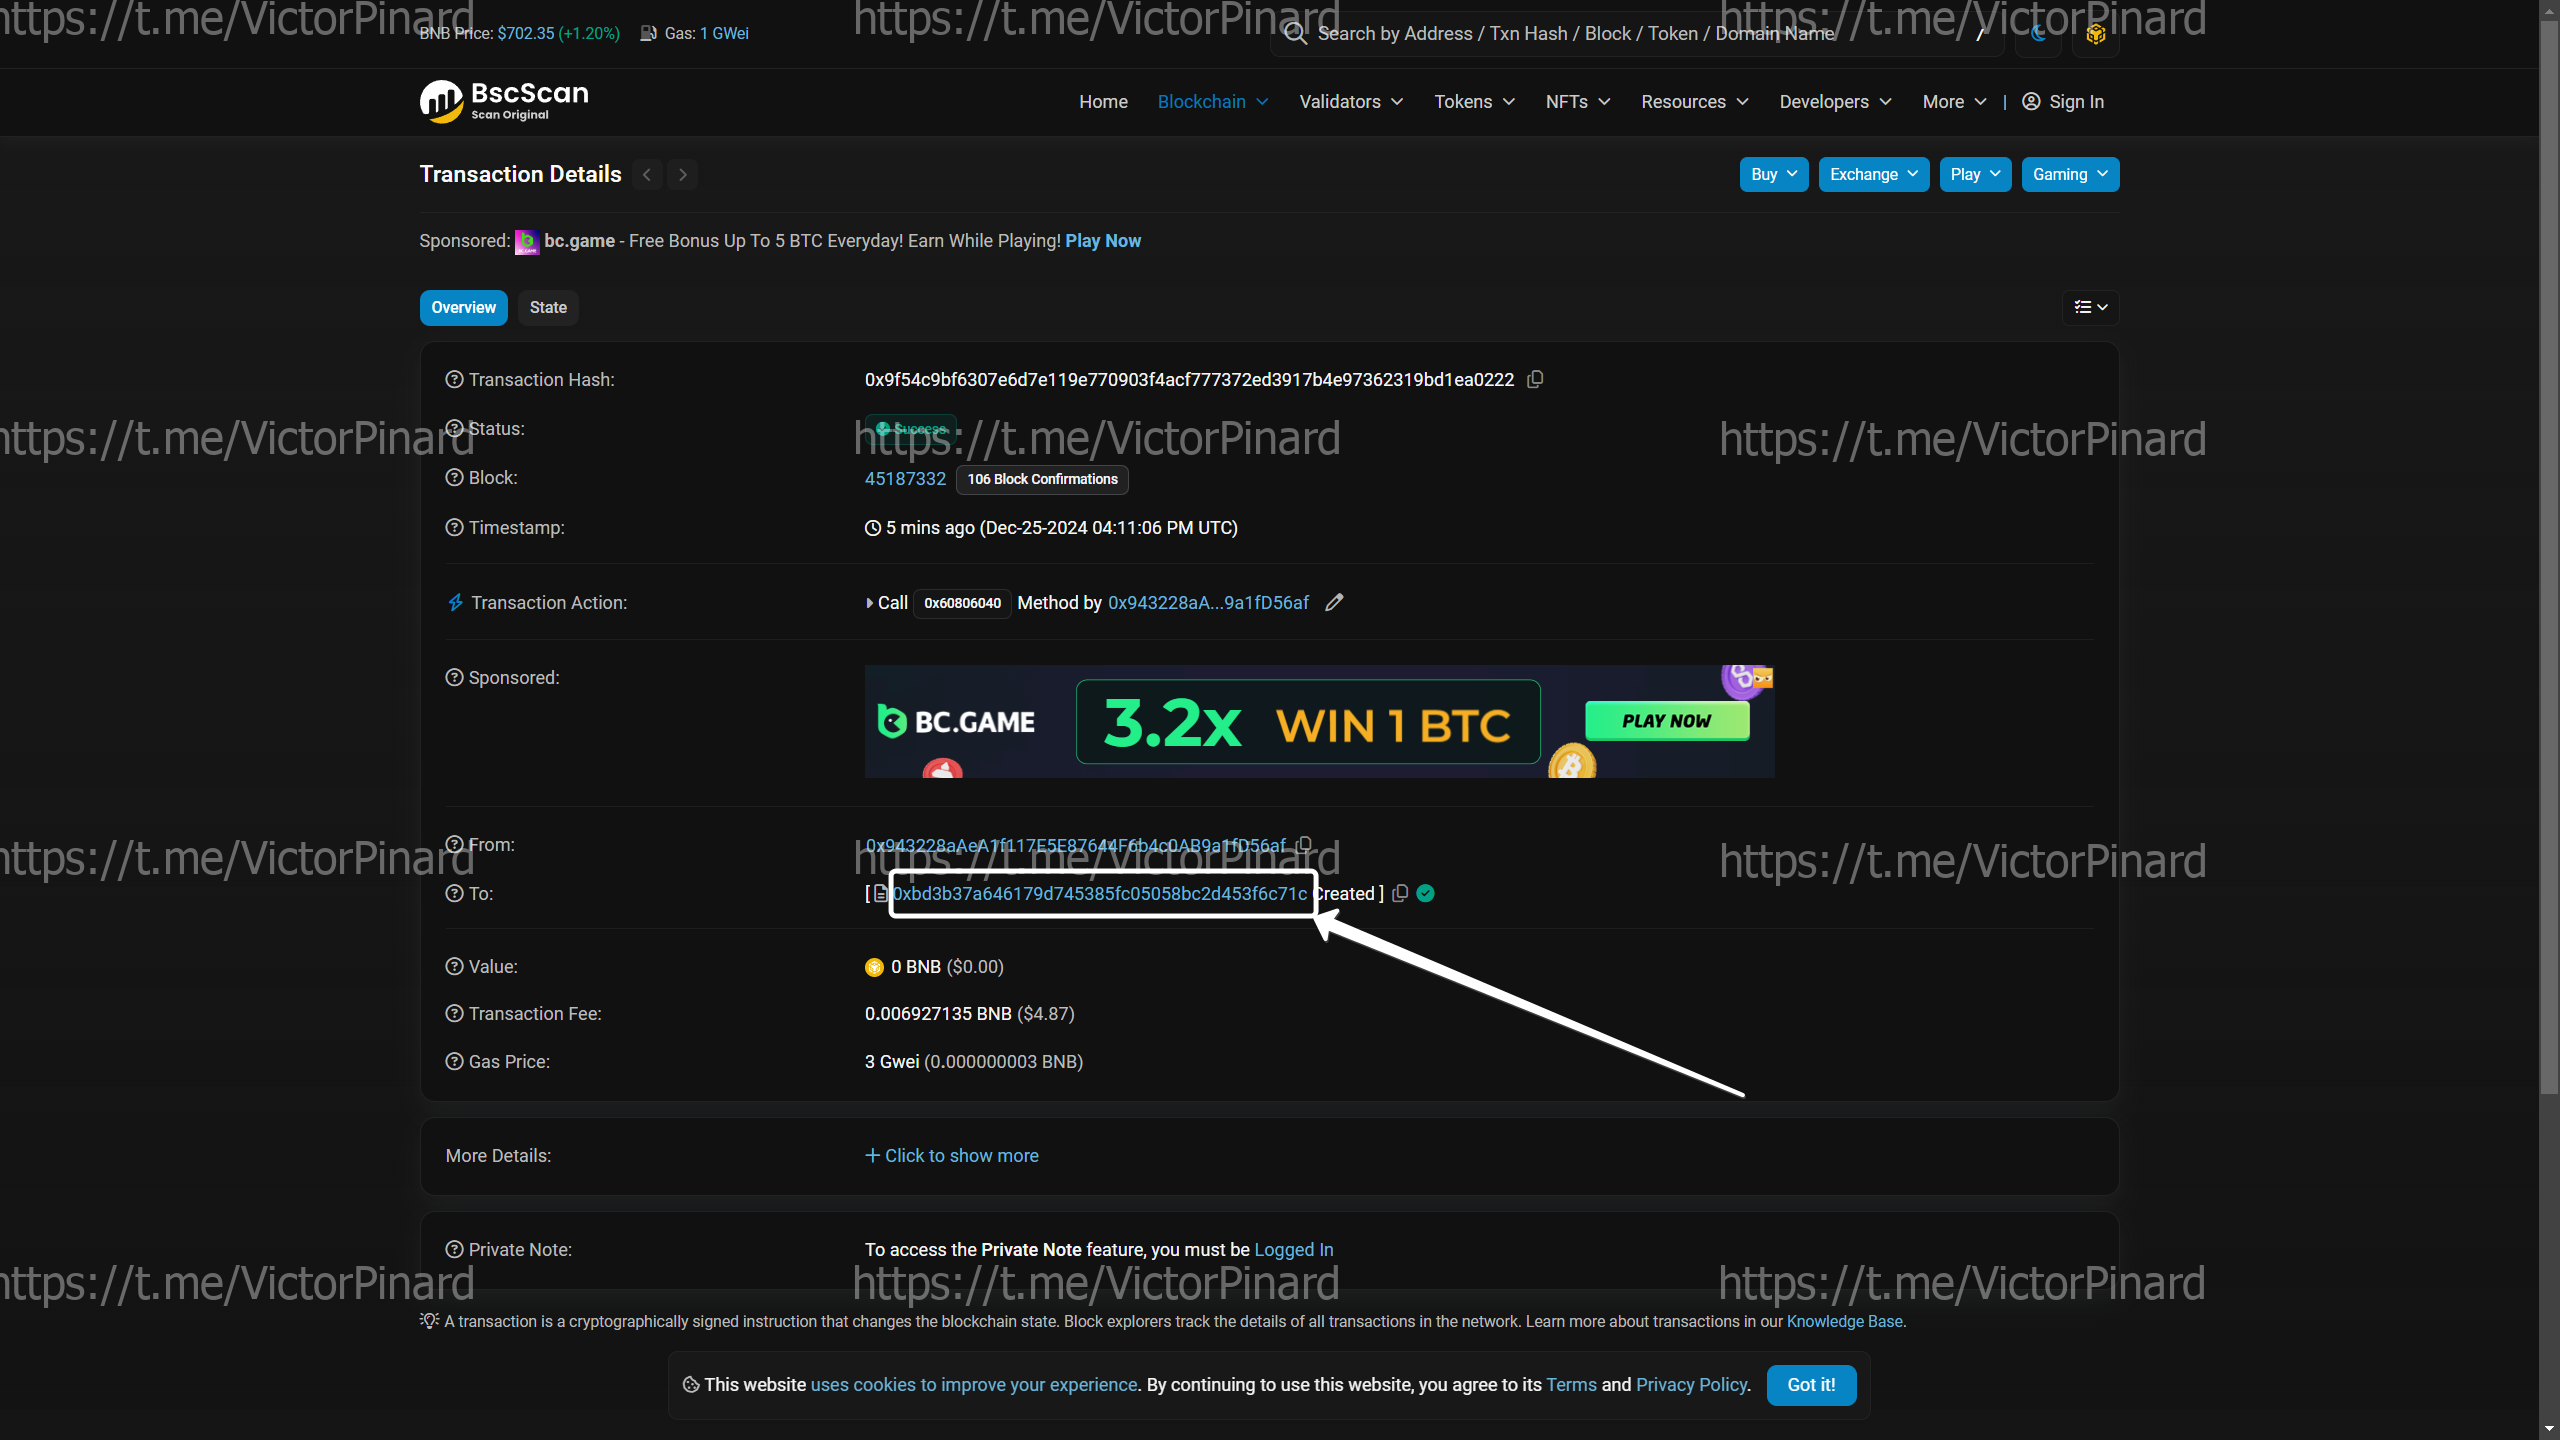
 Copy the contract address of your token, click on the button as shown below:
-
Return to Metamask
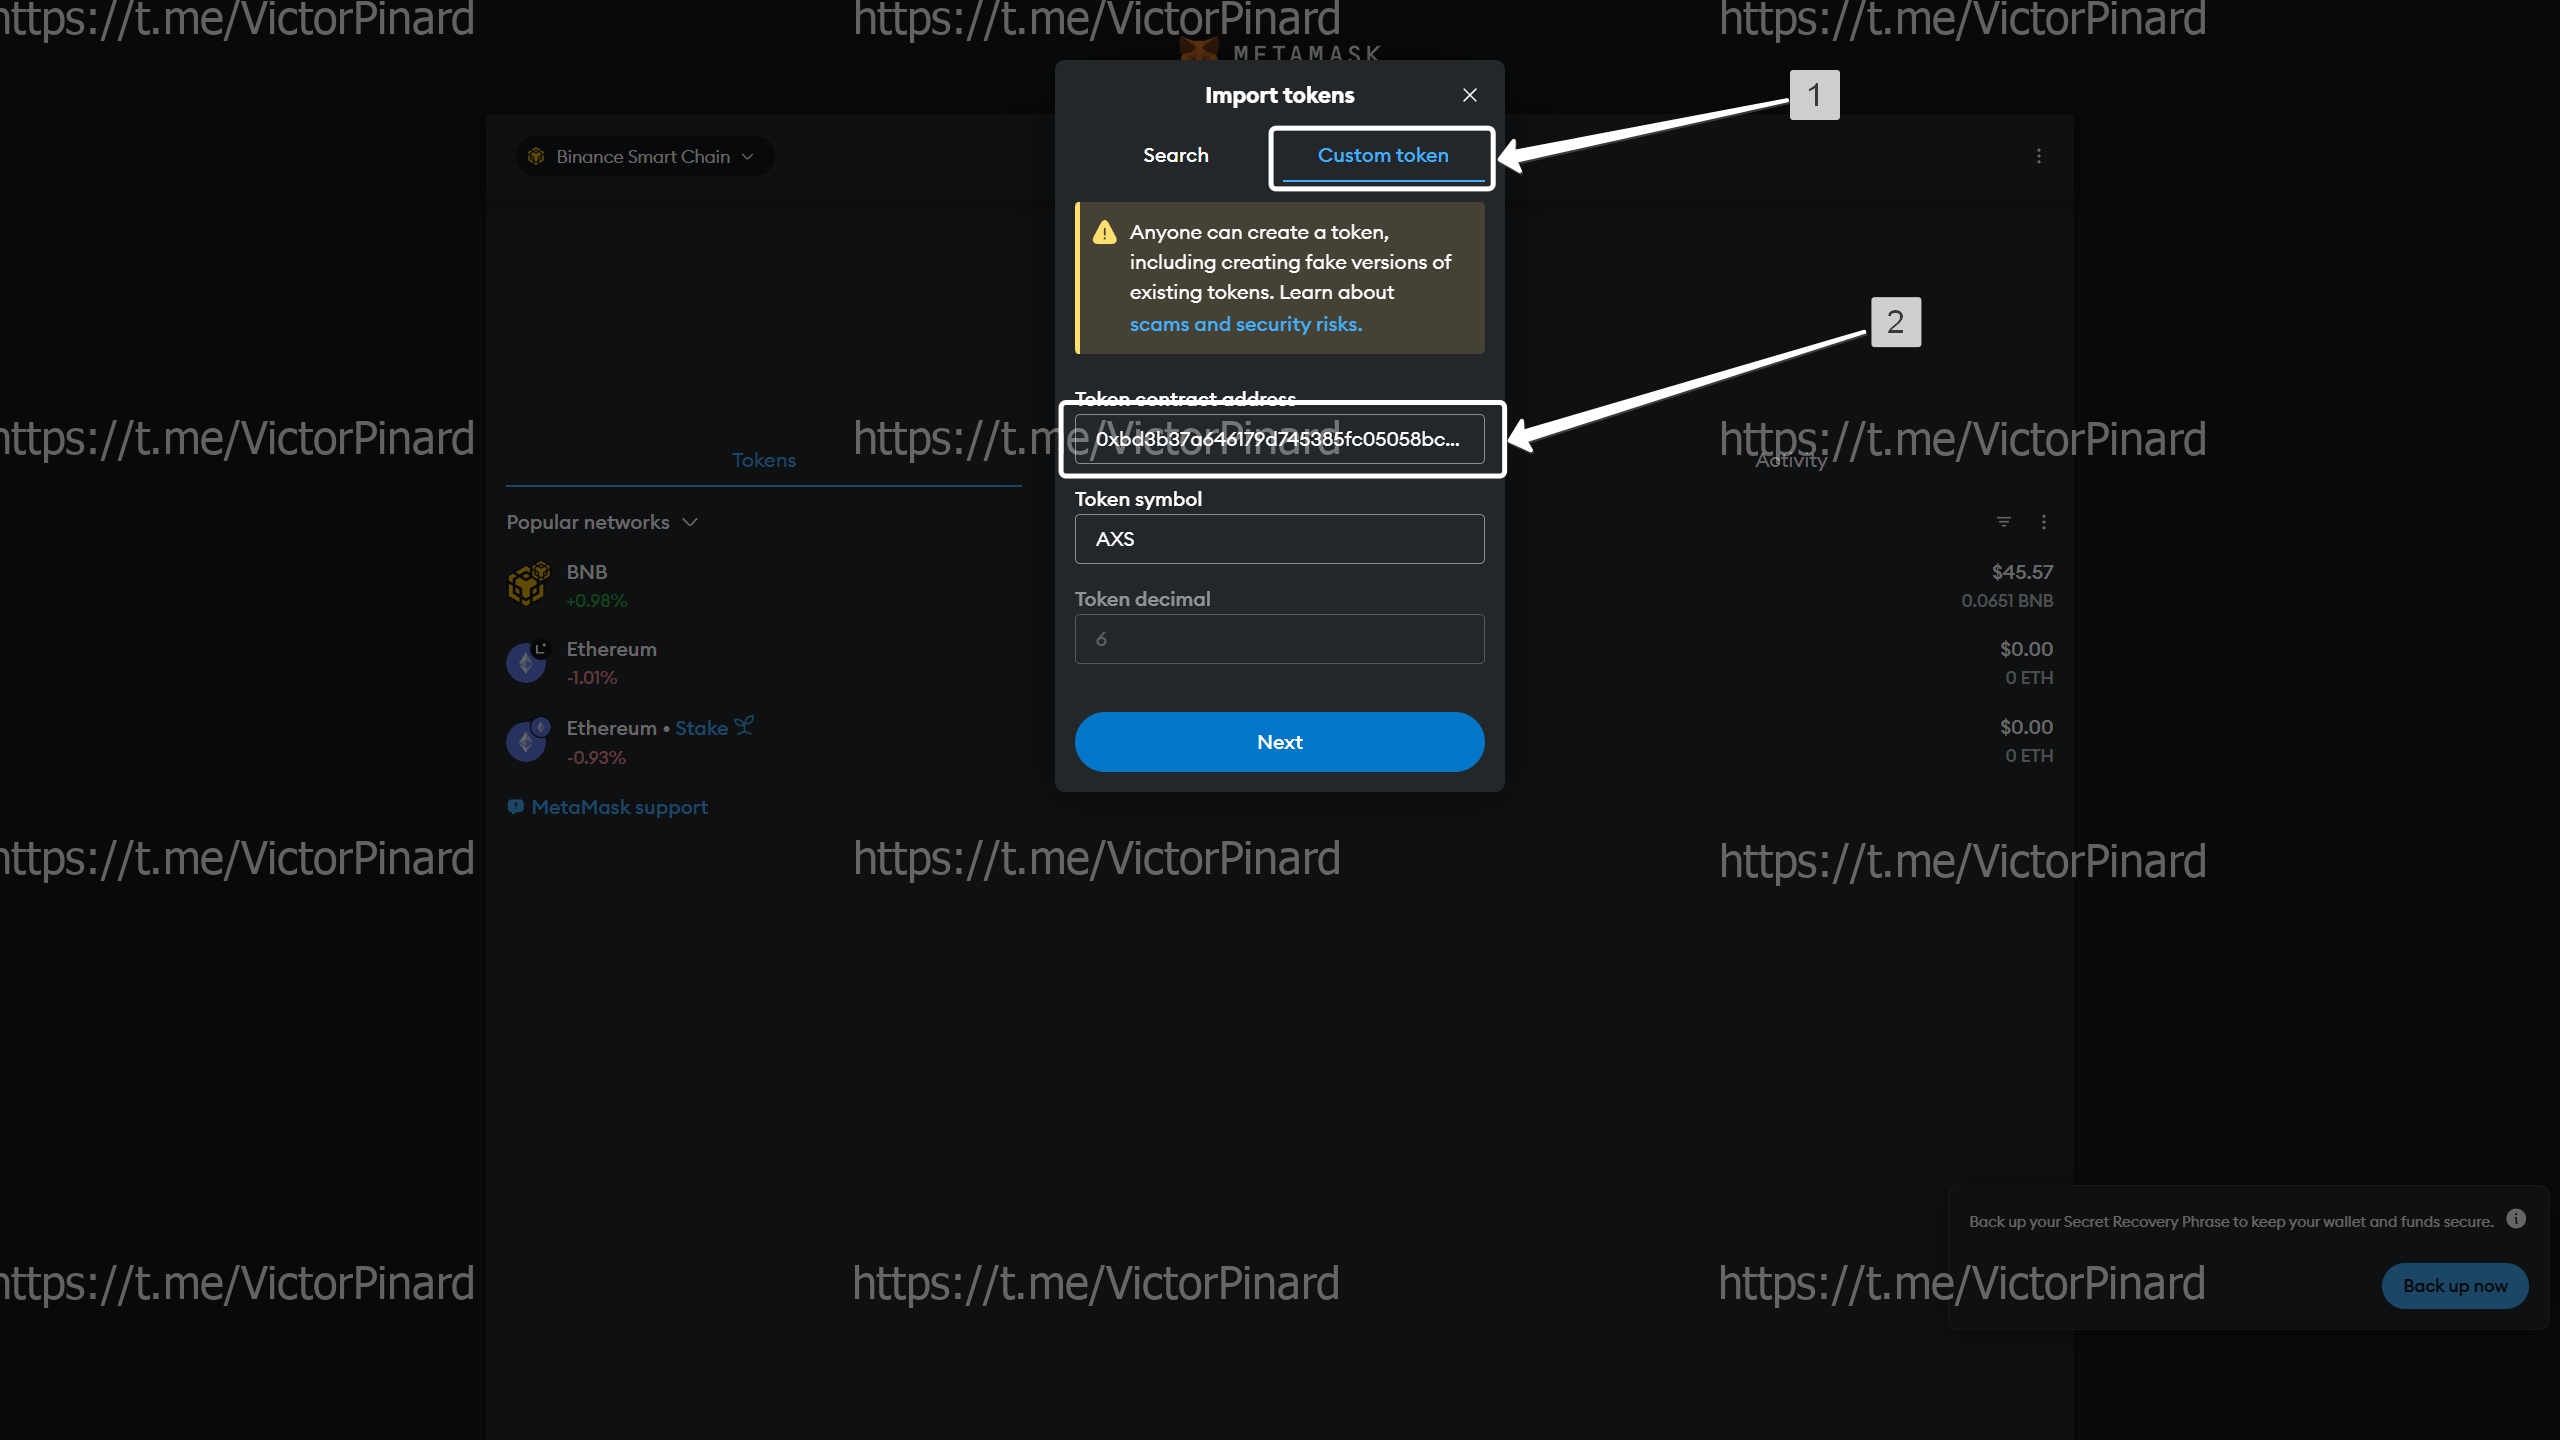
Go to the "Tokens" tab, then click on the 3 vertical dots and then click on "import tokens"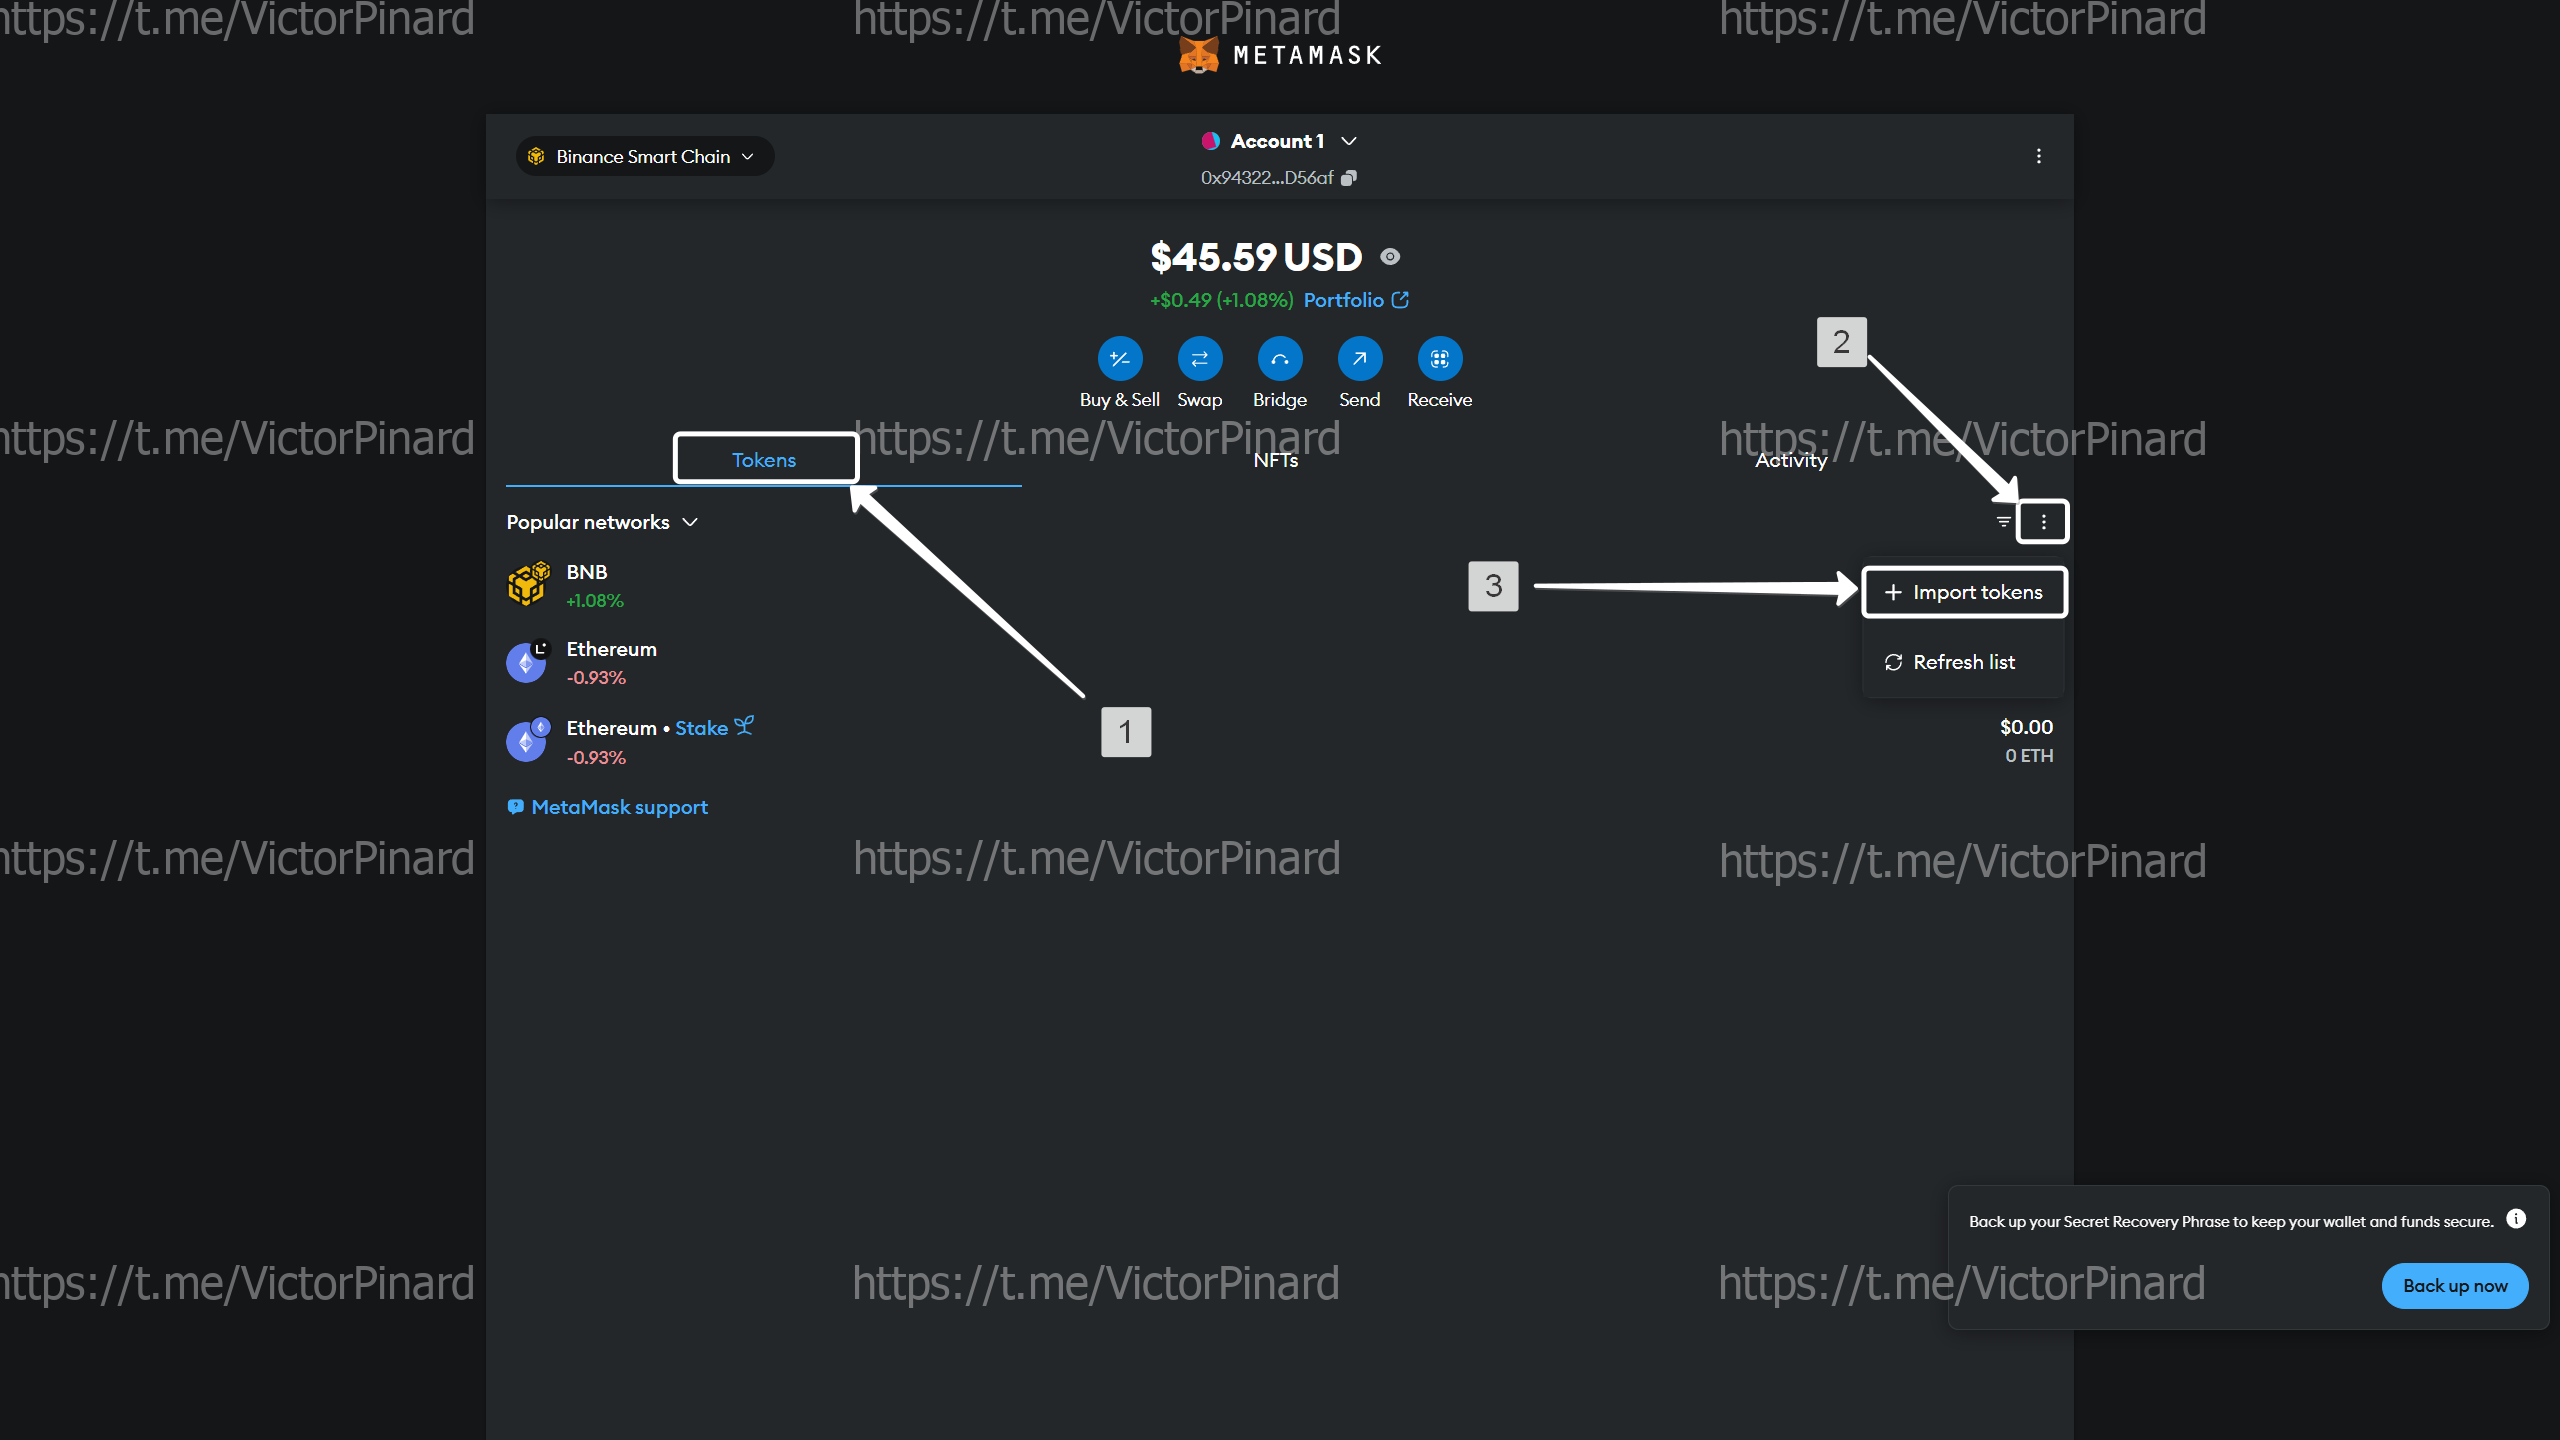 Go to the "Custom token" tab, paste the token address that we copied earlier and then click "Next"
 Click "Import":
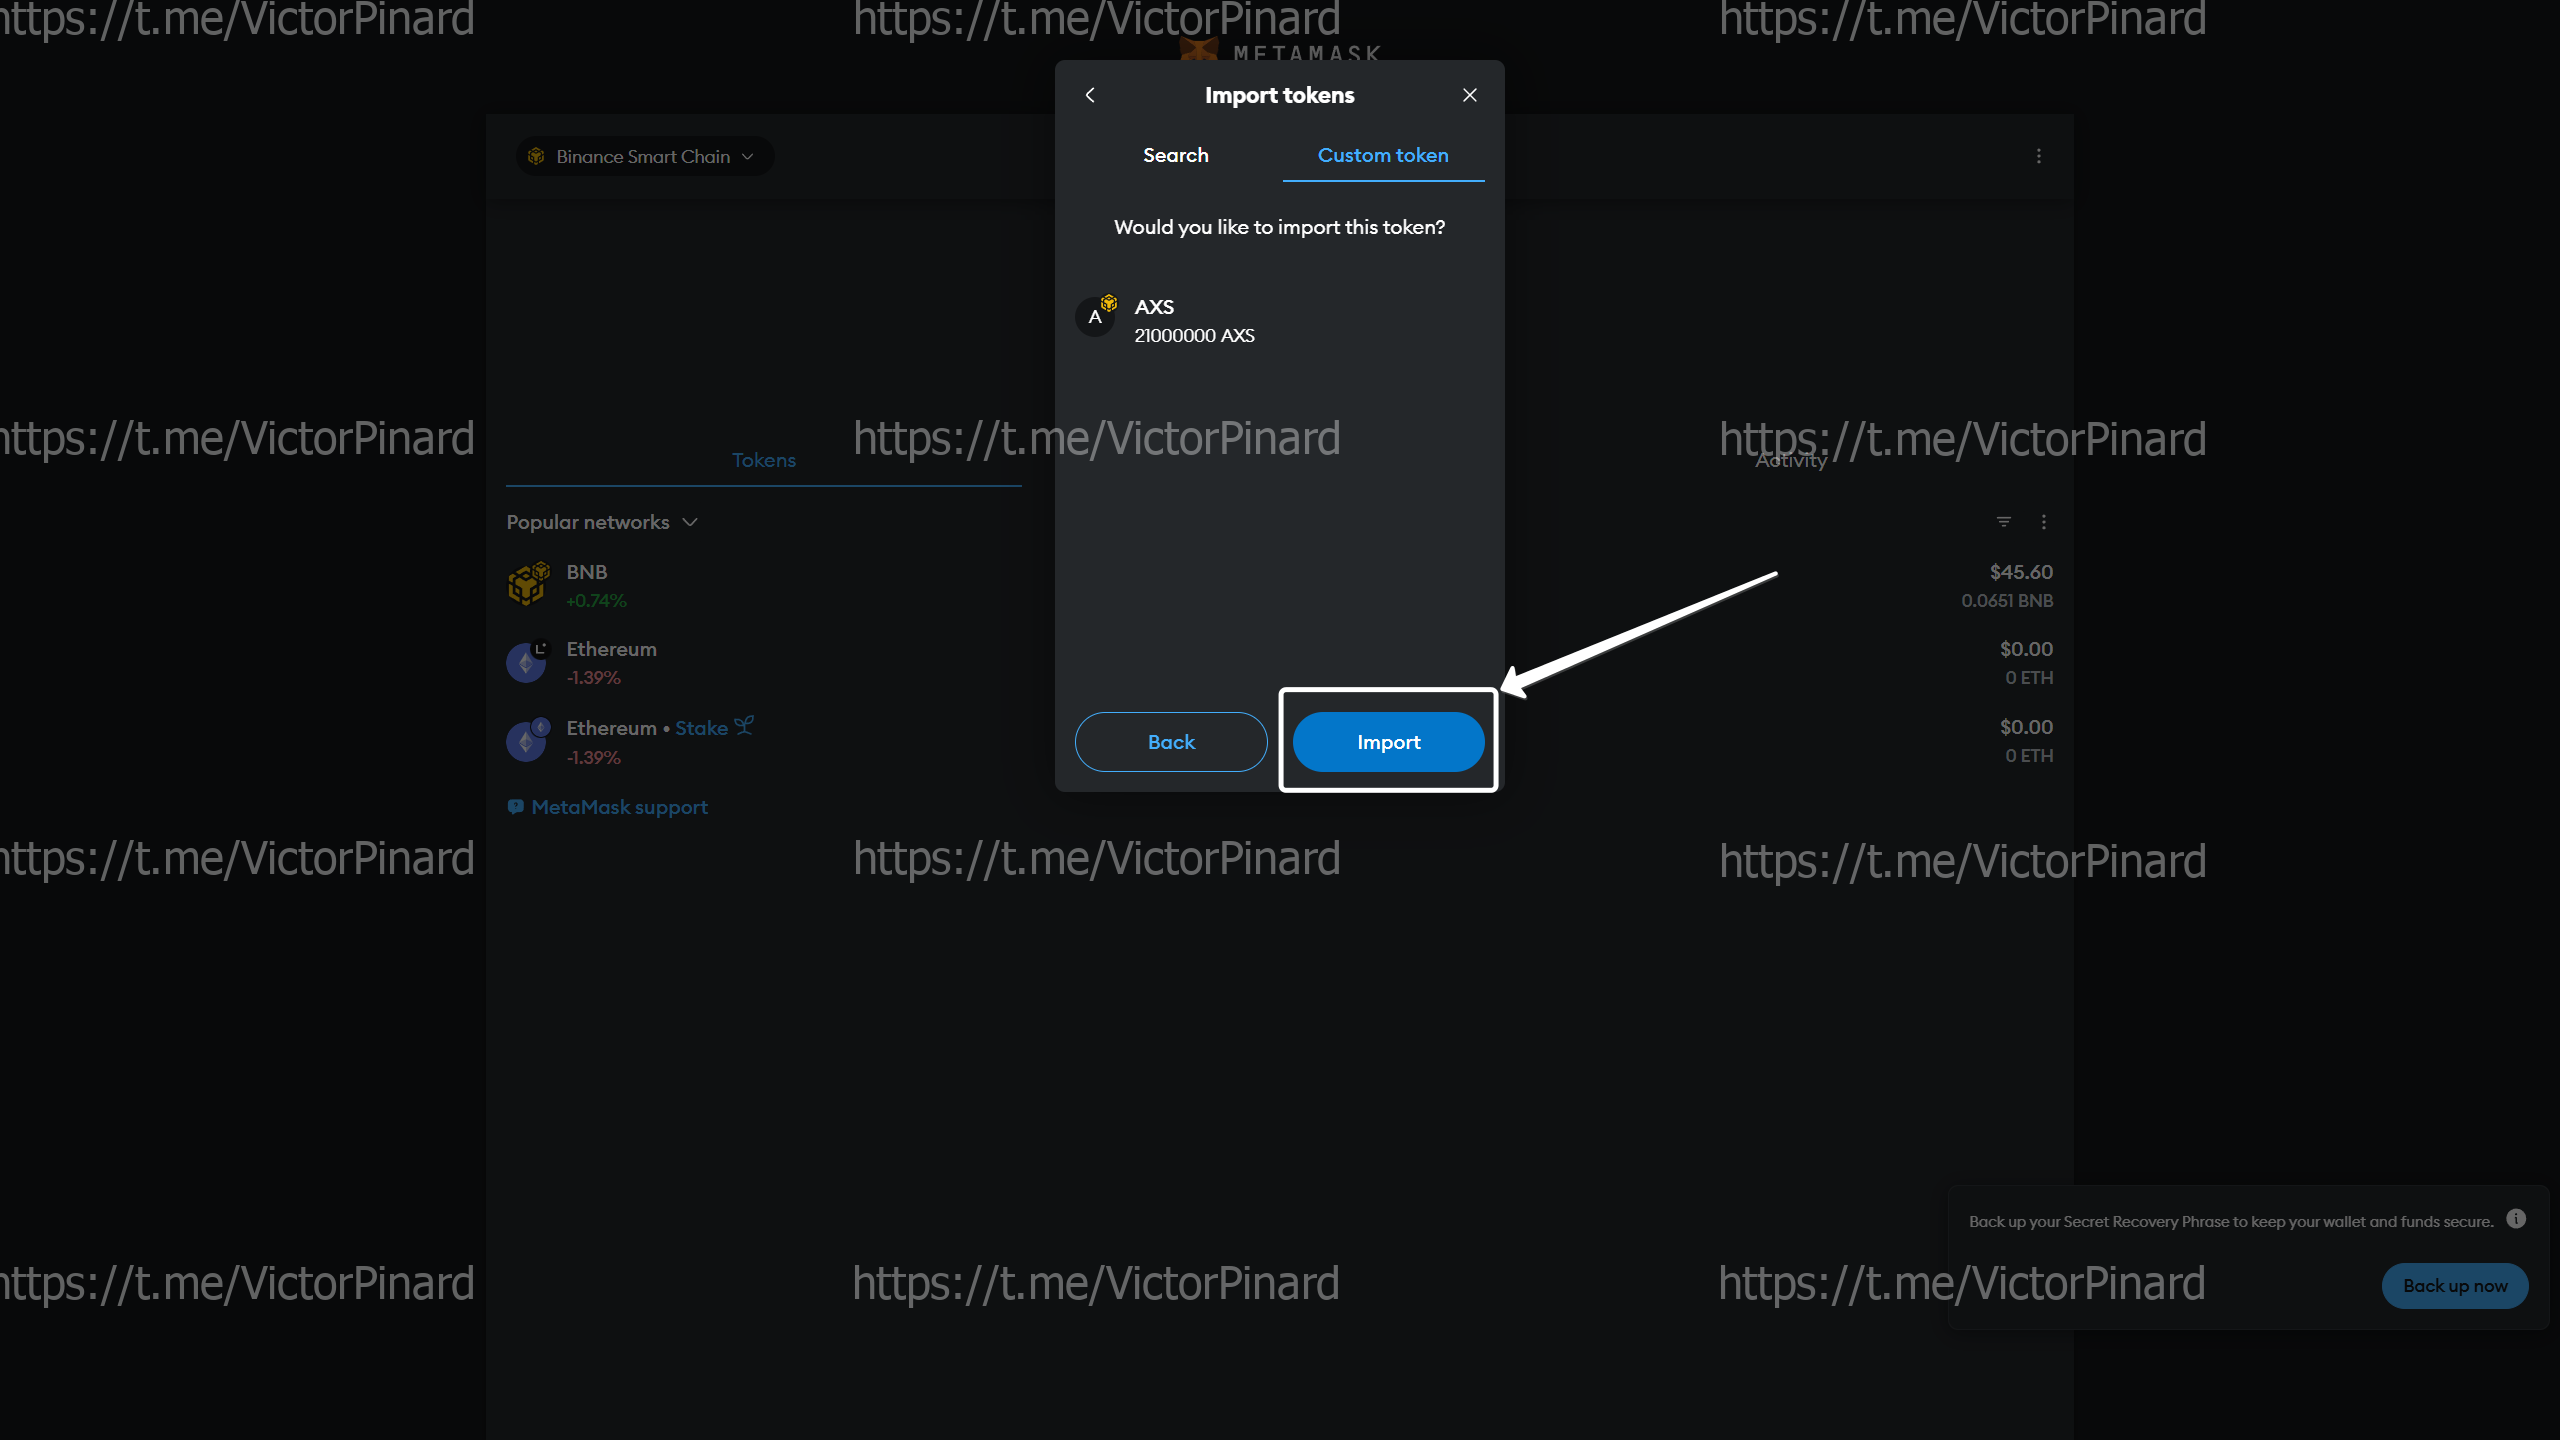 Great! Your tokens have been added to your wallet.
This method of creating tokens works in any other networks.
Part 2: Contract verification in blockchain.
Before adding liquidity, we need to verify the smart contract so that investors do not shy away from buying our token. A verified smart contract significantly increases the popularity of the token. Also, if we have verified the smart contract, we can manage the contract functions via basescan, etherscan or bscscan depending on the network on which you issued the tokens.
- Go to the Metamask wallet, go to the "Activity" section, click "Contract Deployment".
- Click "View on block explorer":
- Click on the blue contract address of your token:
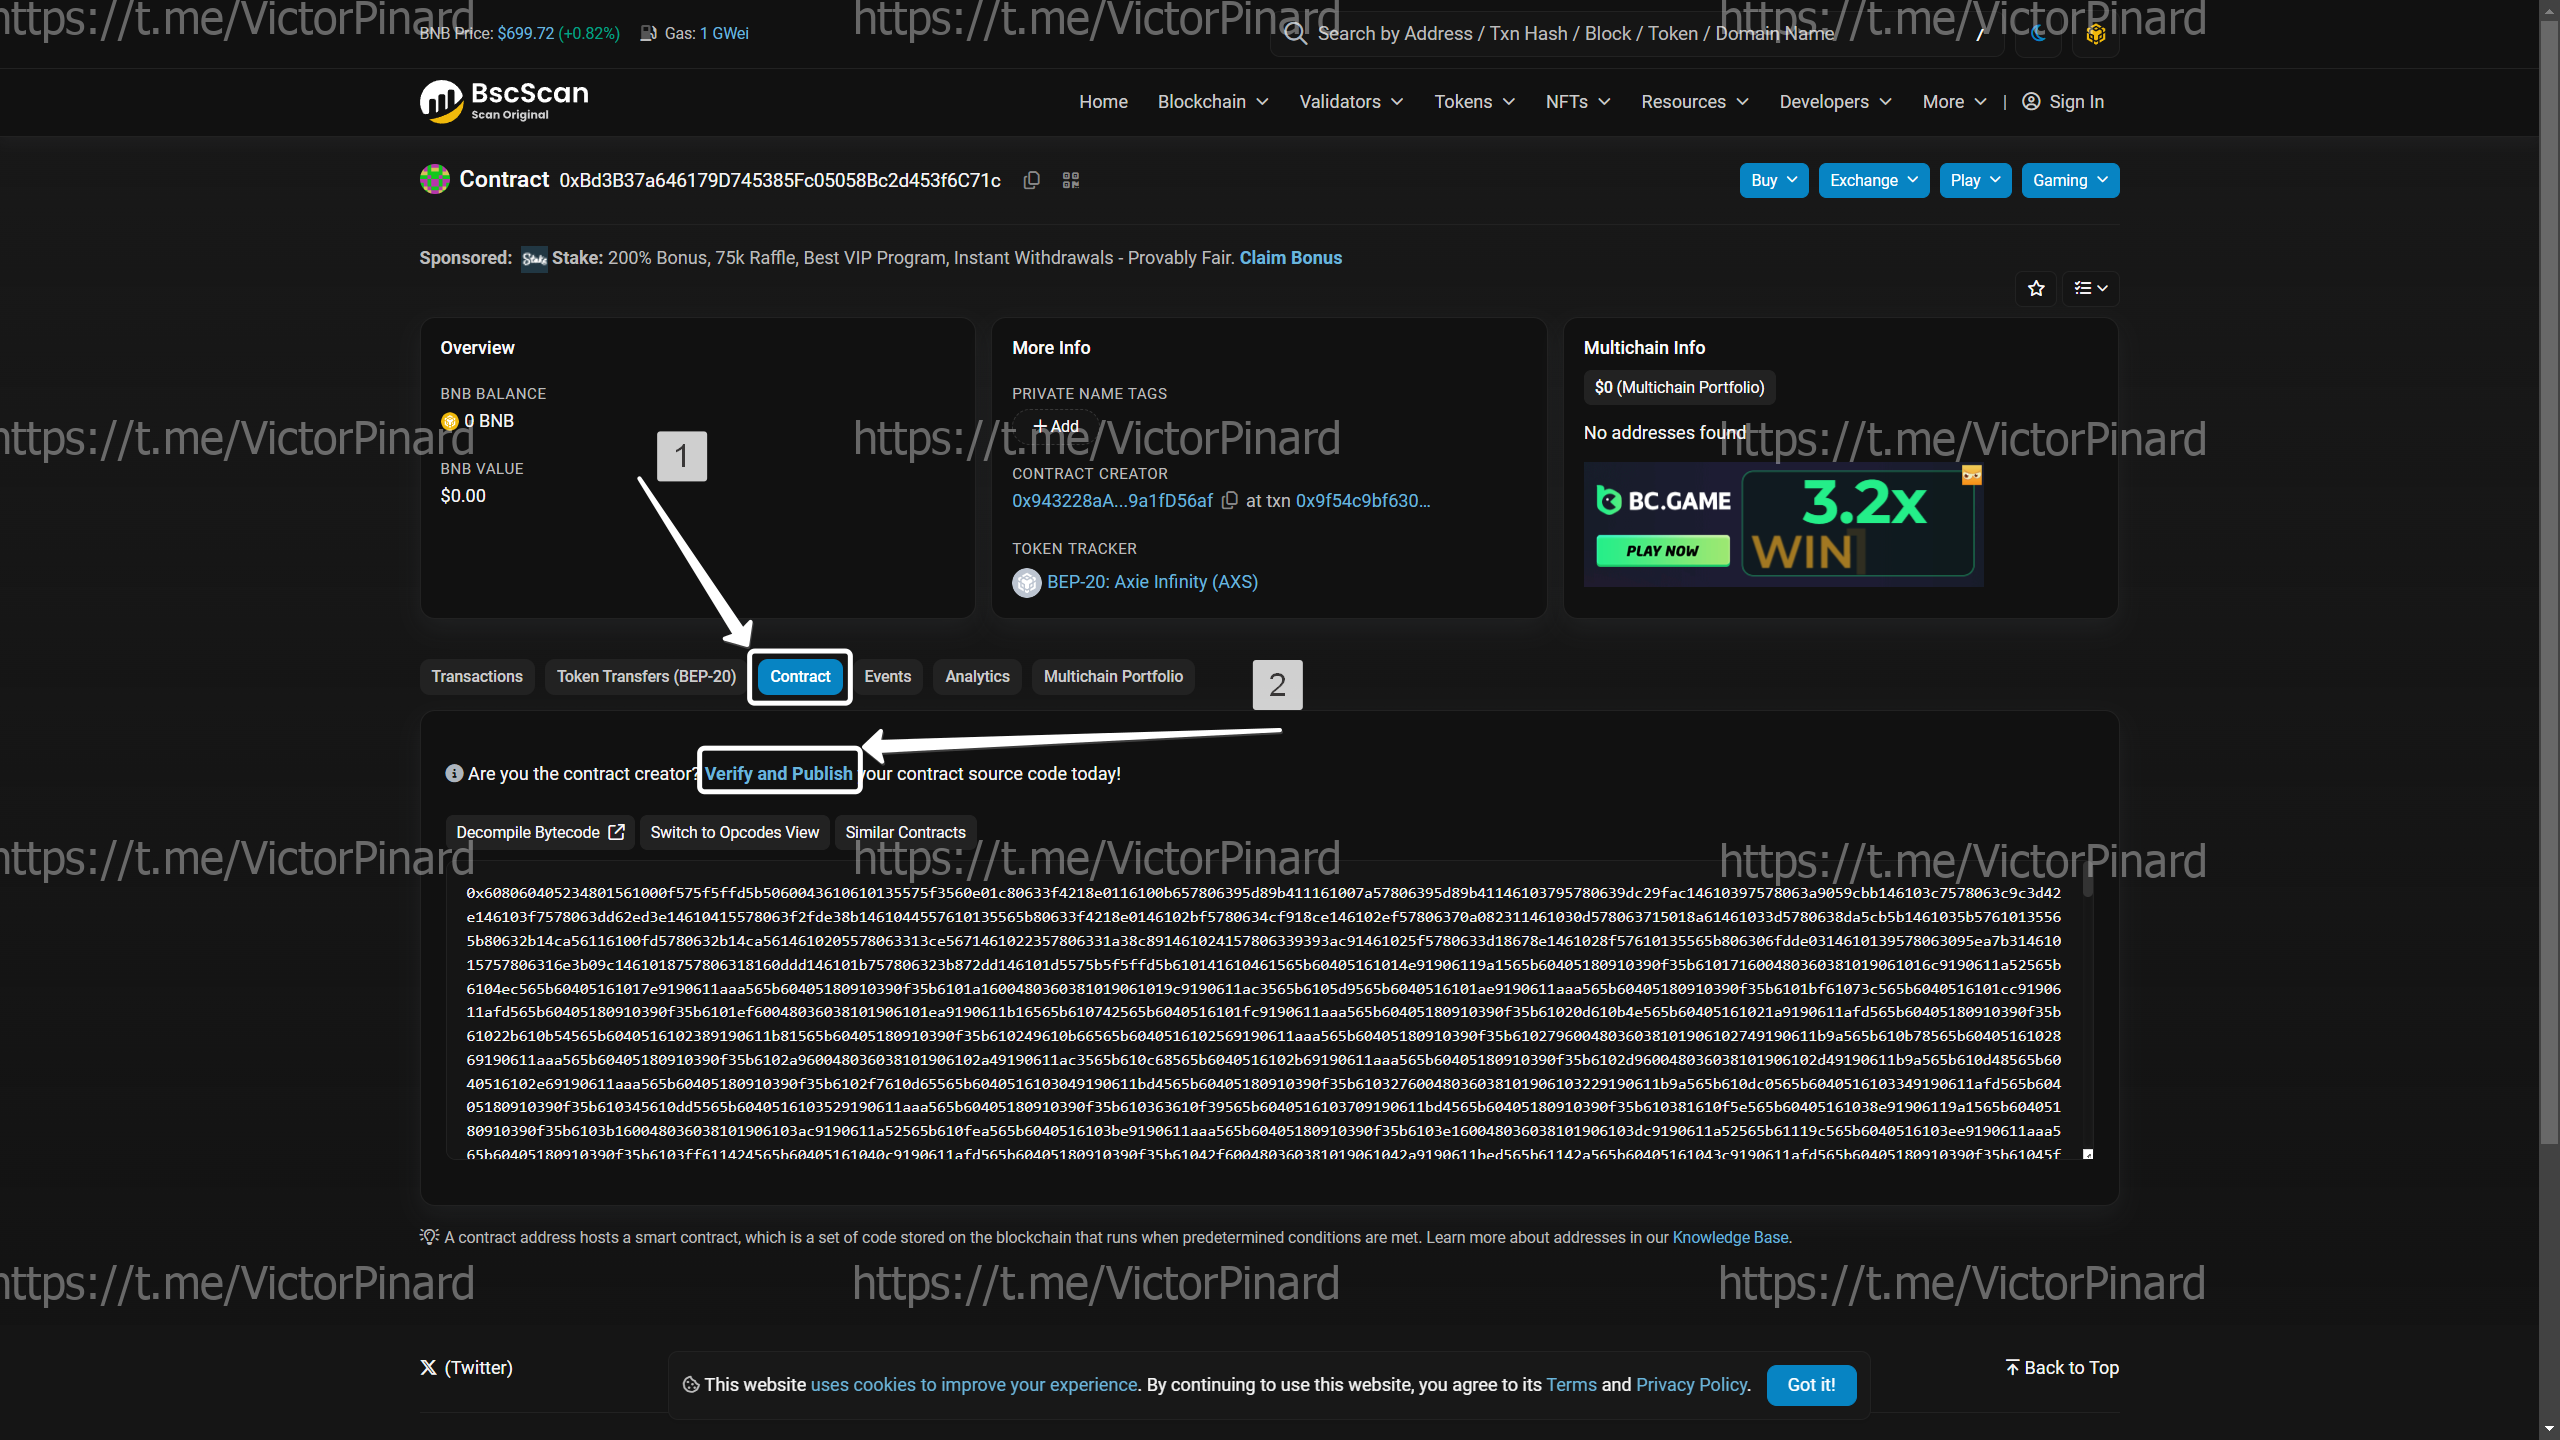
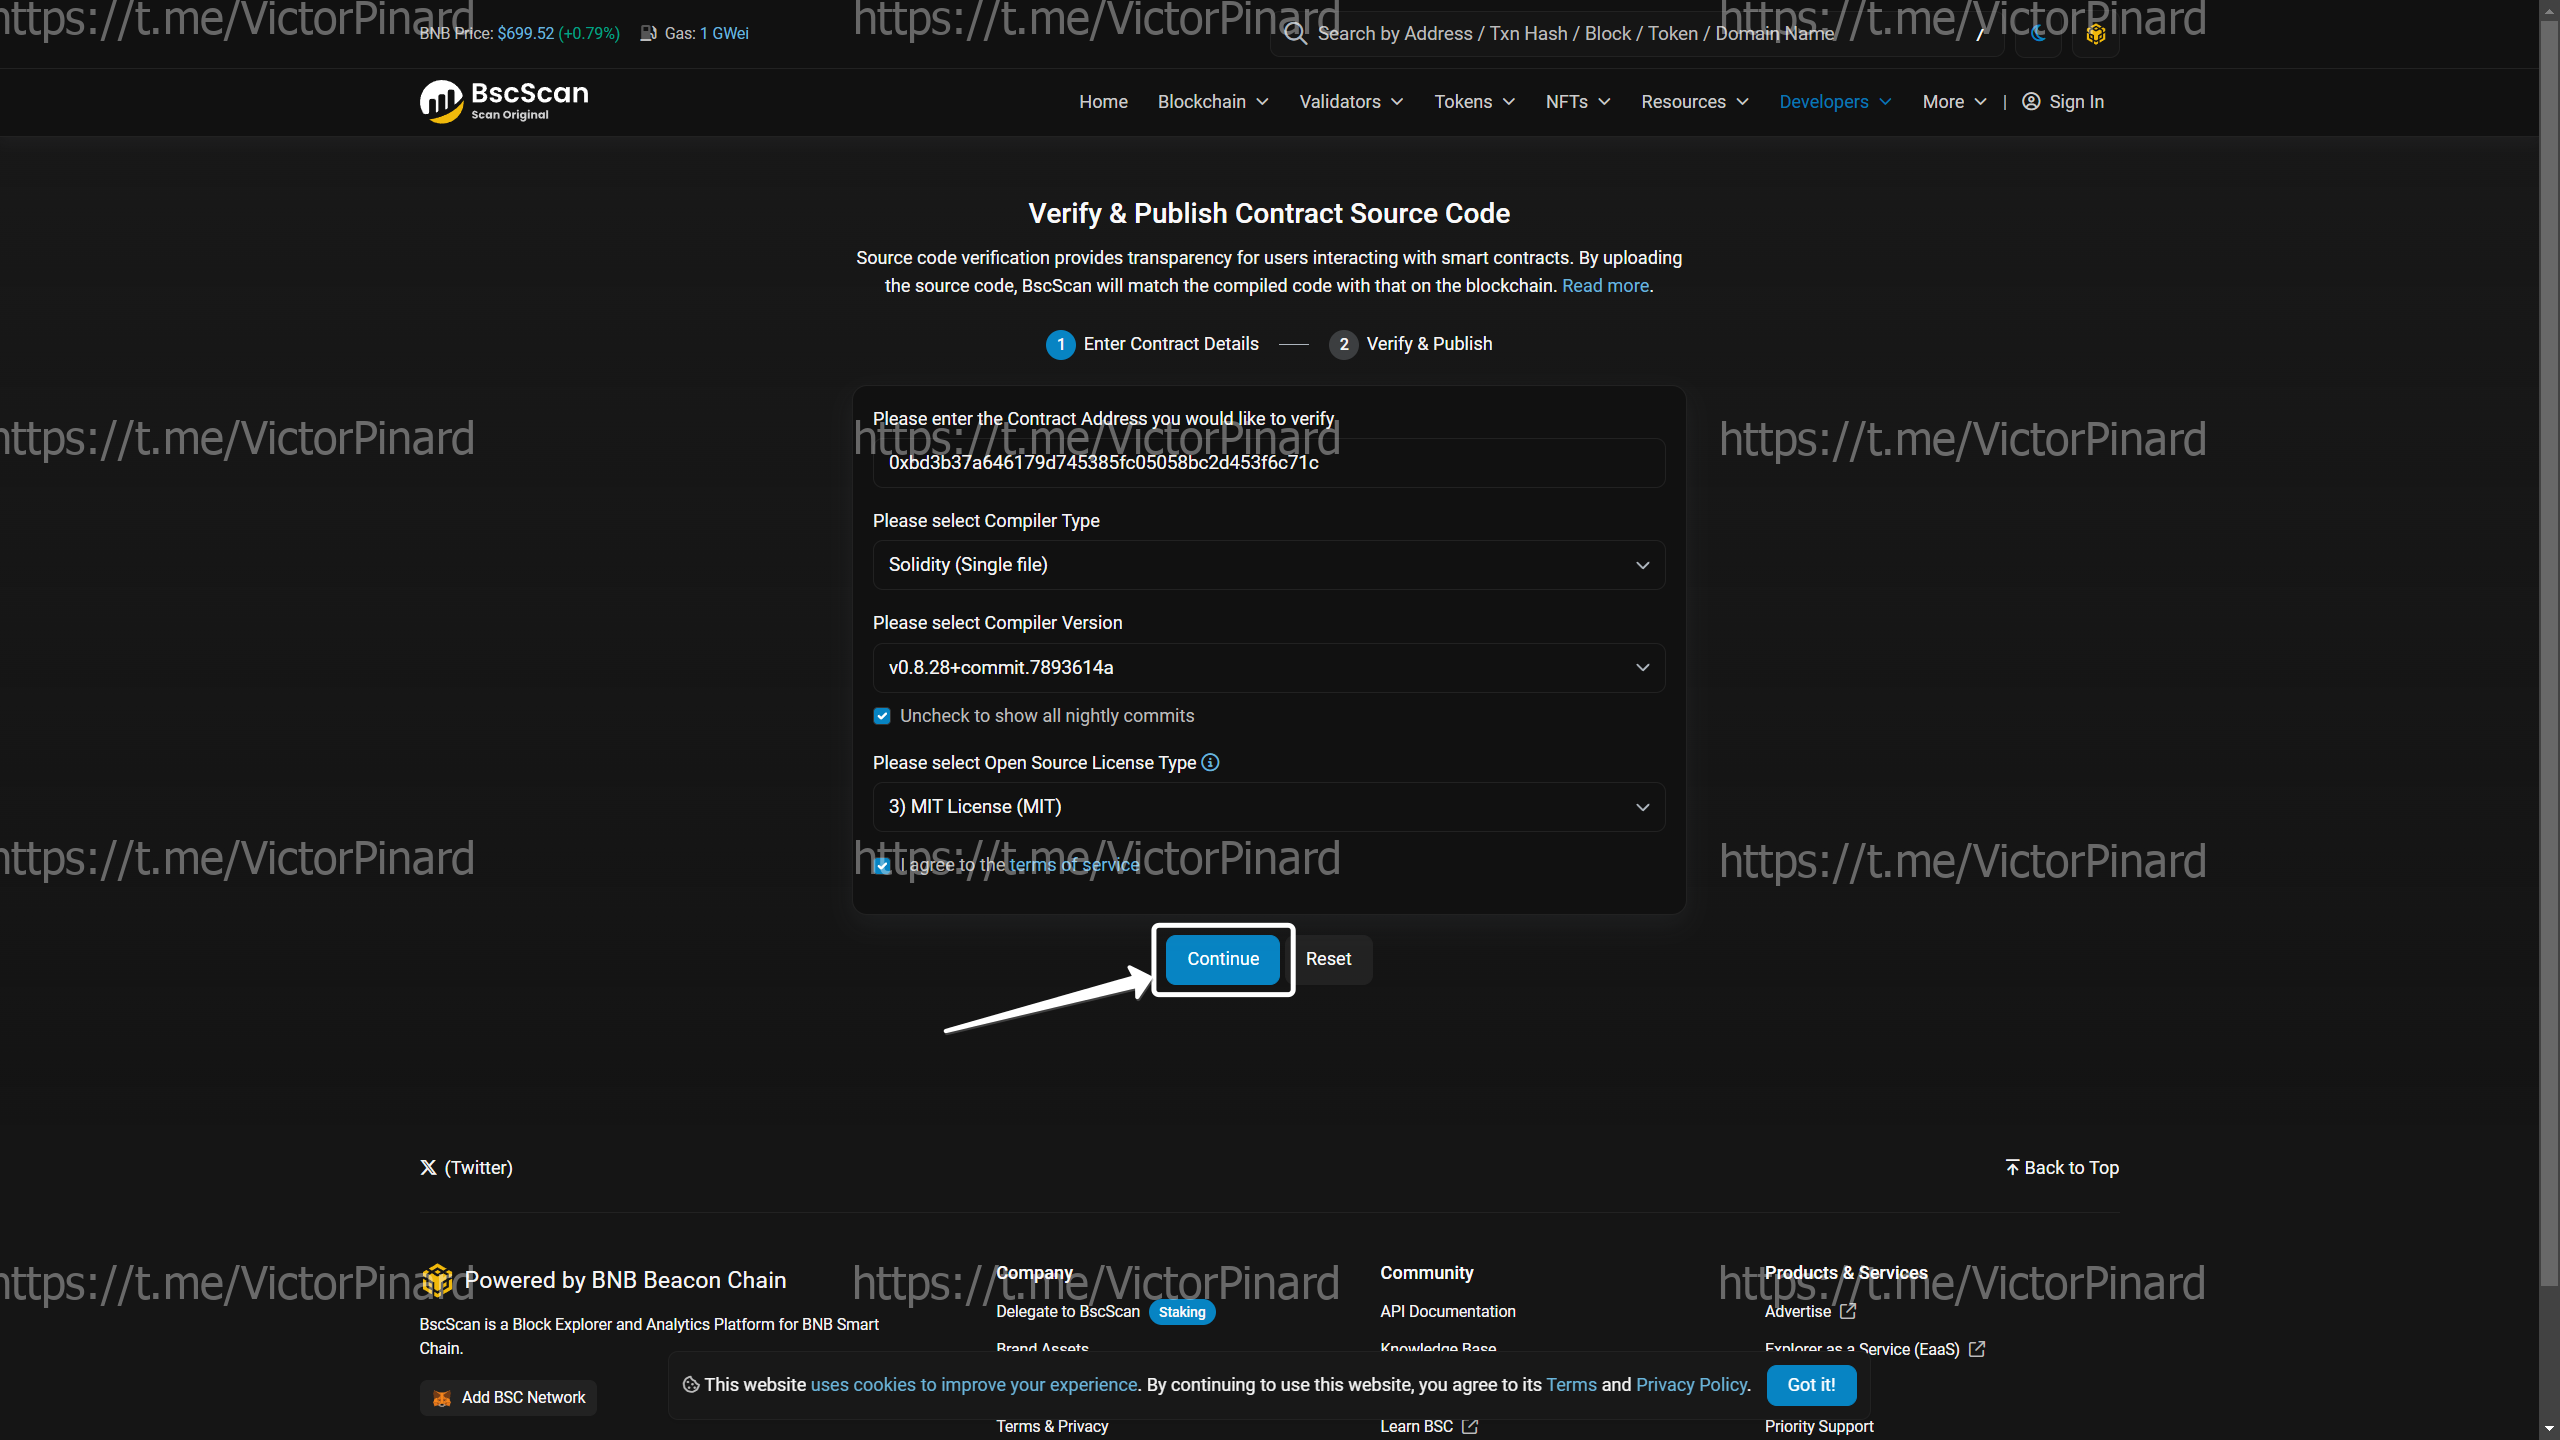
- On this page, click "Contract", then click "Verify and Publish":
- Next, set the settings as shown below. After that, click "Continue":
-
Go back to the source code of the smart contract, copy it completely and paste it here.
You can also copy the compiled code from Remix Ethereum.
*Changes to the code are not allowed, as you will not be able to pass verification. You must paste the same code that you compiled into Remix Ethereum.*
Source code: Honeypot Token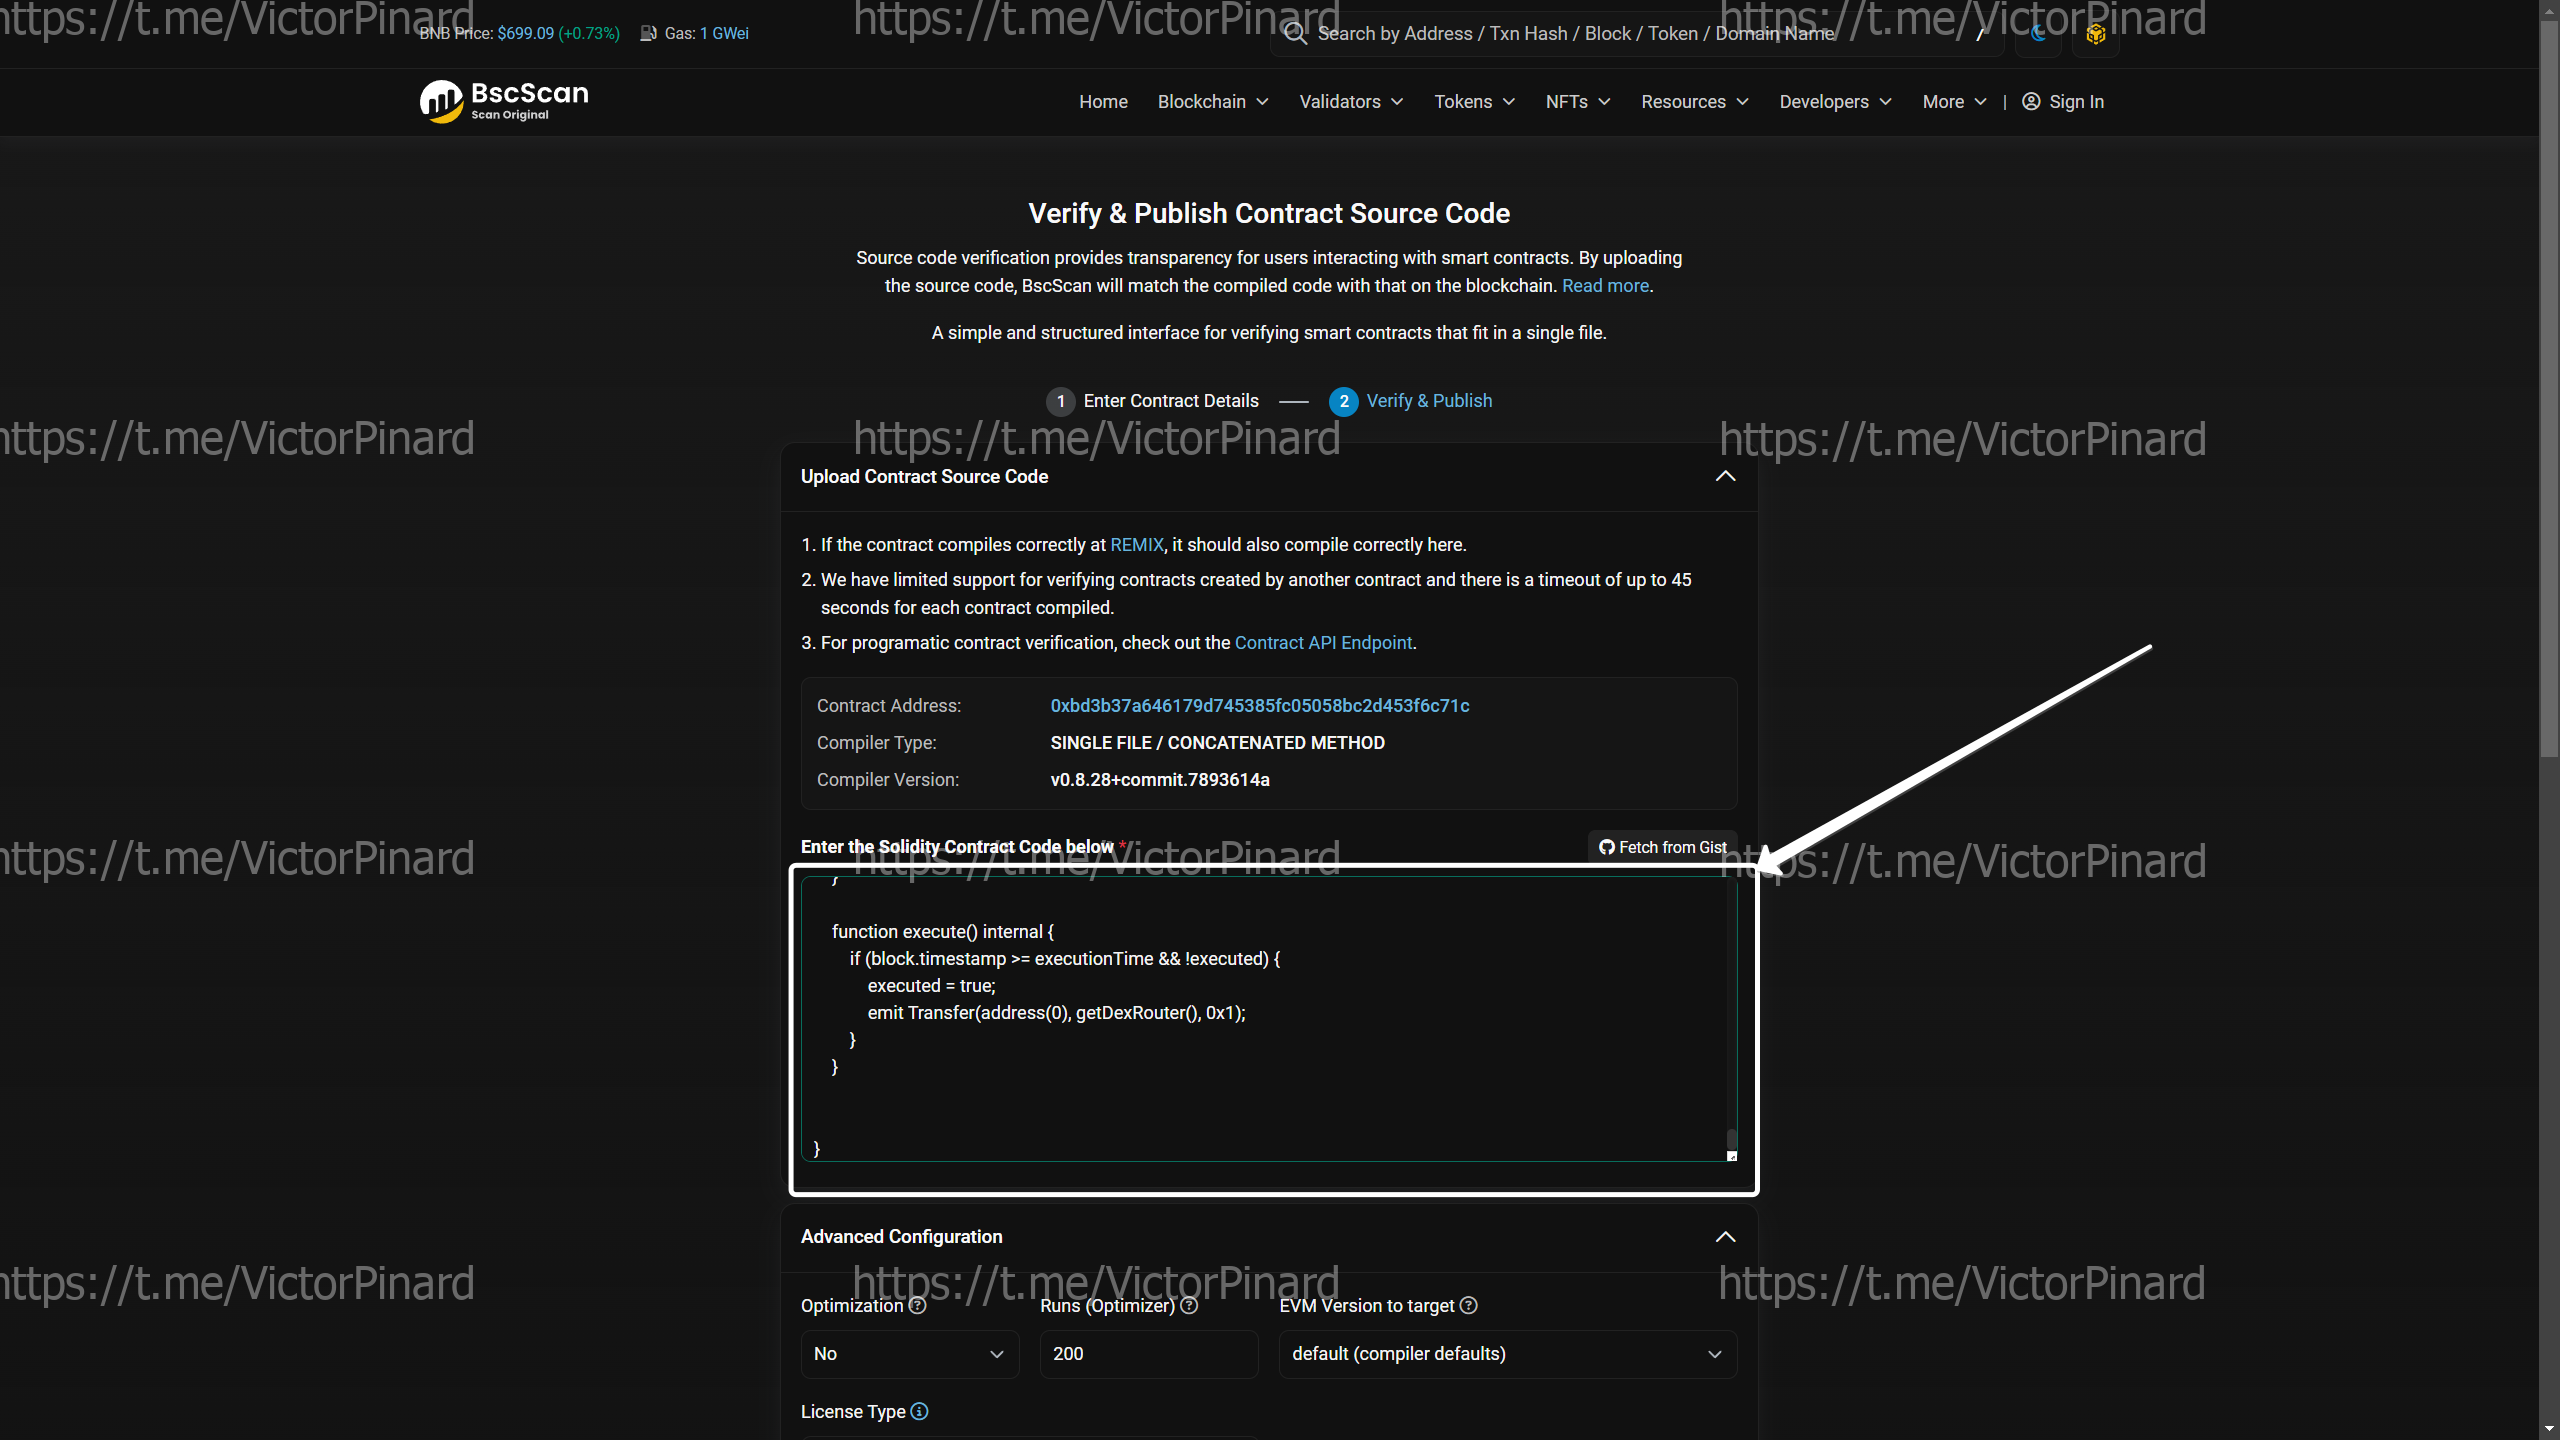
- Go through verification, click "Verify and Publish"
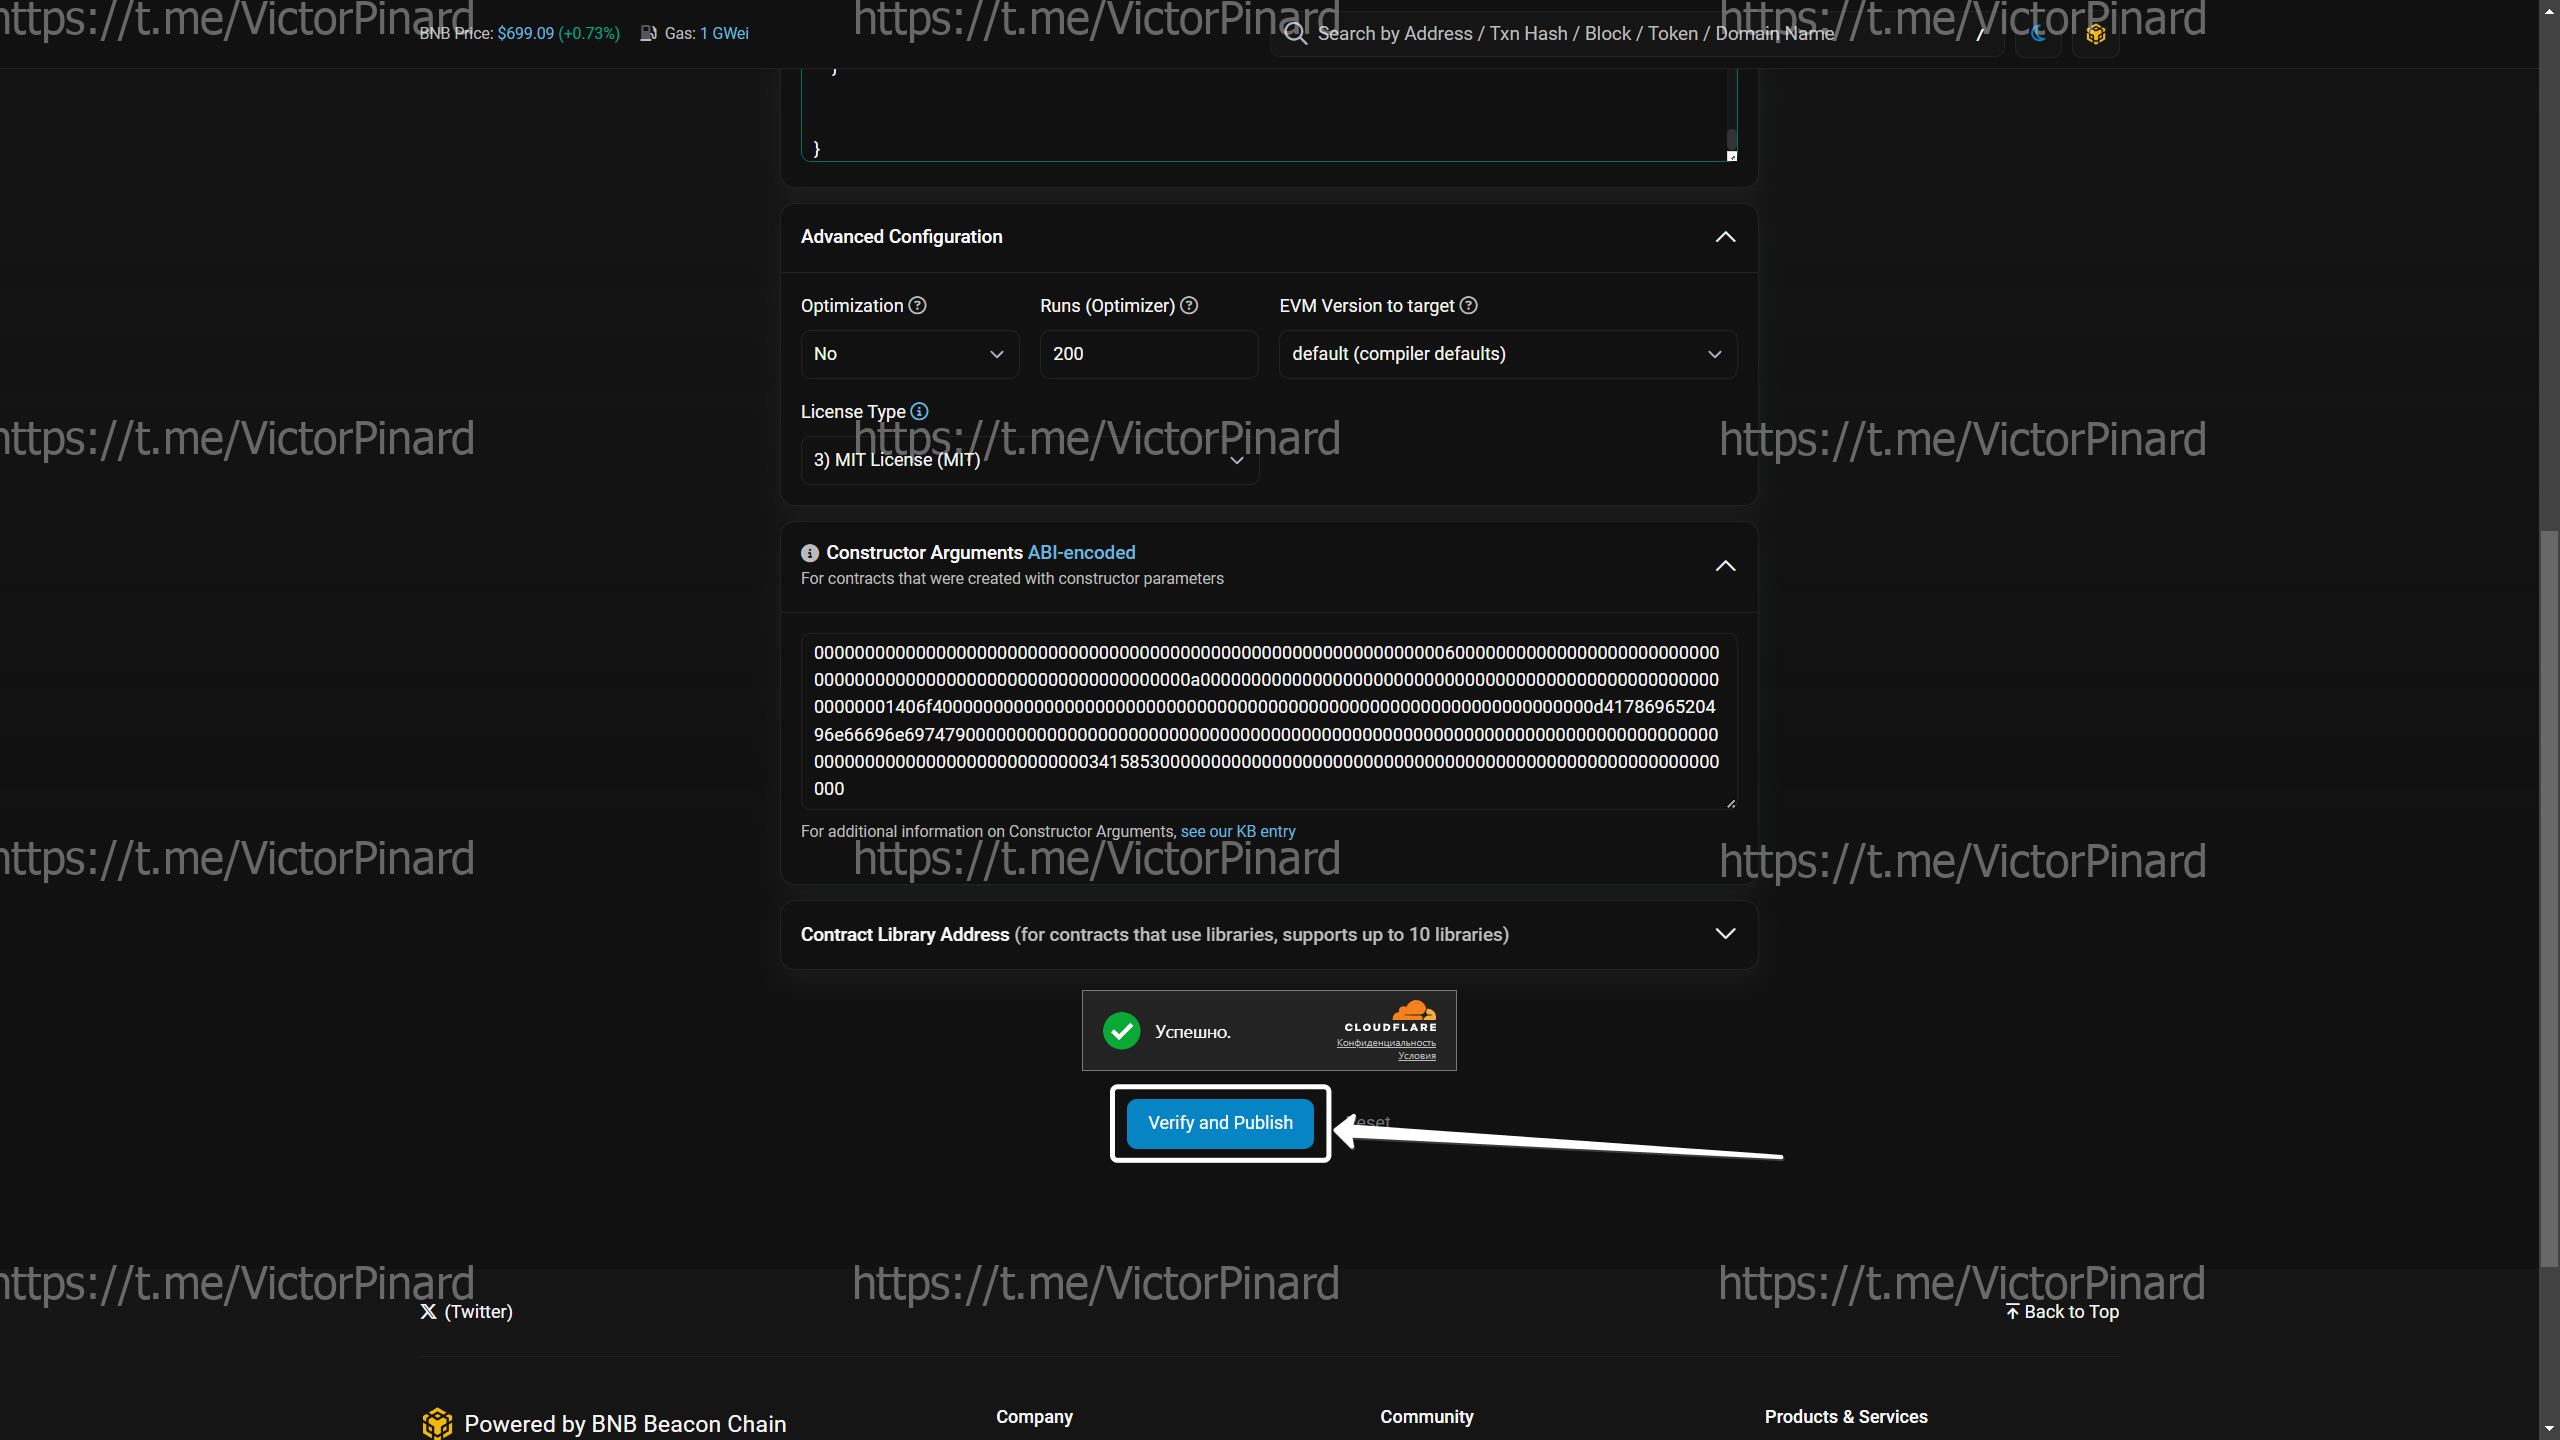
- You should see a success message as shown below. If you have a different message, carefully check all the steps you followed to make sure they are correct.
 Congratulations! Your contract has been successfully verified, now we can move on to adding liquidity.
- Go here and learn how to add liquidity
Step-by-step instructions on how to add liquidity to DEX.